Viewing apps
Once a package has been published, it can be viewed as an App by team members with the necessary viewing permissions. This allows them to interact with the app, taking advantage of the Views and related features that you've created.
To learn how to publish the latest version of your package, see: Publishing and version control.
To understand how to assign permissions within Studio, see: Studio service permissions.
Viewing the published version of your app
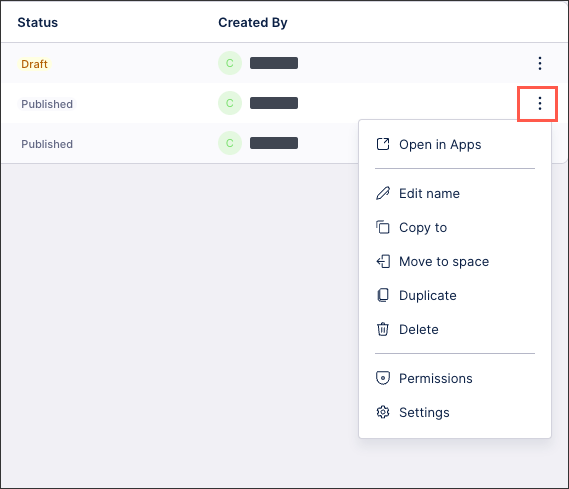
As an editor, you can view the published version of your apps from your space overview page. Click Options > Open in Apps:
 |
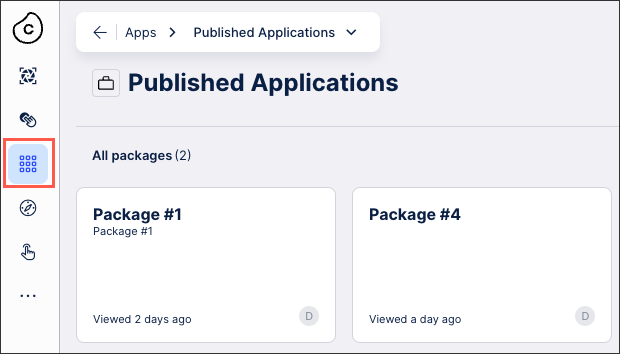
Alternatively, app users with the necessary permissions can either access your app directly from a link or by clicking Apps on the main menu:
 |
App features
When viewing an app, the available features depend on the View and component settings selected by the editor. These settings can included enabling and disabling advanced filtering, the ability to interact with charts and tables, and switching content languages.
To understand your View settings options, see: View settings.
To configure your View component settings, see: Components.
When enabled, you can apply temporary filters to your View. These temporary filters can be set per user, with any filters applied by the user being persisted and applied the next time they load the View.
The following temporary filters can be applied:
Attribute filter: This filter allows users to select objects based on specified attributes, like country "Belgium" or start date "February 2, 2015". See: Using temporary filters in legacy views
Process filters (limited availability only): By enabling process filters, users can filter based on:
Process flow filter: Select objects where an event is or isn't followed by another, e.g., "Invoice sent" followed by "Invoice canceled".
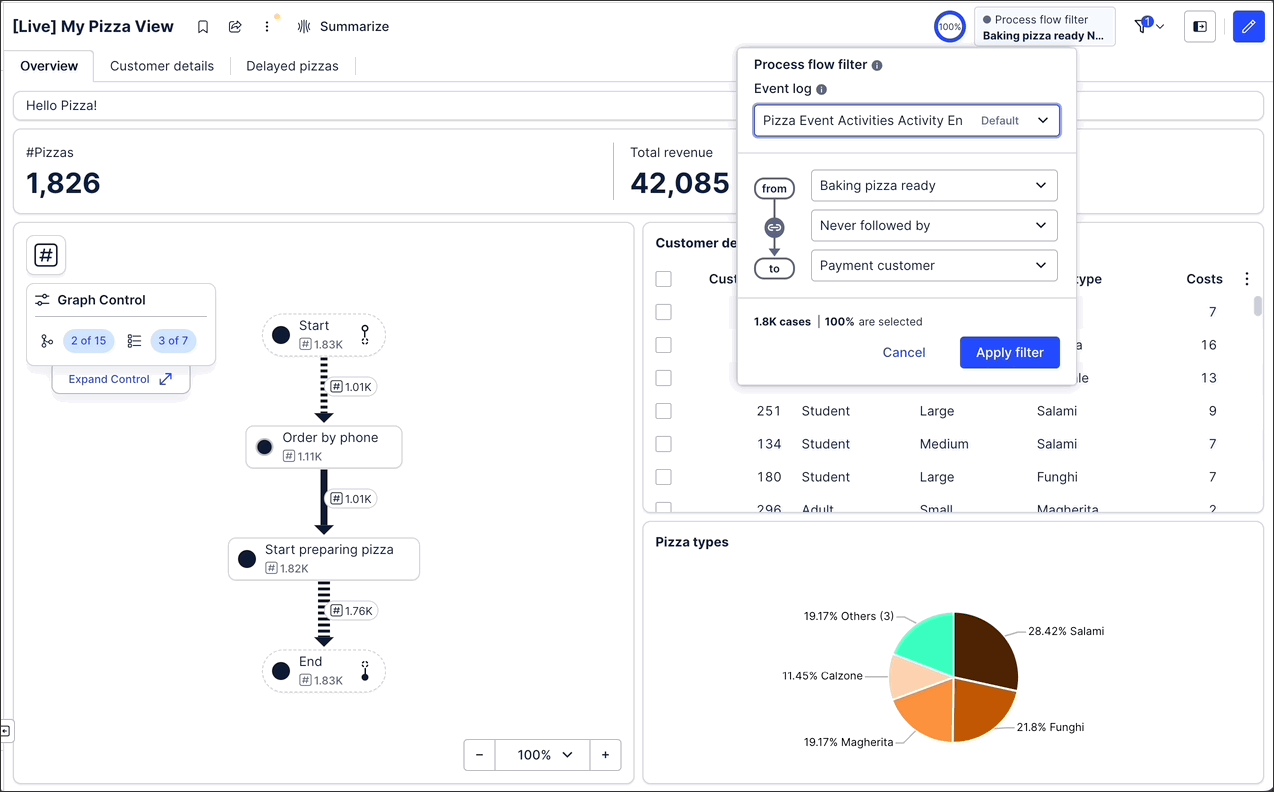
Event filter: Select objects based on their flow through specified events, such as objects starting with or including "Create Order".
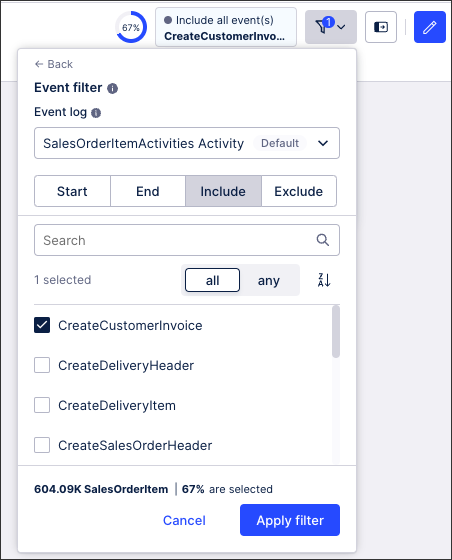
For more about process filters, see: Using temporary filters in legacy views
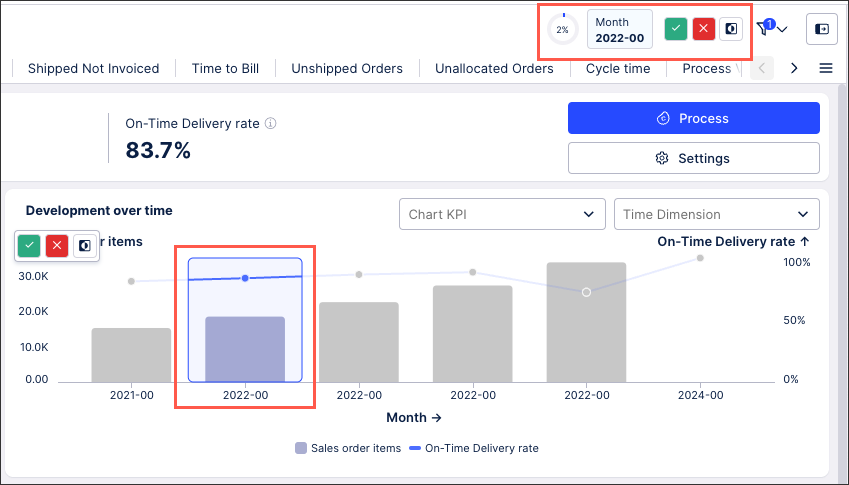
When enabled for each individual component, you can click into the data and apply a temporary filter to both that component and any other component where filtering is enabled. This filter can then be saved using the tool bar. This filter applies for your existing session and only for your user account, meaning that other users won't see this filter and nor will it be applied to the View the next time you load it.
In this example, one month has been selected and a filter can be applied across the View:
 |
Bookmarks allow you to save your favorite user preference (including filters, selections, component states) of a View and share them with your team. You can create and access bookmarks in View mode only, so they can't be added when creating your View in Studio.
To create a bookmark while in View mode, click Bookmarks > Create bookmark:
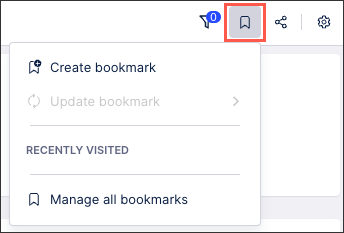 |
Once created, you can manage existing bookmarks from the same menu. Here you can update, share or unshare, edit, and delete the bookmark.
For more information about configuring bookmarks, see Bookmarks.
This allows you to access and share a URL for this app, with the recipient needing the necessary team permissions to be able to access it. Sharing allows you to generate a URL of a View with its specific configurations applied. The view settings such as filters, component configurations, and user inputs will be applied to this link.
To understand permissions within the new Studio experience, see: Studio service permissions.
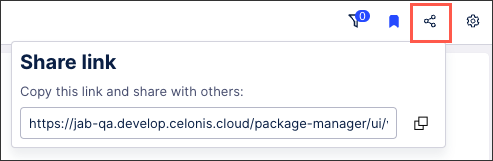 |
If the content of an app has been translated into supported languages, you can switch between them using the Translations menu:
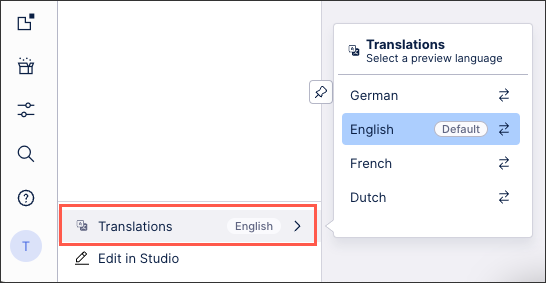 |
To learn more about translating app content, see: Languages / translations.
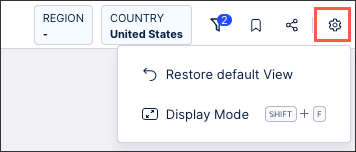
Here you can choose between restoring the default View and entering display mode:
Restoring the default View: This will remove any changes you've made to your View by restoring the default View settings. This includes removing applied filters, resetting variables, unsorting tables etc. When restoring the default View, this only impacts your current View and not those displayed to other users.
Display mode: The display mode temporarily removes all navigation elements and surrounding browser elements to allow you to fully focus on the View.
 |