Loading data permissions from permission tables
You can set data permissions by identify a permissions table in the data pool from which data permission information is retrieved. This permissions table must be either included in your data integration extractions or uploaded to the Celonis Platform using the file uploader.
Note
The permissions you set via a permissions table can supersede a user's Admin access in the Celonis Platform.
For more information about uploading data files, see: Uploading data files.
Creating a permissions table
When creating a permissions table, you need to include the following information:
Reference User: This is the user's email or group name who should be assigned permissions, with each being identified on individual rows. A user or group can be included once in a permissions table, with additional tables needed if they should hold different permissions for different data.
Reference Table: The table you want to assign permissions to. When specifiying a table name in the permission table, choose either the real table name of the table in the data model or the alias that's displayed in the data model graph. You can see the table name by clicking Options next to the alias name in the data model graph.
When using an alias, you need to enable 'Reference table refers to table alias in Data Model' when loading permissions from tables (with the steps displayed below).
Reference Column: The column in the table where the data permissions apply.
Reference Value: A value that's compared to the column in the data model table to see if the user has permission to see it. The data type for a column in the permission table must be the same as the data type for the column in the data model that you're comparing it to.
An example of a permissions table:
Reference_User | Reference_Table | Reference_Column | Reference_Value | |
|---|---|---|---|---|
m.mustermann@celonis.com | O2C_VBAK | VKORG | 500 | |
m.musterfrau@celonis.com | O2C_VBAK | VKORG | 400 | |
Loading permissions from tables
Once you have uploaded your permissions table to your data pool, you can now load and apply the permissions table:
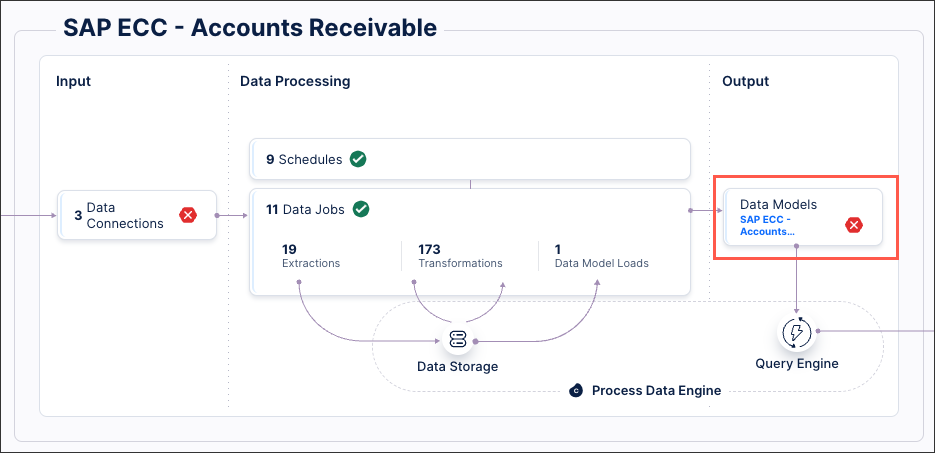
Click Data Models.

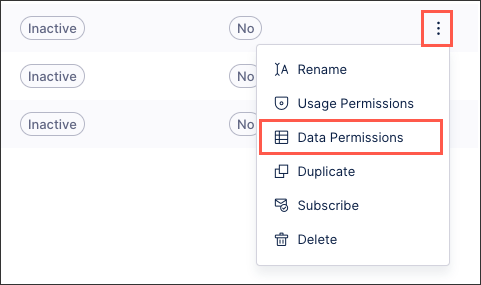
For the data model you want to load the permissions for, click Options - Data Permissions.

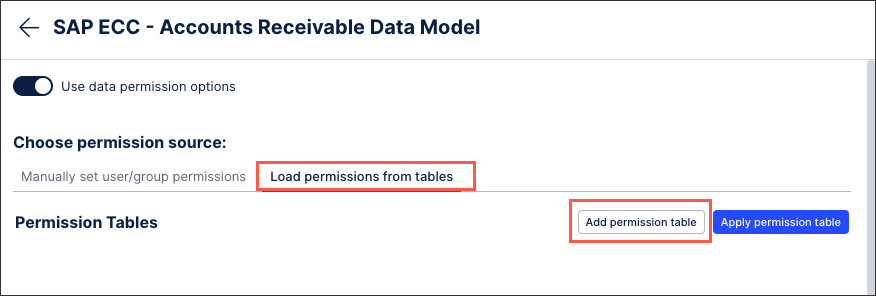
Click Load permissions from table - Add permissions table.

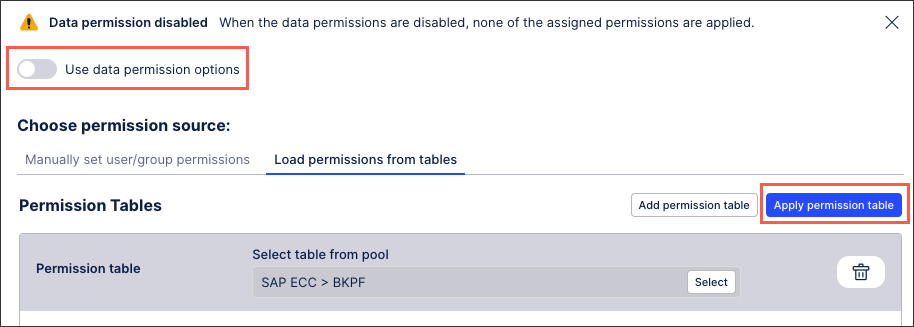
Select the table from the pool.

Configure your data permissions using the following options:
User / group and reference: Choose the column from your permissions table that contains user or group details.
Value assignment / unlimited assignment: Indicate whether the permissions are based on values within the table or whether the user / group has unlimited access to the data in the table.
Reference table: Choose the column from your permissions table that references the data table you are assigning permissions for.
Reference column: Choose the column from your permissions table that references the column in the table you are assigning permissions for.
Reference value: Choose the column from your permissions table that references the value you are assigning permissions for.
Reference table refers to alias in the data model: Enable this if you are using alias for your data tables, rather than the table name itself.
Click Apply permissions table.
To enable the data permissions you have set, click Use data permissions options.
The data permissions are now active, potentially superseding a user's overall Celonis Platform permissions.
