Updating Celonis object types and event types
We regularly update the Celonis object types, event types, relationships, and transformations in the Celonis catalog, to fix bugs and extend their capabilities. You can access the Release Notes from the Objects and Events catalog page to see what's changed in each Celonis catalog version.
It's important to keep your Celonis catalog items up to date because downstream consumers such as our Business Apps are always based on the latest version of the object types and event types in the Celonis catalog. You also need to keep the SQL transformations up to date so that they are compatible with the current requirements for the object-centric data model - out of date transformations might result in errors when you try to save and publish your model.
Note
Be aware that updates can include Celonis catalog items that you're already using in your object-centric data model, which might get behavior changes or new attributes. You can’t back out the update after it’s been applied. If you've made partial overwrites or full overwrites to Celonis transformations, we’ll keep these in place.
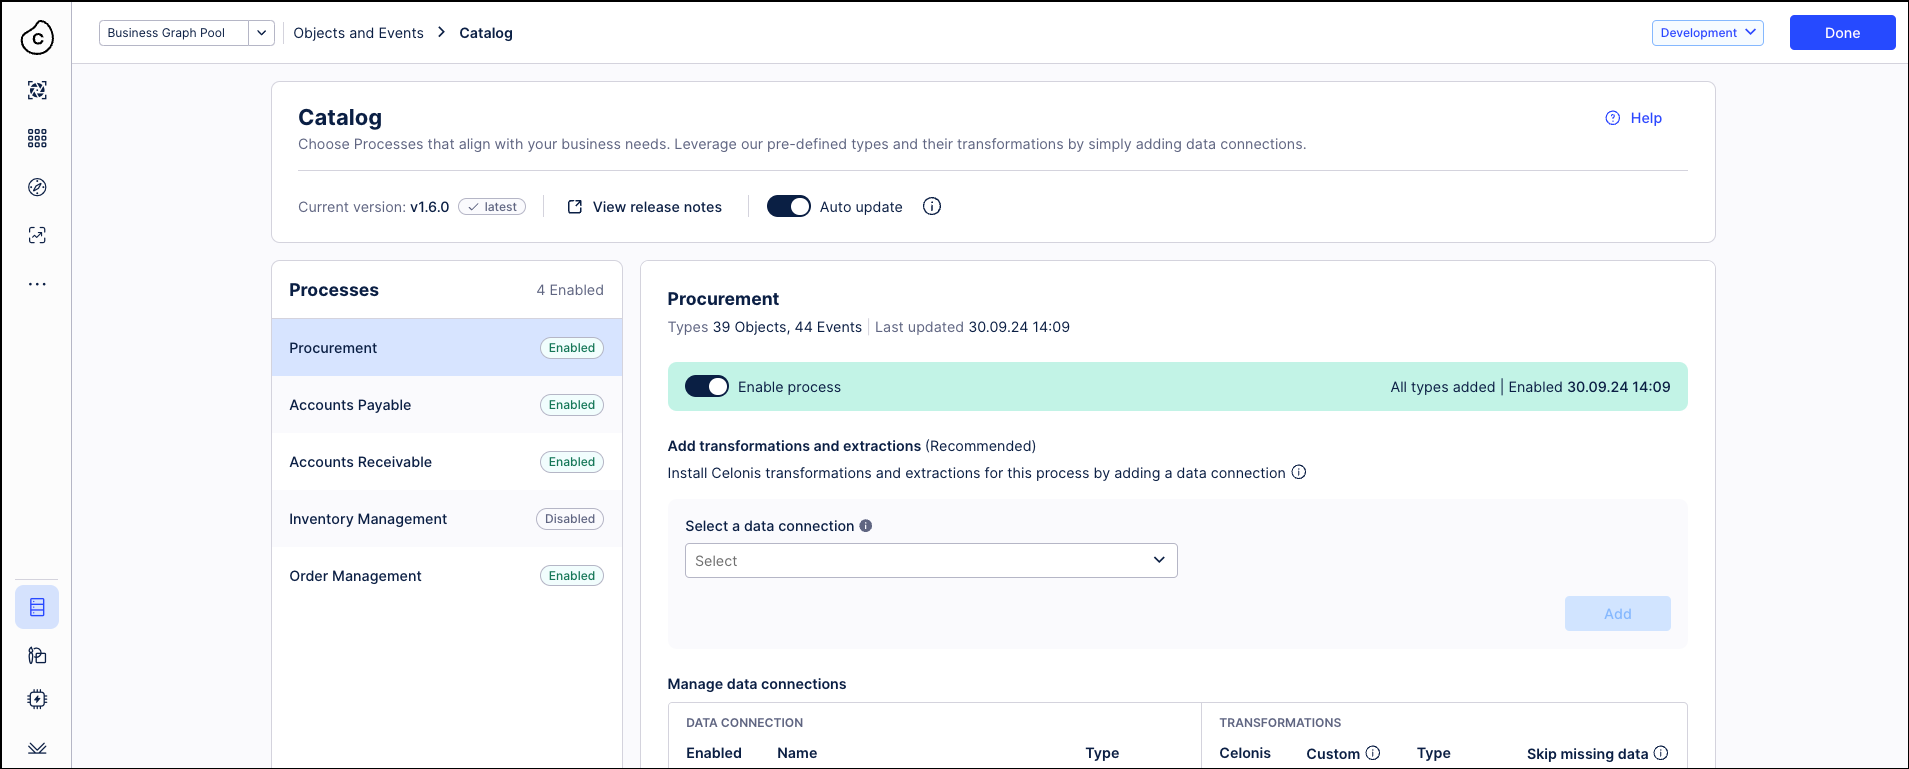
When a new version of the Celonis catalog is available, you'll see an update message on the Objects and Events dashboard next to the current catalog version, and an Update button on the Catalog page (select View catalog on the Objects and Events dashboard to get there).
If you want us to update the Celonis catalog items automatically whenever there’s a new version, use the Auto update toggle on the Catalog page to enable automatic updating. Automatic updates are off by default when you enable your first Celonis catalog process. If you decide to enable automatic updates, they'll apply to all Celonis catalog processes. We'll update all your Celonis catalog items whenever a new version is available, and we won't show the update messages on the Objects and Events dashboard.

If you want to keep automatic updates disabled, and update manually to the new version of the Celonis catalog when you choose, here's how to do it:
Click the Update button on the Catalog page. The update pop-up has a link to the release notes, which explain what's changed in this Celonis catalog update, and in any previous updates that you skipped.
Read the release notes, make a note of what's changed, and decide whether you want to apply the update now. There's also a link to the release notes on the Catalog page for later reference (View release notes).
Important
When you update the Celonis catalog version, the object-centric data model in your development environment will be changed. There may be behavior changes or new attributes. You can’t back out the update after it’s been applied.
Click Cancel if you don't want to update now. You'll still have the option available to update when you're ready.
Select Update catalog if you want to go ahead with the update. We'll apply the changes to the Celonis object types, event types, relationships, and transformations in the processes you've enabled, and also those you haven't enabled.
When the update has completed successfully, verify the object-centric data model in your development environment.
Check on the object types, event types, relationships, and transformations that were mentioned in the release notes.
If you've added any custom attributes or relationships to extend Celonis object types, check that these are still appropriate.
If you've made partial overwrites or full overwrites to Celonis transformations, they'll still be in place. Check that they are still appropriate and necessary after the update. In the case of a full overwrite, check if there are any new attributes for the object type or event type, and add SQL statements to populate them with data.
When you're happy with the results, select Publish > Publish to Development to publish the changes to the development environment. If you see any new error messages, recheck the items mentioned in them. If you're not sure how to fix them, see Contacting support to find how to get help.