Setting up Action Flows in Studio
Action Flows enrich the Celonis Platform platform by providing out-of-the-box integrations and intelligent automations to trigger actions in numerous operational systems like SAP, Oracle, and Salesforce.
Within Celonis Studio, you can build literally any automation - from sending out emails, managing files, updating sales orders in SAP, to simply getting data from various tools. Leverage the drag-and-drop builder to add any application to your automated workflows… and to automate any process of any complexity.
Note
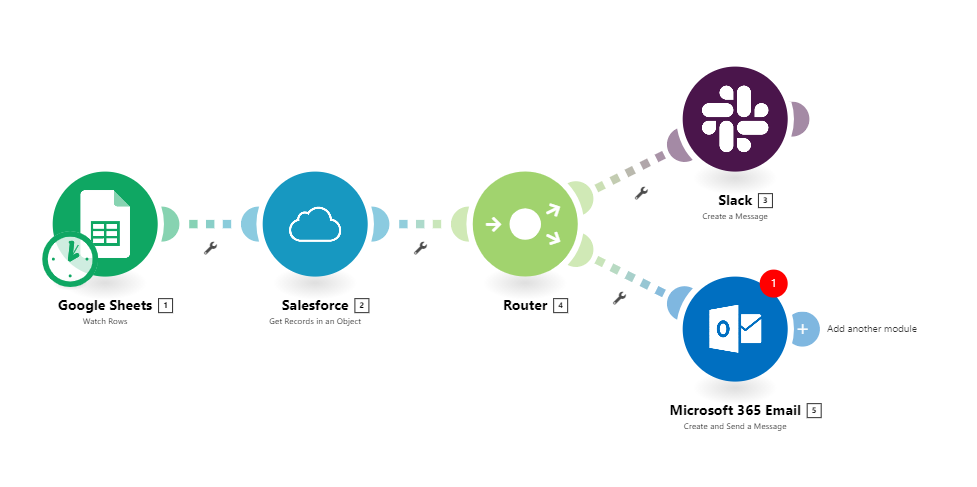
In simple terms, an Action Flow is a way to define an automated process flow. It consists of multiple events, decision points and alternative routes and it can involve an arbitrary number of different applications.
 |
Before you get started
Before you get started with Action Flows you should think about the following questions and topics to be prepared.
Which category does it fall into?
1. Communication (e.g. Notify when duplicate invoice detected) | 2. Productivity (e.g. Parse customer emails and update sales orders) | 3. Decision making? (e.g. Set payment block for duplicate invoice) |
Prepare a high-level outline of all the steps that will lead to your desired outcome. This could look the following way:
Query data.
Aggregate this data by a certain attribute.
Communicate this information in some way (email, Slack, MS Teams)
Which systems are involved in the flow you outlined?
1. Connection
| 2. For Microsoft Outlook e.g. which functionalities are needed? → Different authorizations are needed for different functionalities - which authorizations are needed: Create message - Microsoft Graph v1.0 | 3. What data is required for which action and in which format? |
In order to kickstart your Action Flow implementation, we provide frequently used templates. You can find specific use cases as well as snippets that you can use for different scenarios. The templates can be used as an inspiration for how key modules are connected in various use cases. See Action Flow Templates.
Setting Up Action Flows in Celonis Studio
Click the + icon next to your package and select "Action Flow".
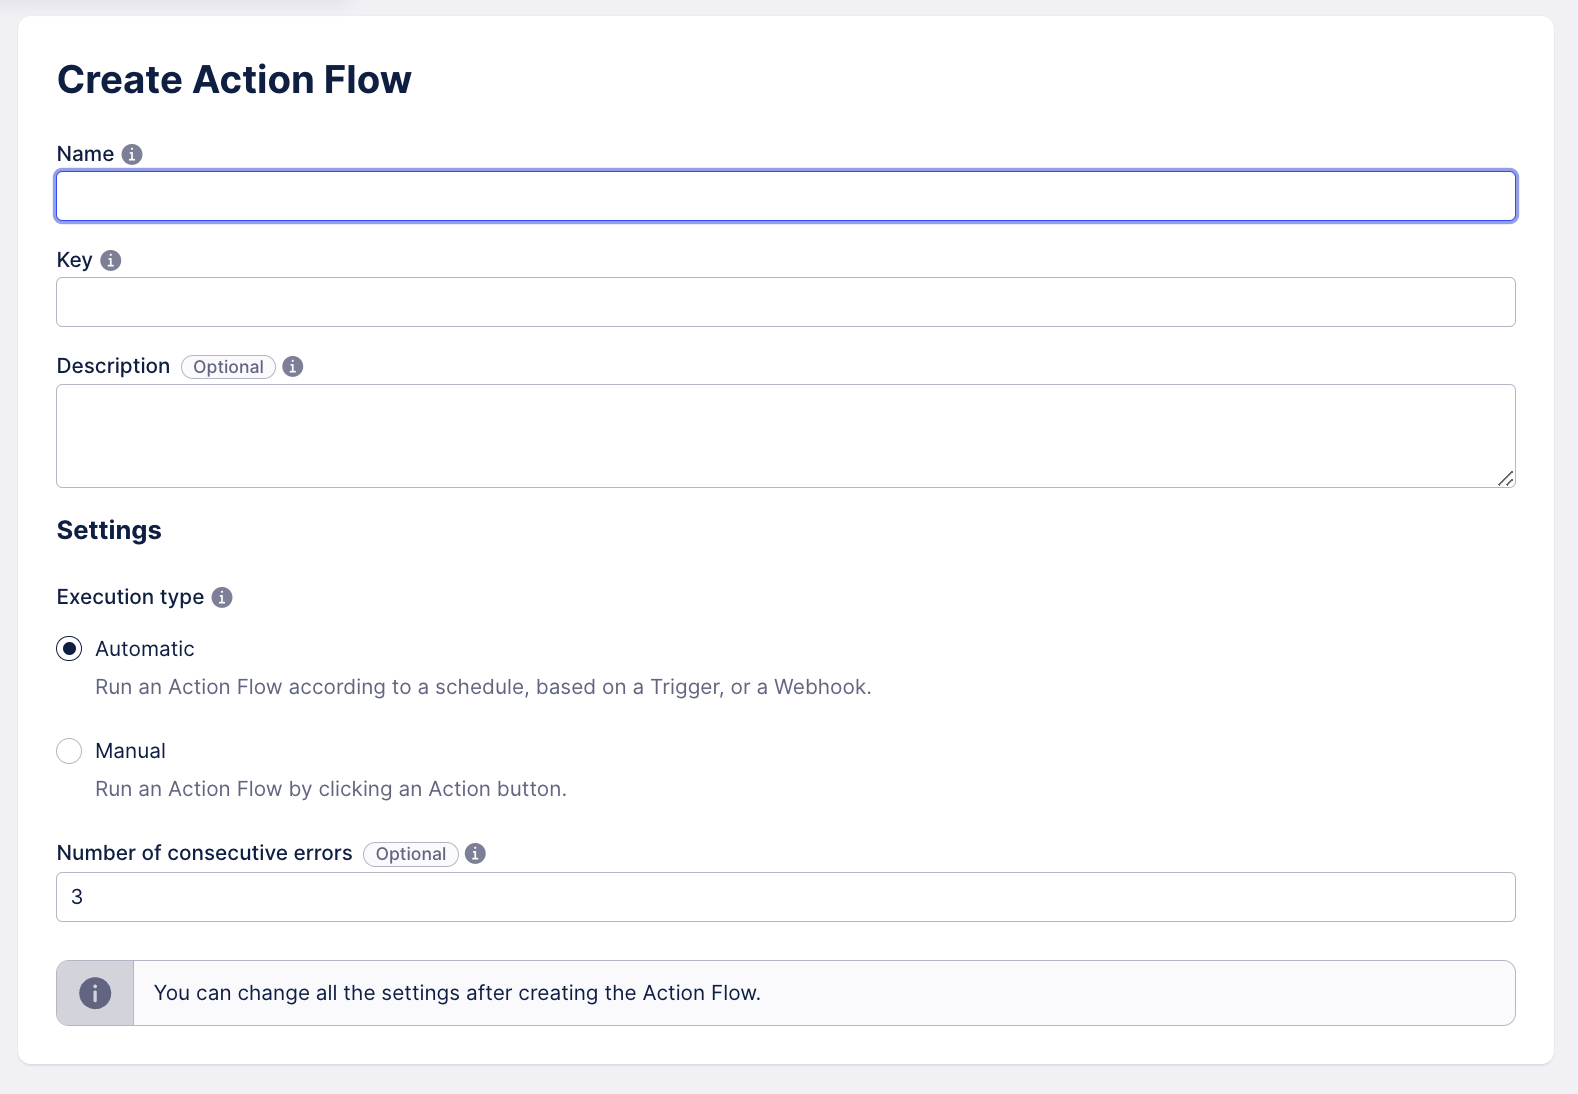
Give your Action Flow a name.
The key will be automatically created. This key is unique and can be used to refer to a specific Action Flow throughout the Celonis Platform.
(Optional) Add a description.
Select automation type:
Automatic - select this option if you want your Action Flow to run according to a schedule; the scheduling of the Action Flow is set to According to schedule.
Manual - select this option if you want your Action Flow to be started manually; the scheduling of the Action Flow is automatically set to On-demand.
(Optional) Set the number of consecutive errors after which the Action Flow will be disabled.
Click Create.
In general, Action Flows consist of five different module types:
Searches
Actions
Iterators
In addition, you can use a variety of different tools such as:
Filter
You can add any number of modules to your Action Flow and recreate any business logic needed.
Draft vs. Published
In the edit mode, you are working on your Action Flow in "draft" mode. As soon as the Action Flow is published, all changes are being pushed to the published version.
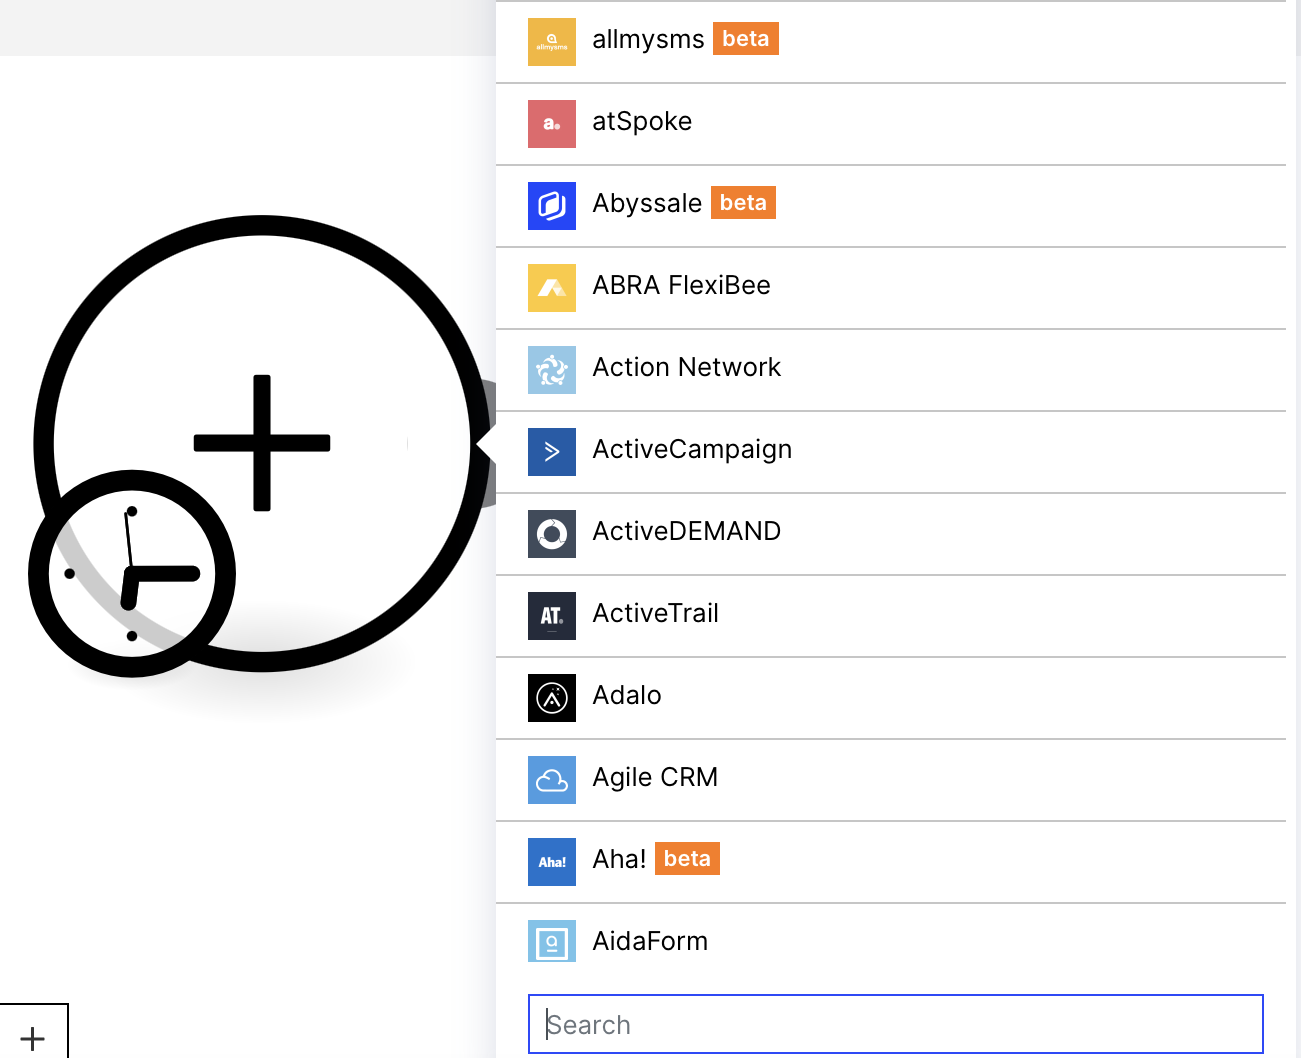 |
At any time during the creation process, you can run your Action Flow manually to test single modules or the entire Action Flow.
 |
Publishing is necessary to activate the Action Flow for the first time and after making any changes to the Action Flow.
For information on scheduling Action Flows, see Scheduling.
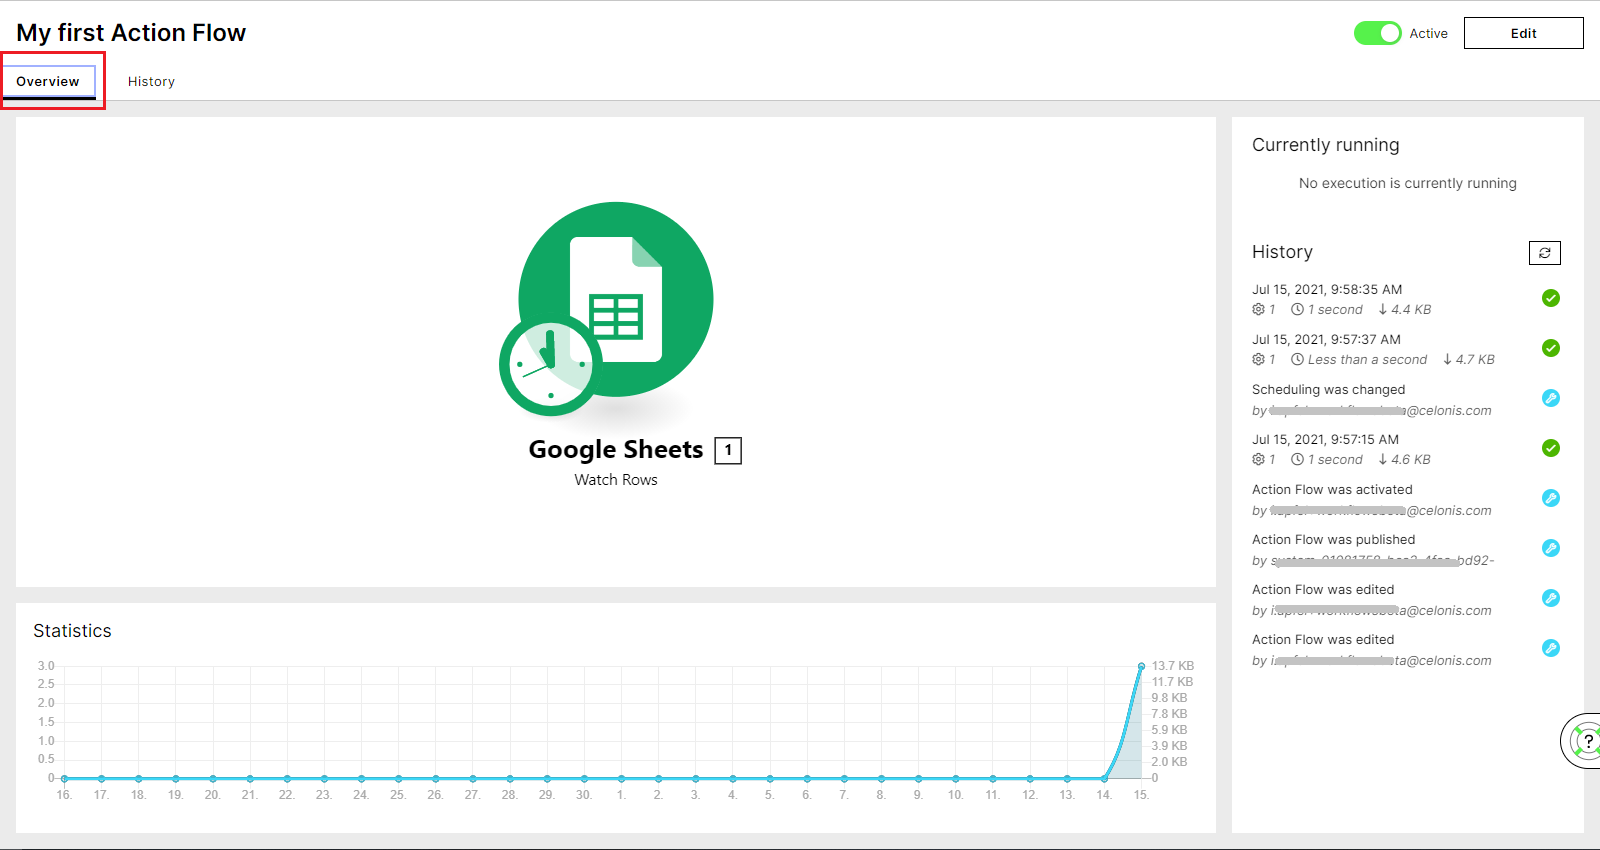
The Overview shows you your currently published Action Flow and provides:
information about currently running executions,
a preview of the execution history based on UTC+00 time zone,
and high-level statistics on your executions over time.
Log retention time
Logs are stored for 30 days inside the Celonis Platform.
 |
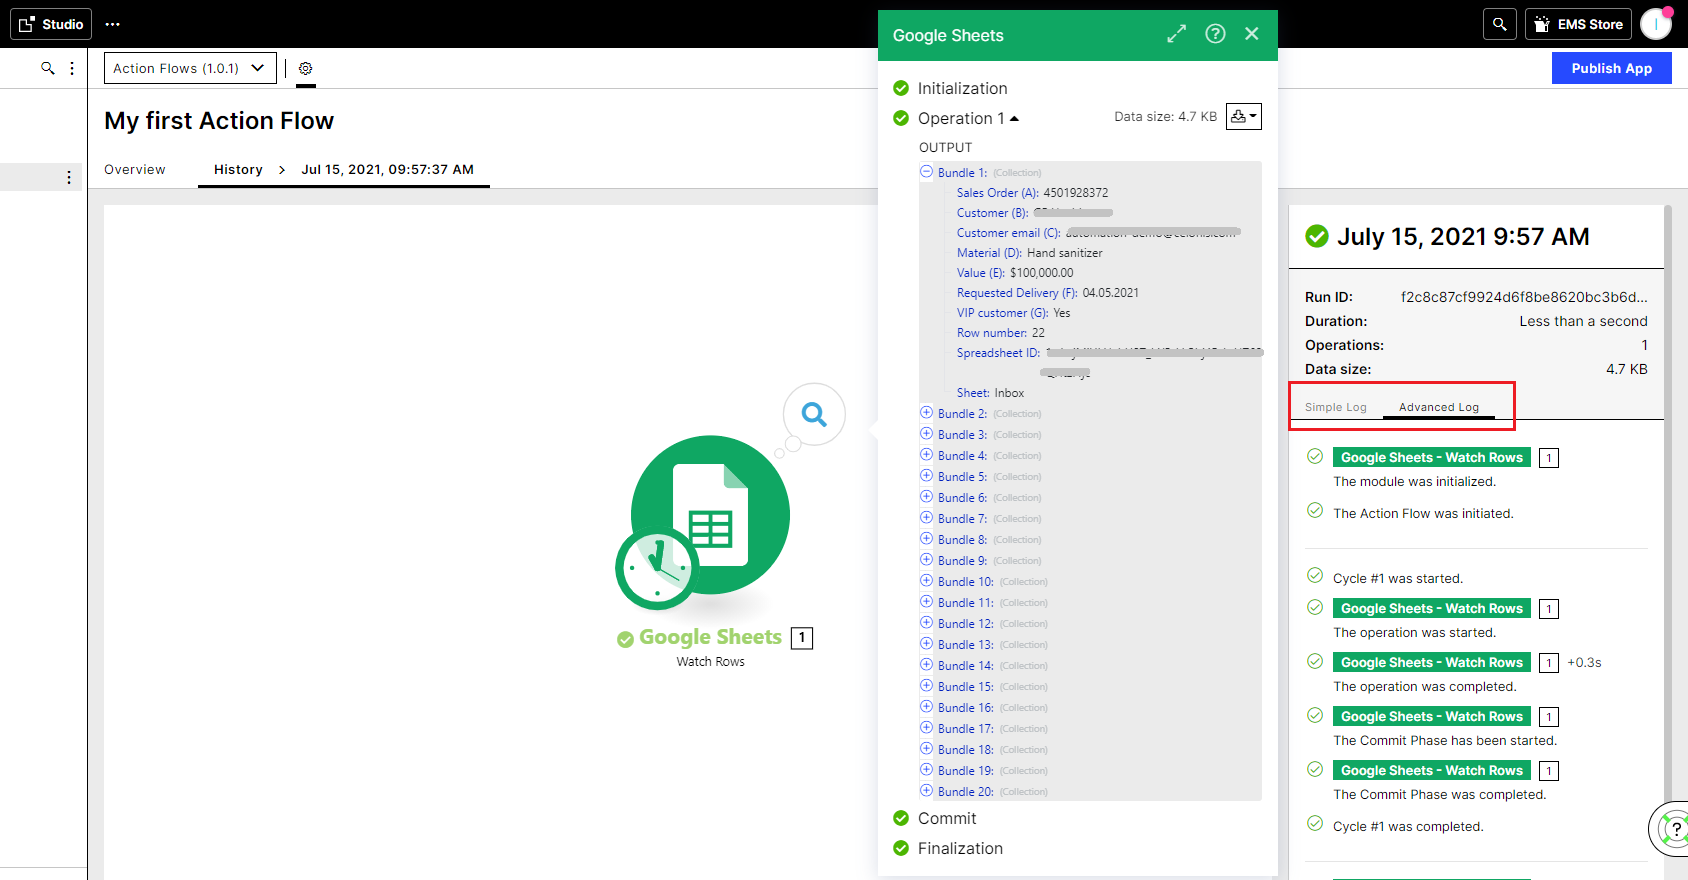
For more detailed information, you can go to the History to deep-dive into every single execution.
 |
 |