Creating and extending perspectives
Create custom perspectives to filter your object-centric data model and isolate specific object types, event types, and relationships for targeted analysis.
Modeling a custom perspective focuses your process mining on a specific operational scope without altering the underlying global data model. For example, building a procurement-focused perspective that pairs purchase orders with invoice events isolates bottlenecked approval cycles while ignoring unrelated inventory or shipping data.
Event log creation is moving
Event log creation in the Perspective Builder is being discontinued. To avoid workflow interruptions, configure your event logs using the Knowledge Model experience.
To start using the event log builder, see: Event logs (object-centric).
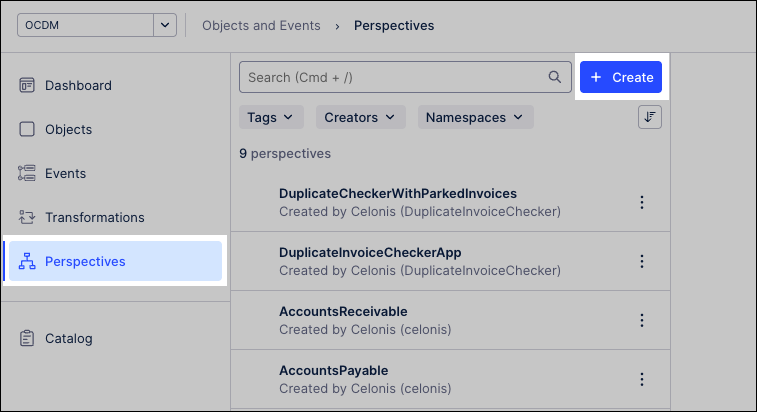
To create a custom perspective from the Object and Events dashboard:
Click Perspectives.
Click + Create Perspective.
Enter a Perspective name and click Create.
Perspective names must begin with a letter and contain only alphanumeric characters.
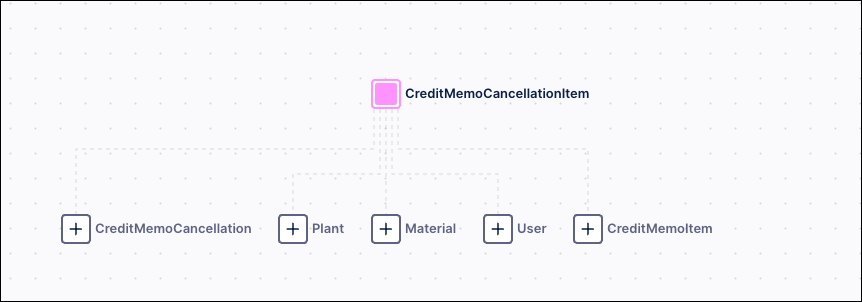
In the Objects panel, search for and select your root process anchor. For example, select Purchase_Order to serve as the foundational object for a procurement analysis.
Build your perspective graph outward by clicking + on the suggested adjacent object types. For example, select Invoices to map downstream billing data directly to your purchase orders.
Select the link between your object nodes to configure the Linking Strategy. For example, choose a 1-to-Many mapping to ensure each individual invoice line item correctly aggregates back to its parent purchase order.
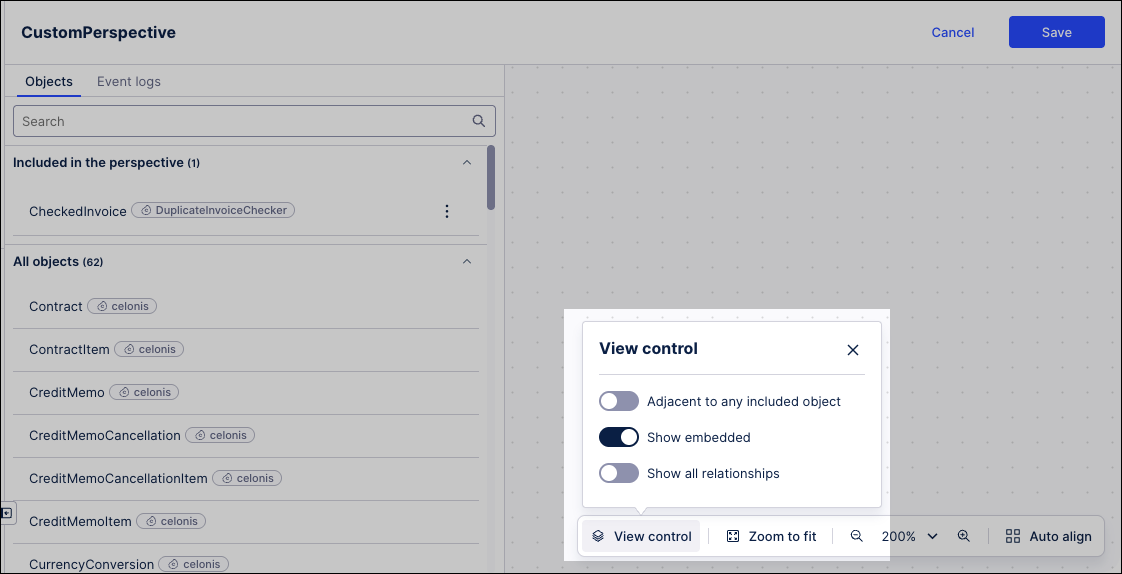
Add context-only nodes to break closed-loop relationships or to add detail without expanding the primary graph by incorporating embedded objects. For example, add Vendor as an embedded object to include supplier details without creating standalone event logs or expanding downstream relationships.
To remove unnecessary context from your graph, click the target object node and click Exclude. Excluding an object automatically removes its embedded copies and drops any event logs where it acts as the primary root object.

Configure your layout preferences using the View controls, then click Save.
The perspective appears in the list of perspectives in the Perspectives view. To make further updates, select the perspective name and click Edit.
Create a new version of your object-centric data model and deploy it to development or production to make this perspective available for use.
Extend standard out-of-the-box perspectives to adapt them to specific business requirements without altering the underlying data model. Add custom KPIs, dimensions, filters, and visualizations on top of standard content to adapt out-of-the-box perspectives.
To extend perspectives from the Objects and Events dashboard:
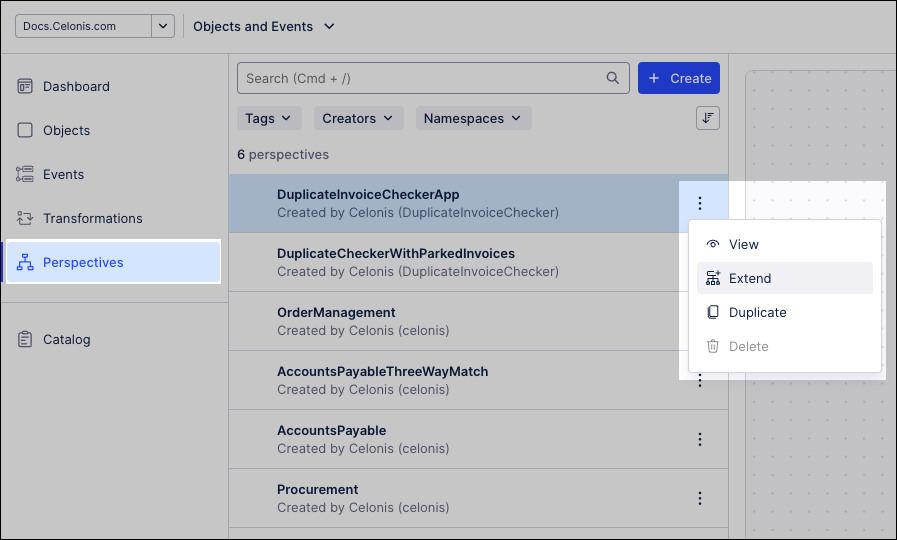
Click Perspectives.
Locate the perspective to modify, click Options, and select Extend.
Enter an extension name and click Next.
Modify the graph by adding new object nodes, defining relationships, or setting up custom KPIs tailored to your extended use case using the modeling tools described in Creating custom perspectives.
Click Save.
Your extended perspective appears in the list of perspectives in the Perspectives view. To make further updates, select the perspective name and click Edit.
Create a new version of your object-centric data model and deploy it to development or production to apply your extensions.
Leverage display names to use custom, business-friendly terminology instead of technical system names across your object and event types. Aliases support corporate terminology standards and make technical names human-readable without altering the underlying data labels.
To configure aliases for your perspectives from the Objects and Events dashboard:
Click Perspectives.
Locate the target perspective, click Options, and select Enable display names.

Open the perspective, locate the object to rename, click Options, and select Edit display name.
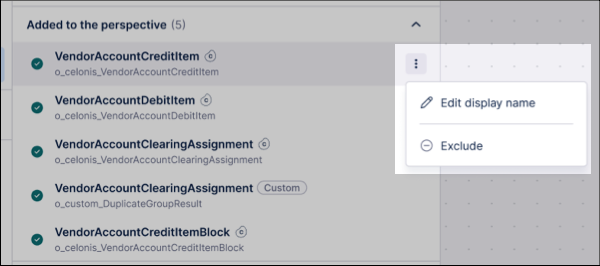
Enter the new terminology in the name field and click Accept to confirm.
The perspective displays your custom alias instead of the default system name.