Machine Learning Components
Analysis - Maintenance only
Effective August 1st 2025, Analysis features can no longer be purchased as part of a Celonis Platform license. Celonis continues to maintain Analysis (by fixing bugs and ensuring that performance remains strong) but no further feature development will take place.
You can migrate your existing Analysis assets to our enhanced Studio Views, giving you access to our intuitive View creation capabilities. To learn how to migrate your existing Analysis to Studio Views, head to: Migrating Analysis to Views.
And for an overview of our enhanced Studio features, see: Studio feature availability matrix.
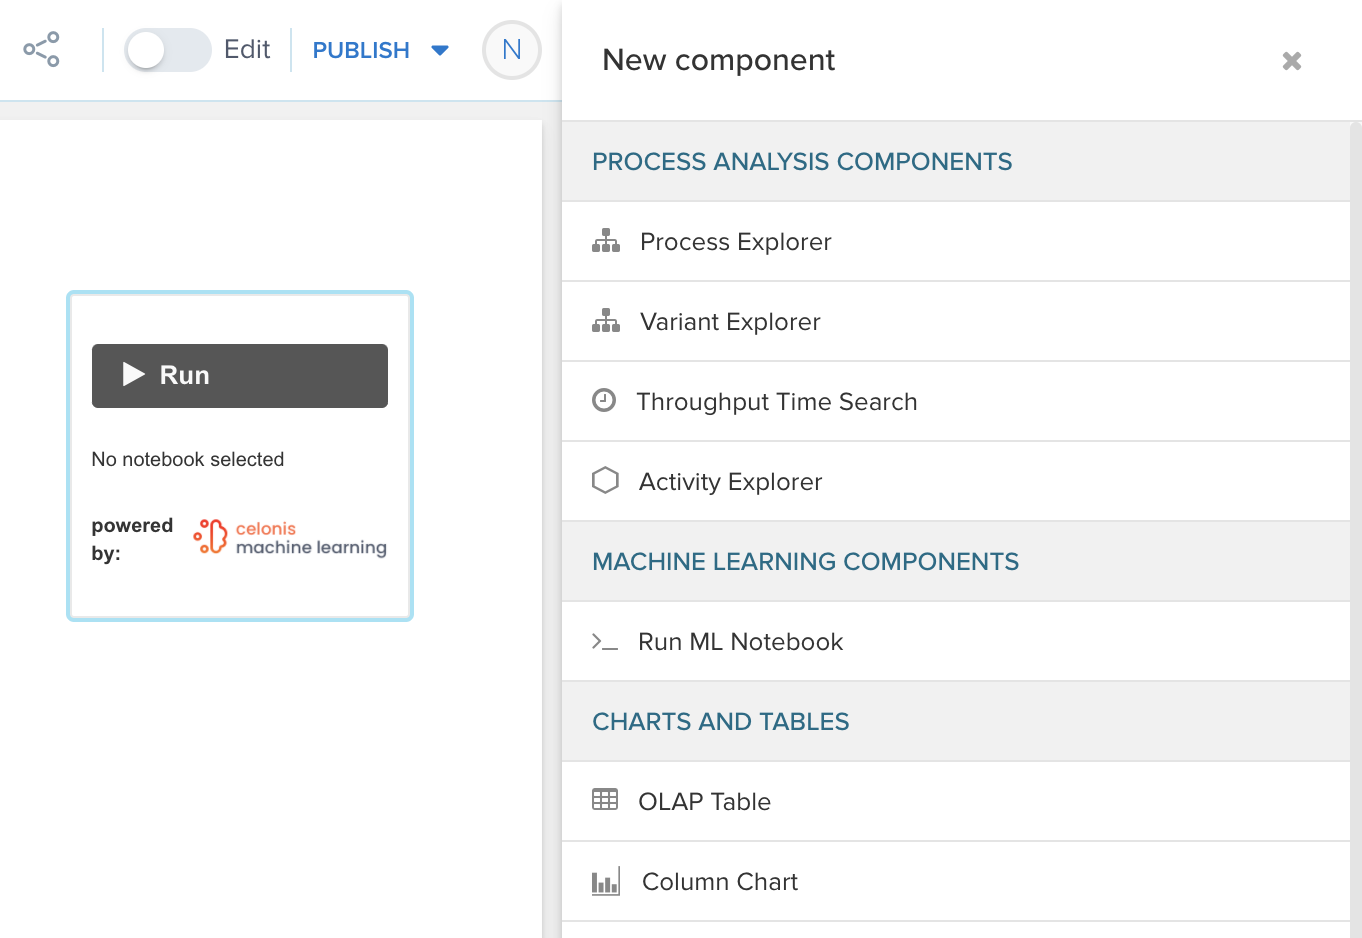
Run ML Notebook Component
Note
The "Run ML Notebook" component allows you to trigger a Jupyter Notebook from inside the Analysis UI. This allows you to extend your Analysis with custom calculations, e.g. running an automated Root Cause Analysis, where the calculations happen in Python and the results are shown to the Business User in the Analysis UI.
 |
Settings
After dragging the component into the canvas, select the name of the Workbench and the Notebook inside this Workbench that you want to run. After that, hit the run button on the component and the Notebook is executed.
Passing Parameters
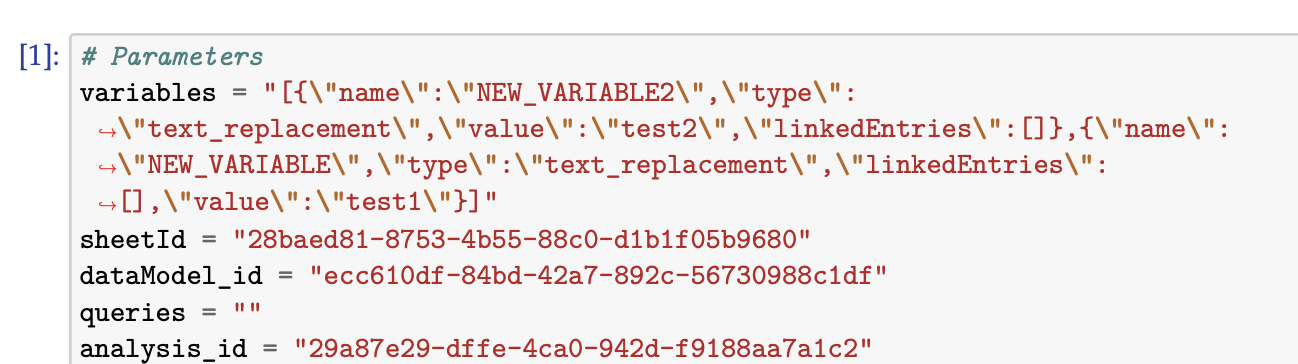 |
When you press the run button, the component is passing a couple of parameters to the Notebook which can be used in variables in Python. The parameters are:
variables: Passed as JSON string. Note: When passing PQL as a variable, you need to evaluate it on the Python side with pycelonis. Refer to the pycelonis documentation here.
sheetId: This is the identifier of the Sheet where the component was executed from.
dataModel_id: This is the identifier of the Datamodel that is used in the Analysis.
queries: These are the user selections (filters) that are applied at the time the execution was started.
analysis_id: The identifier of the Analysis.
Using Parameters in a Jupyter Notebook
 |
When developing your Python code, you can define default values for the parameters. To do this, tag the first cell of your Notebook with the Tag "parameters" and set default values in this cell. While developing and running the code from Jupyter, these values will be used. When you are calling the Notebook from the ML component, the default values will be overwritten by the ones passed by the component.