Creating and managing enhanced Knowledge Model variables
Enhanced Knowledge Model variables allow you to centrally create and manage information that is referenced and reused across Views where that Knowledge Model is in use. As with enhanced View variables, you can use enhanced Knowledge Model variables in buttons, KPI lists, tables, and input dropdowns.
Enhanced Knowledge Model variables can be created either directly in the Knowledge Model or using the PQL editor.
 |
To create enhanced KM variables within a View:
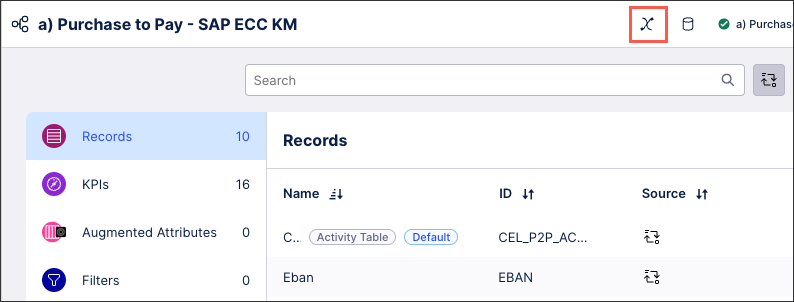
Open the PQL editor using View components where data fields can be selected:
By clicking the PQL editor button directly; or
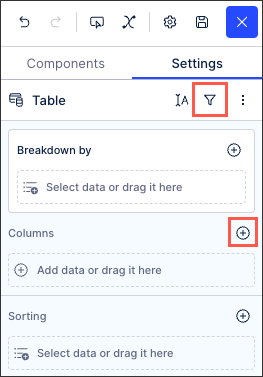
Adding data to a setting (such as a table column).
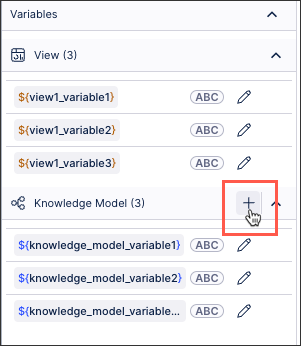
In the Knowledge Model variable section, select Add.
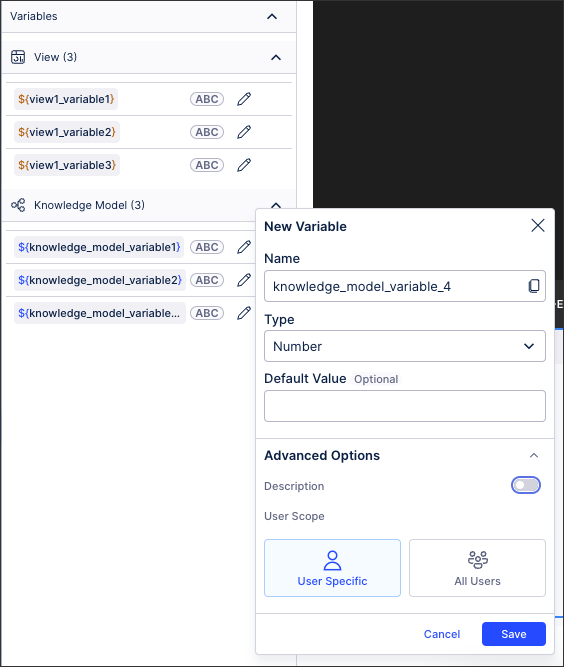
Enter a variable name, select a variable type, and optionally enter a description.
Key: This should be a unique ID, allowing for the variable to be referenced across components. Avoid using special characters here.
Your variable key can then be referenced in your View as:
${KEY}Type: Choose between string (text), number (#), boolean (true /false), and object.
For object variables, see: Object variables.
Default Value (optional): This is the value that will be referenced unless otherwise stated.
Optional: Enable Advanced Options and enter a variable description and choose the variable and user scope.
Description: Provide further information here, giving your team added context where needed.
Variable Scope: Choose whether this variable is saved at a View level only, within the knowledge model (which can be referenced by all Views created using that model), or for all assets within the existing package.
User Scope: Choose whether this variable is specific to your account or is available to all users in your team.
Click Save.
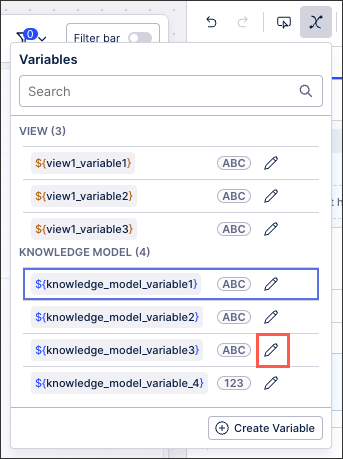
Your enhanced Knowledge Model variables display in the variables menu for all Studio assets using this Knowledge Model.
Click Edit to edit or delete an existing variable.
An input box saves a value that is entered manually by a user, with that value then used throughout your View. You can save the input value as either a View variable or a Knowledge Model variable. This variable can then be used in other components to adjust the View, based on the manual value entered by the user.
In this example, the input box allows users to enter the minimum net value:
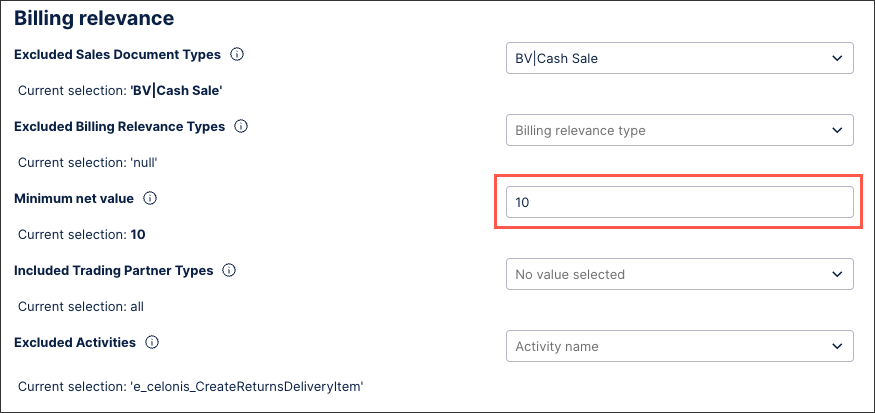 |
This input box example is configured by saving the user input as a Knowledge Model variable. In this case, the variable is a number type:
${minimum_value_threshold_unbilledcurrency)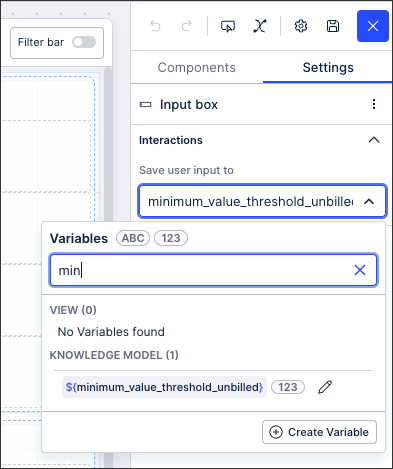
This variable can then be used in other components, such as a text box:
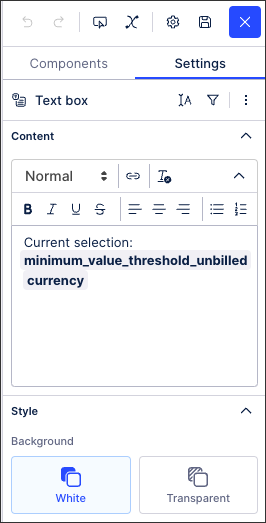
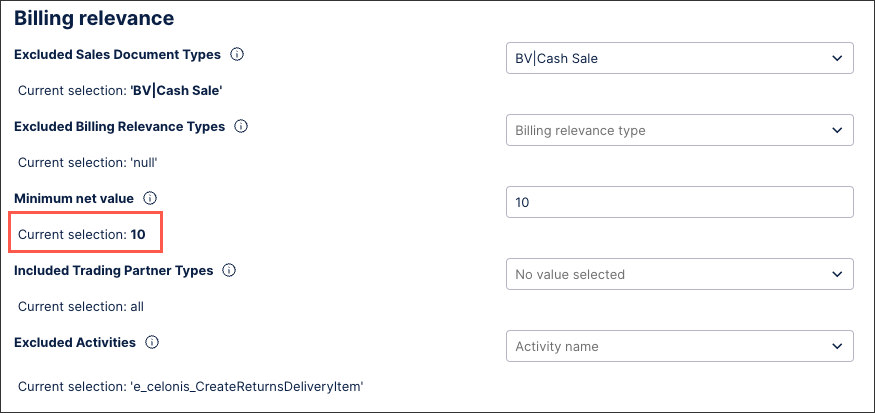
The published version of the app displays the value entered (10):
 |