Actions in Celonis Platform
Actions are shortcuts for running predefined tasks, like executing an Action Flow or sending an email, which can be added as a button to your Studio element.
![]() |
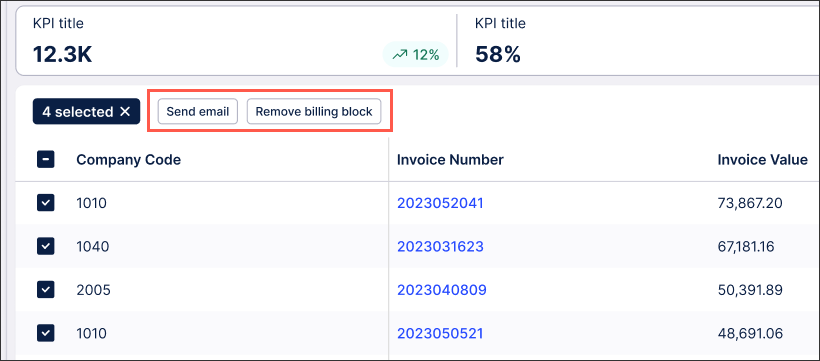
An example of an action button in a table.
Here’s a complete list of all actions available in Celonis Platform:
Run Action Flow - execute a selected Action Flow.
Send email - send customized email directly from Celonis Platform.
Update Augmented Attribute - manually update the value of selected augmented attribute column.
Open URL - open URL in a new tab.
Different Actions can be available depending on Studio element you want to add them to. Here’s a list of Studio elements to which you can add actions.
Action | Table component | Button component | Task Type |
---|---|---|---|
Run Action Flow | ![]() | ![]() | ![]() |
Send email | ![]() | ![]() | ![]() |
Update Augmented Attribute | ![]() | ![]() | ![]() |
Open URL | ![]() | ![]() | ![]() |
Adding Actions to Studio components
In Celonis Platform, go to a selected View.
Select an existing component to which you want to add an Action or drag and drop that component from the component menu. For the list of component to which you can add actions, see the table before.
In the component settings, expand the Interactions section and click Add Action.
Select the action you want to add to the component.
Configure your action and click Done.
You can edit this Action at any time by returning to the table settings and clicking the Edit button.
Select the Action Flow to be executed when the action button is clicked.
If the select Action Flow requires an input, you can define expected input type using free text option or a drop list.
Give your Action button a name.
(optional) Add a tooltip to the Action button.
The run Action Flow action has now been configured. You can edit this action at any time by returning to the table settings and clicking the Edit button.
Create template for your email - enter recipients, subject, and body text.
When creating an email template, you can insert dynamic placeholders into the body text.
Give your Action button a name.
(optional) Add a tooltip to the Action button.
The send email action has now been configured. You can edit this Action at any time by returning to the table settings and clicking the Edit button.
Using table actions, you can update augmented attributes when interacting with them in a published View. With the attributed selected, a customizable button appears above the table, allowing you to update values in real-time.
Augmented attributes are a Knowledge Model asset that can be updated in real-time and without the data model reloading. For more information, see Augmented attributes.
Select the augmented attributes you want to update from those available and then personalize the action button.
Click Done.
The update augmented attribute button has now been configured. You can edit this Action at any time by returning to the table settings and clicking the Edit button.
Enter the full URL.
Give your Action button a name.
(optional) Add a tooltip to the Action button.
Adding actions to tasks
In Studio, next to your package, click the More Actions button and select Task Management.
Find the Task Type to which you want to add an action and click Edit. If you don’t have any Tasks, start with creating one. See Creating Task Types.
In the Action buttons section, click Add.
Click Next and Save
You’ve added an action to a Task. For your changes to take effect, you must publish the Task.