Configuring tasks and actions for the object-centric AI Credit Blocks Manager app
The AI Credit Blocks Manager app manages tasks and actions using Studio’s Task Management function, which you access by clicking the list icon in the top navigation of any Studio page. You can customize the supplied tasks and actions as you want, remove them, or add your own custom actions. The tasks are activated by triggers in the app’s Knowledge Model, and you can edit the triggers to change what they monitor and what objects they apply to.
The AI Credit Blocks Manager app comes with these tasks:
Remove credit block
You’ll need to configure the email template for the Send Email action. It opens a prepopulated email in the user’s email client for them to send.
Here’s how to configure the app’s tasks and actions:
In the Celonis navigation menu, select Studio.
In the Studio overview, find the App Name app in the space where you installed it, and click its tile to open it in Studio.
Click the Task Management icon (the list) in the Studio top navigation to see the list of tasks for the app.
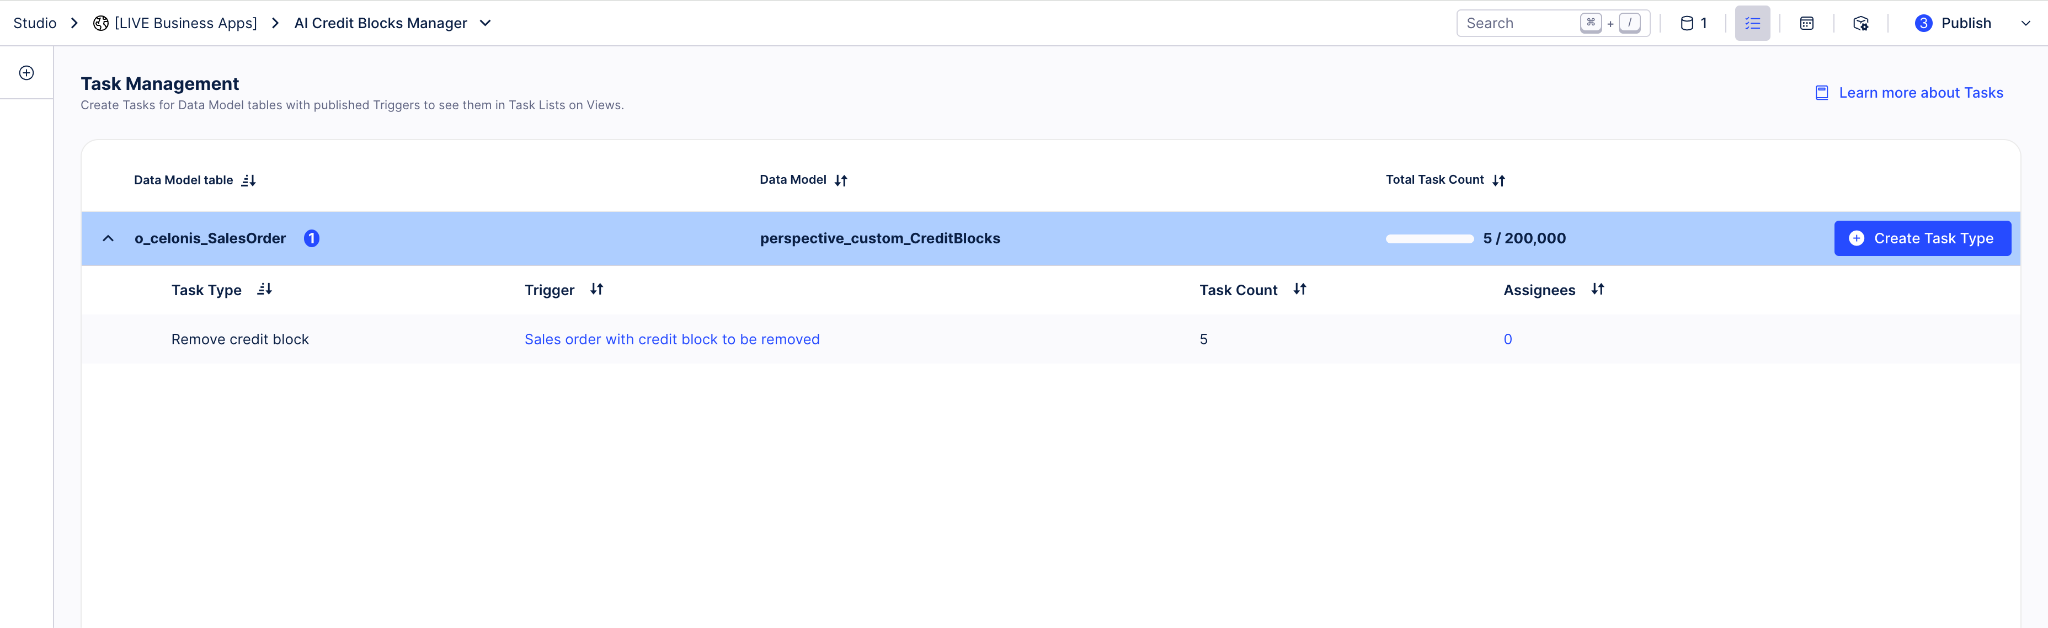
In the list of tasks, find the one you want to edit, and click the edit icon (the pencil) next to it.
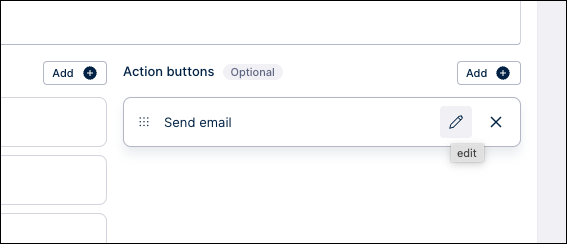
Hover over the action button that you want to edit, and click the edit icon (the pencil) that appears.
Customize the action as you want, then click Next.
Customize the button name and tooltip to reflect any changes you made, then click Done.
Click Next to preview the task, verify the results, then click Save.
To check or edit a trigger, click its name in the Task Management listing. Or you can go to the Knowledge Models folder in the app navigation and select “Knowledge Model”, then select the Triggers section of the Knowledge Model to see the list of triggers for the app.
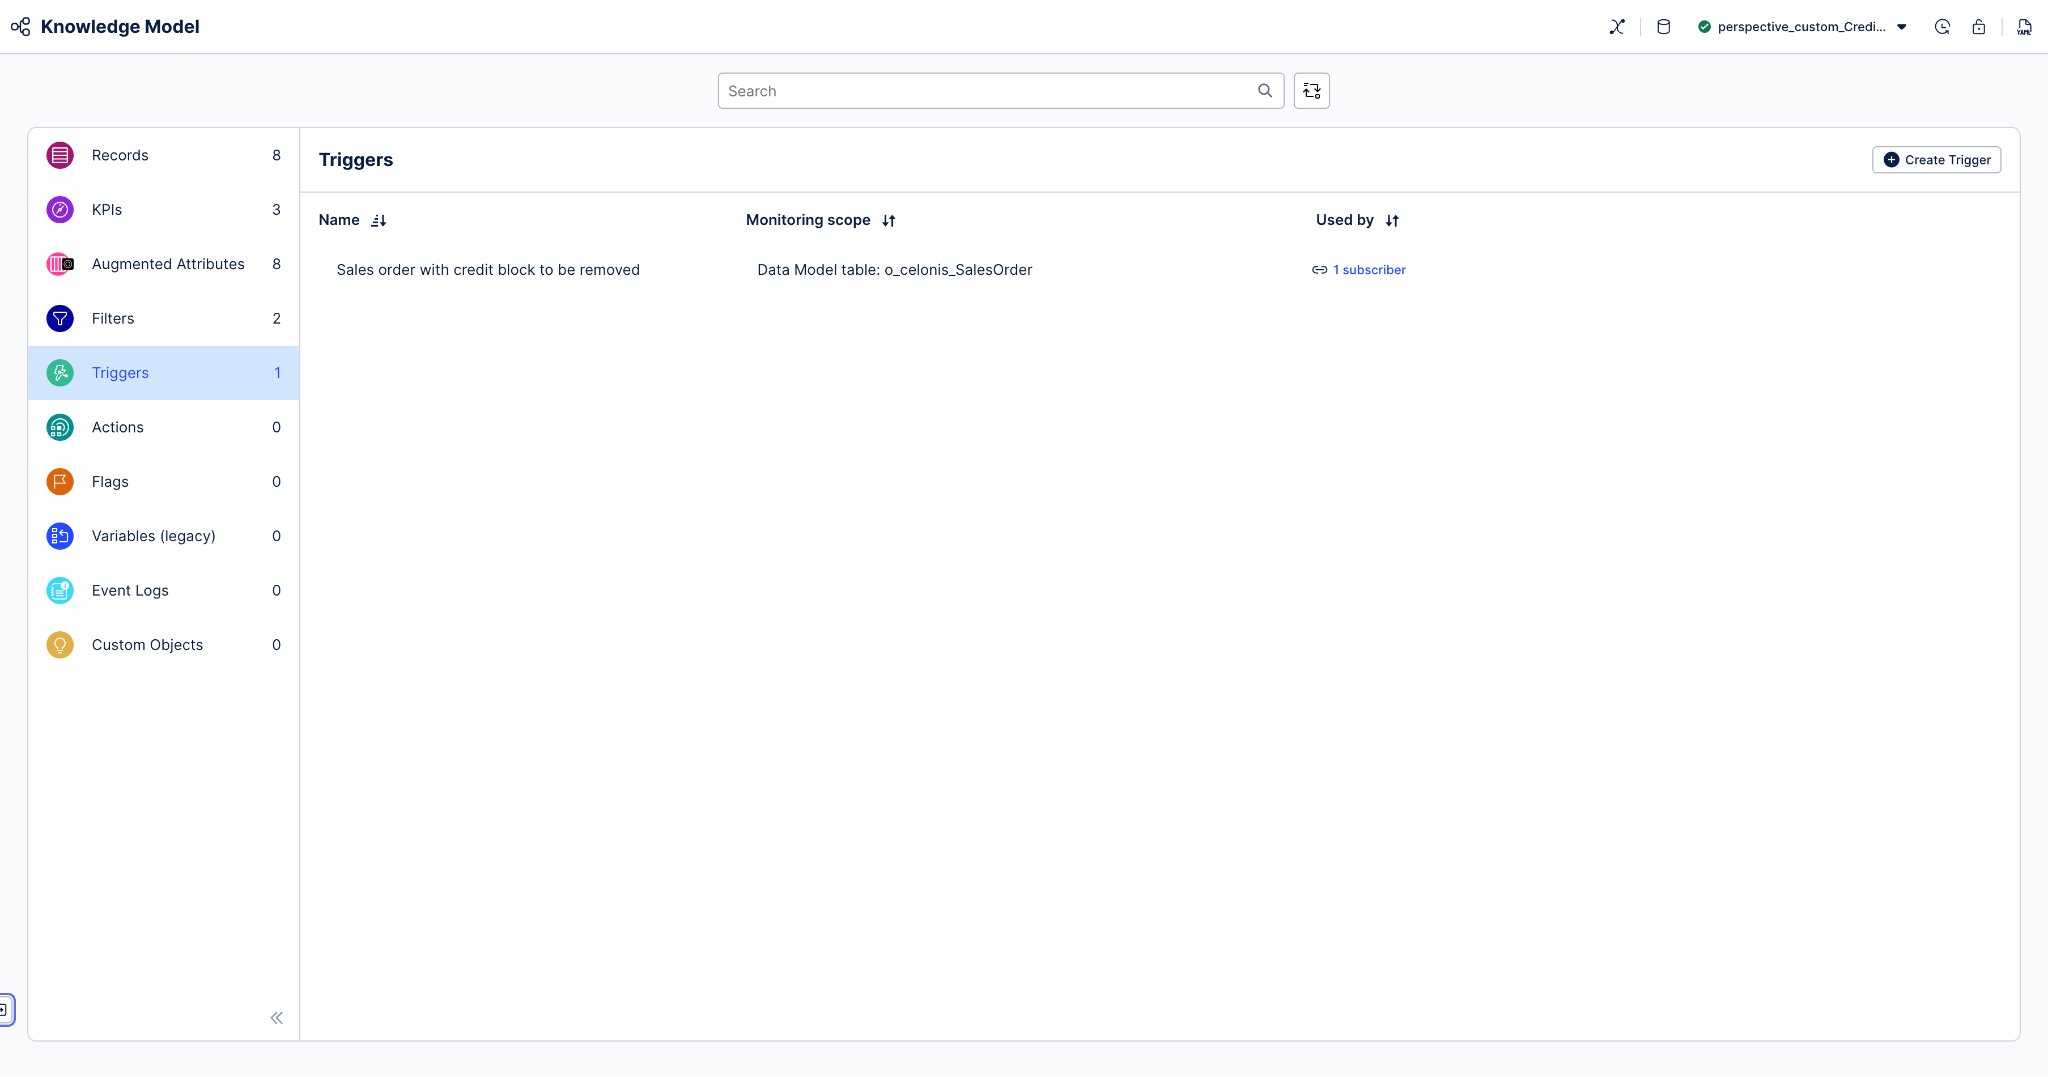
Select any trigger that you want to edit. You can add columns with data for the trigger to monitor, and apply filters to define which objects trigger the task.
Tip
The Filters section of the Knowledge Model has saved filters that you can use or edit. Or you can create filters while you’re editing the trigger. Filters has the instructions to work with filters in the Knowledge Model.
When you’ve made all the customizations you want to the tasks and actions, use the Publish button at the top of the screen in your Studio space to publish a new version of the app.
The AI Credit Blocks Manager app has two predefined actions, Update comment and Send Email. You can customize and extend these, or remove them if you don’t want them. You can also create additional actions for a view component by selecting Add Action in the Interactions section of the component settings (Actions in Celonis Platform explains how). [link is to topic “New Studio Actions”]
Here’s how to configure the app’s Send Email action, as an example:
In the Celonis navigation menu, select Studio.
In the Studio overview, find the AI Credit Blocks Manager app in the space where you installed it, and click its tile.
In the left navigation, select the AI Credit Blocks Manager app’s Action View.
Click the Edit View icon to enter edit mode, then click the “Sales Order” table component to edit it.
Go to the Interactions section of the settings pane, and click the “Send email” action to update it.
In the configuration window, keep Launch default email program (Mailto) as the default delivery method, then click Next.
Edit the default email template. You can insert columns from the table component as placeholders in the email. When you’ve finished the edit, click Next.
Customize the action button if you want to, then click Done.
Click the Save icon to save your changes, and click the Exit Edit Mode icon to lock the view.
Click the Publish button to publish a version of the app package.