Migrating Legacy Views to Views
Legacy Views are Views that were created in Studio before May 2024. As Legacy Views are no longer being developed or enhanced, you should migrate your Legacy Views to Views to benefit from ongoing updates and improvements.
Before migrating Legacy Views to Views
Legacy Views are migrated to Views at Studio package level.
We recommend migrating each package and its assets in full before migrating your next package. You should also identify which Legacy Views are most important in terms of usage as these should be migrated before any detail or profile Views.
Tip
You can use the Platform Adoption Monitor app to evaluate asset usage. It may also help you define the scope and prioritization of your Legacy View to Views migration.
We also recommend cleaning up the assets in your package using the following approach:
Knowledge Models:
Migrate custom records (records that are not auto-generated) to standard records.
Ensure KPIs are metrics/aggregations.
Leverage calculated attributes for any new dimensions added to your records; this will let you refer to them in PQL as any standard table column).
Data Models:
Ensure all Data Model tables have identifiers; this helps ensure the correct migration of tasks and augmented attributes as in Views these are linked to Data Model tables rather than Knowledge Model records.
Delete any unused:
Legacy Views.
Legacy assets.
Variables.
You should also check the unsupported components, features and capabilities before proceeding.
Unsupported components, features, and capabilities
Note
For information about supported Legacy View features, see the Studio feature availability matrix.
You can't currently migrate the following Legacy View components to Views:
KPI driver analysis.
Task mining components.
Legacy View to View migration options
You can choose from three different migration options when migrating Legacy Views to Views:
Fast-track migration (default): Automatically migrates Legacy Views and supported features using default settings. This is the most commonly-used migration option.
Custom migration: Lets you choose which connected views, components, and variables are migrated. Recommended for your first migration so you can familiarize yourself with the specific options available and adjust the default settings if necessary.
Individual component migration: Lets you migrate individual components by manually copying them. Use this option to migrate a specific component in a Legacy View to an existing or new View only.
For a quick overview of the fast track and step-by-step migration options, check out our Academy video (2 mins 52 secs).
To use the fast-track migration option:
Open the Studio package containing the Legacy View you want to migrate.
From the Legacy View asset, click Options > Migrate View.

Select Default migration and click Next.
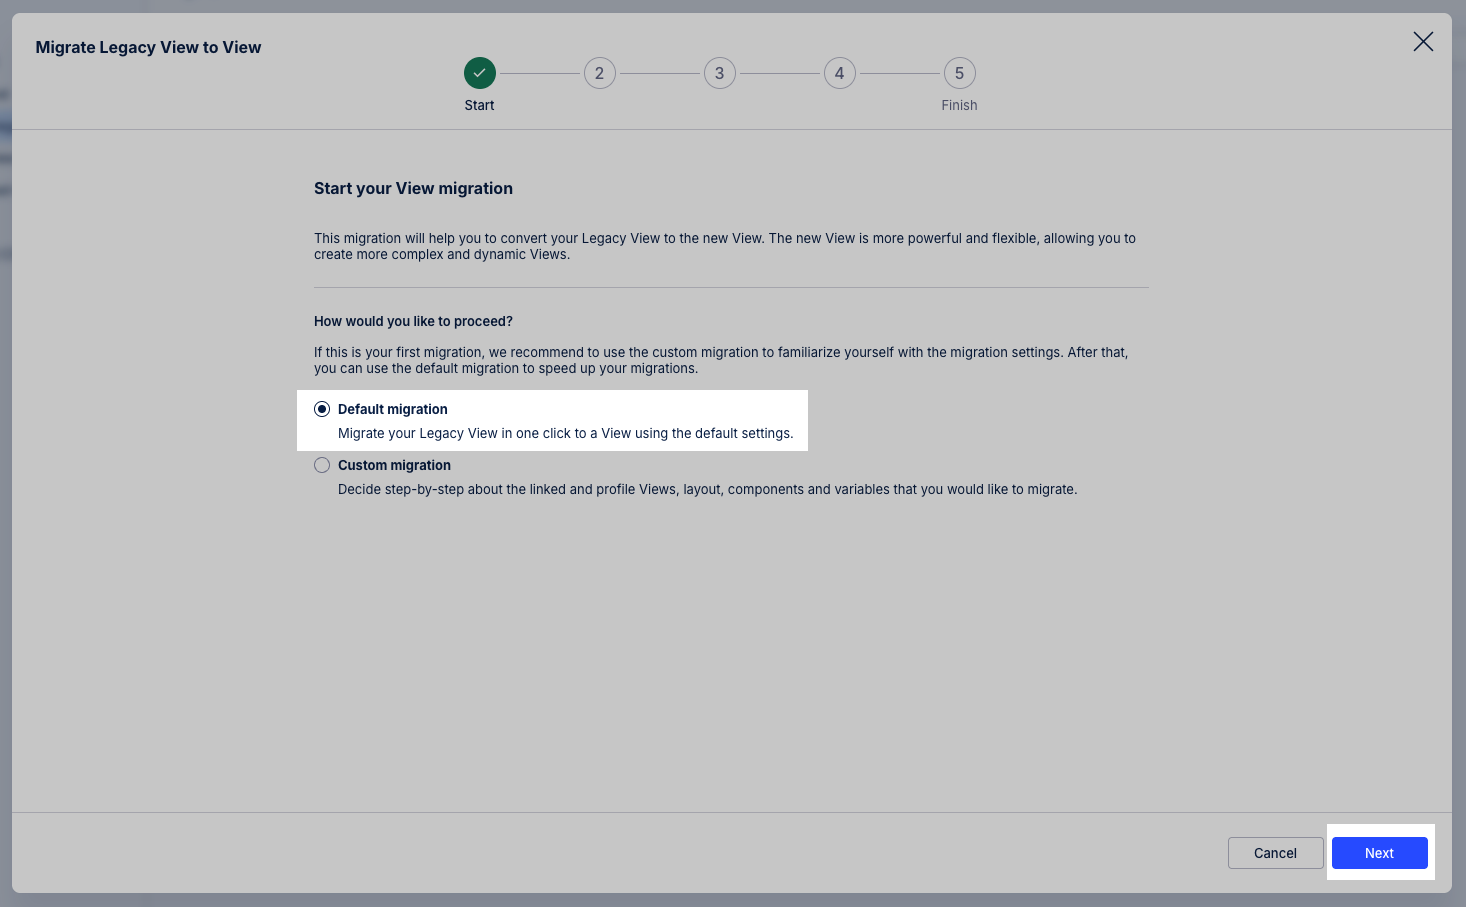
Review the migration and optionally add a View name.
If you don't enter a View name, the default View name will have this format: (Legacy View Name) (Migrated).
Click Confirm.
A migrated copy of the Legacy View is created in the Studio package. The Legacy View is also still available in the Studio package so you can validate your migrated content before deleting the Legacy View.
Perform the steps in After migrating Legacy Views to Views.
To use the custom migration option:
Open the Studio package containing the Legacy View you want to migrate.
From the Legacy View asset, click Options > Migrate View.
Select Custom and then click Next.
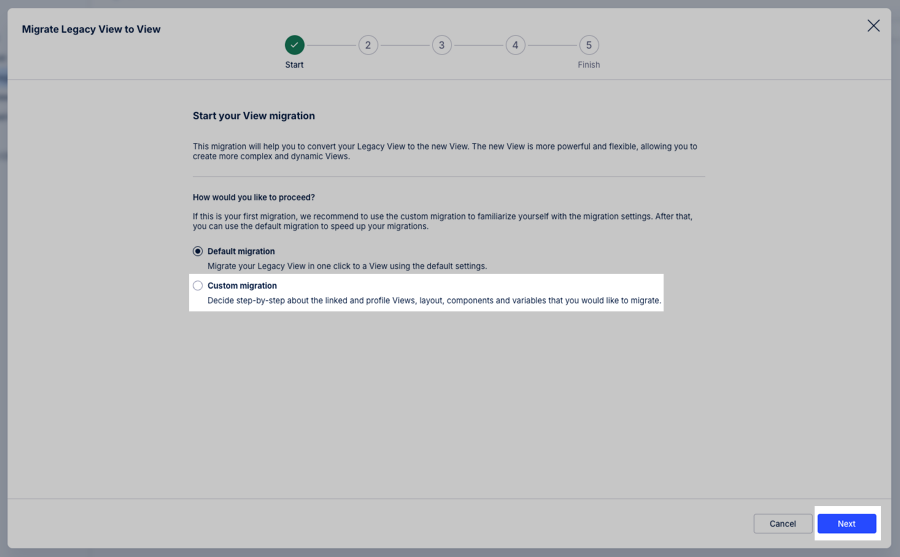
Select which Legacy View components to migrate to your View and click Next.
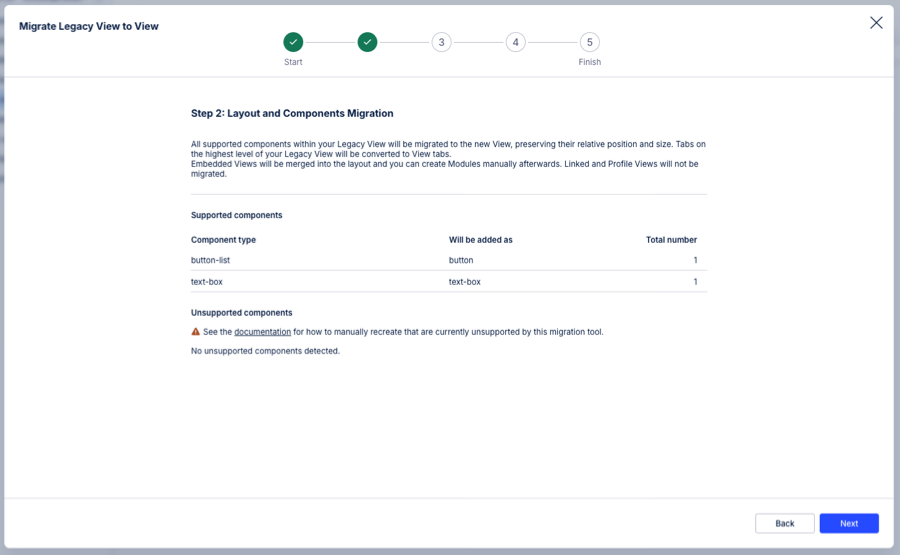
All supported components within your Legacy View are migrated to the new View, preserving their relative position and size. Tabs on the highest level of your Legacy View are converted to View tabs. Embedded Views are migrated to standard components in a container, you can choose to manually create View Modules from those components if required for reusability purposes.
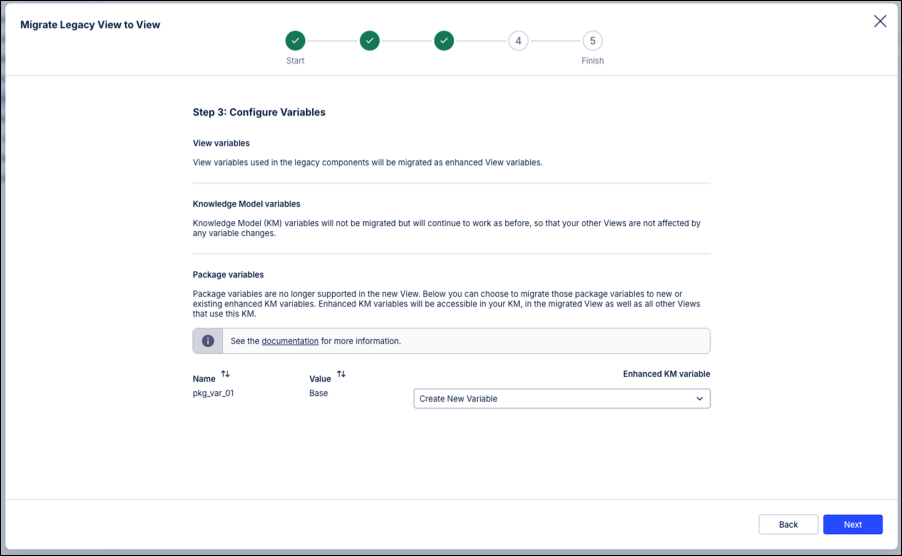
Select which variables are migrated and click Next.
View variables: View variables used in the legacy components will be added to the View as enhanced View variables.
Knowledge Model variables: Knowledge Model (KM) variables will not be migrated but will continue to work as before, so that your other Views are not affected by any variable changes.
Package variables: Package variables are no longer supported in the new View, hence they will cause errors. Below you can choose to migrate those package variables to new or existing enhanced KM variables. Enhanced KM variables will be accessible in your KM, in the migrated View as well as all other Views that use this KM.
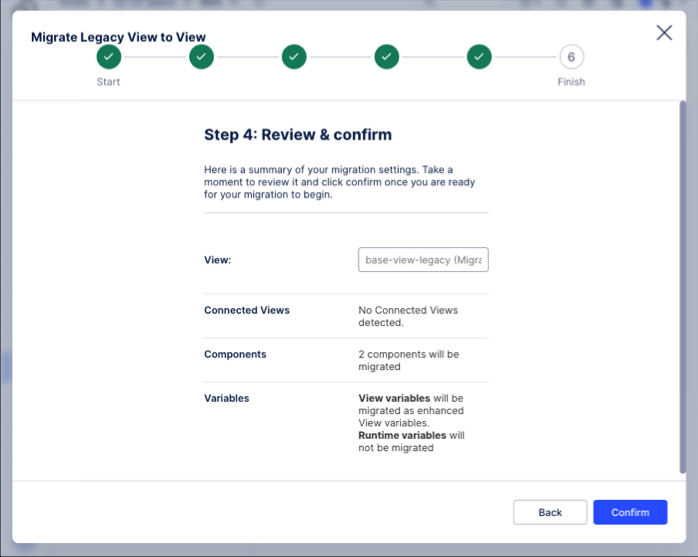
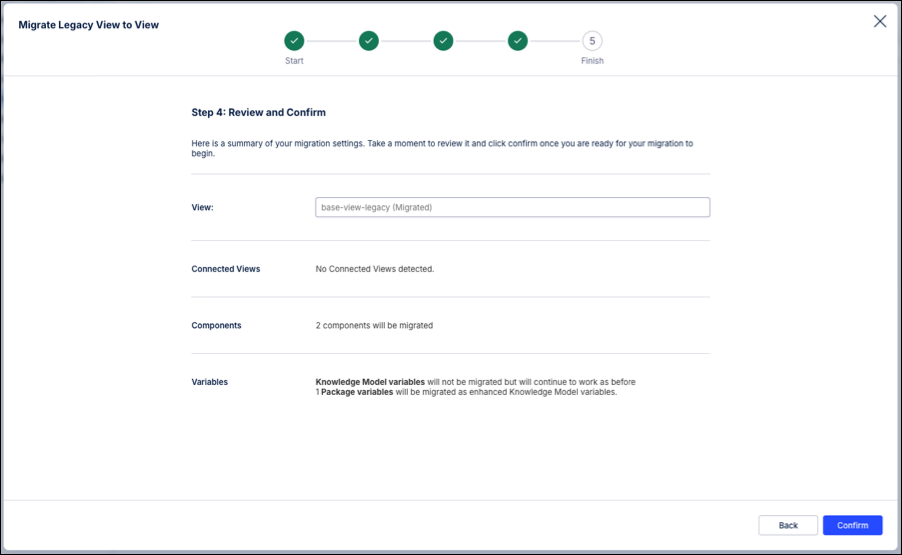
Review the migration and optionally add a custom View name.
If you don't enter a custom View name, the default View name will have this format: (Legacy View Name) (Migrated).
Click Confirm.
Manually migrate any augmented attribute data using the Migration Tool.
A migrated copy of the Legacy View is created in the Studio package. The Legacy View is also still available in the Studio package so you can validate your migrated content before deleting the Legacy View.
Perform the steps in After migrating Legacy Views to Views.
When migrating individual components, we recommend adding them to a View that uses the same Knowledge Model as the Legacy View they are being migrated from. This ensures the configurations and variables used work seamlessly, with no manual reconfiguration of the components required.
To migrate individual components:
Open the Legacy View containing the component in Edit mode.
Hover over the component you want to migrate and click Copy to Views.

The configured component is saved to a Studio clipboard.
Open the View you want to migrate the Legacy component into in Edit mode.
In the View sidebar, click Paste from Legacy View.
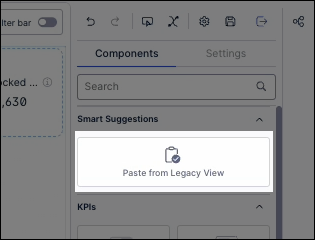
Place the component and continue to configure it as required.
Repeat steps 1 to 5 for all Legacy View components you want to migrate to your Views.
The View containing the copied Legacy View components and the Legacy View are both available in the Studio package so you can validate your migrated content before deleting the Legacy View.
Perform the steps in After migrating Legacy Views to Views.
For a step-by-step walkthrough, check out our Academy video (1 min 49 secs).
After migrating your Legacy Views
Once you’ve migrated your Legacy View, you should validate the data and functionality in your new View to ensure the migration was successful.
We also recommend cleaning up your Studio space by:
Moving all Legacy View assets in your Studio package to an archive folder.
Deleting all Legacy View assets from the archive folder after approximately 30 days; if necessary, you’ll be able to recover the Legacy View assets from your recycle bin for an additional 30 days.