Event grouping in Process Explorer and Variant Explorer
Both Process Explorer and Variant Explorer allow you to create custom groups of activities or events within the process graph. Grouping activities/events together simplifies the process graph, making it easier for you to focus on other portions of the process. For example, if you group together activities or events that are not relevant to the type of analysis you want to perform, grouping these activities or events together will simplify the part of the process graph you are not currently concerned with and make it easier to read the portions of the graph you are analyzing. Event grouping can also be used to help users visualize their processes by the individual phases or sub-processes, such as in Banking, Insurance, or Logistics processes.
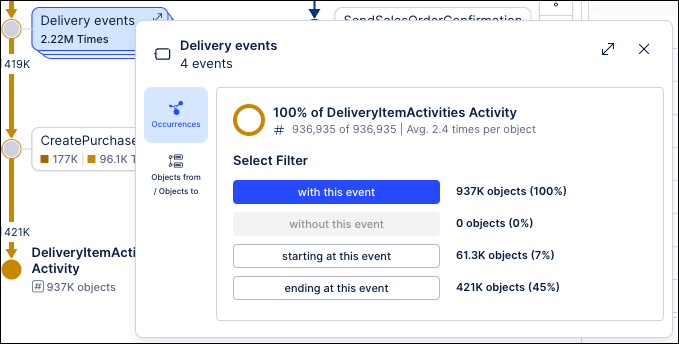
When activities/events are grouped together, the total occurrences for the activities/events in that group are aggregated. This means that the totals displayed on the group in the process graph reflects the total number of times that all the events in the group occurred. You can also view more details for the activities/events in the group by clicking on the group in the process graph.
Note
Groups are not saved to the Knowledge Model, which means that they are only available in the Process Explorer or Variant Explorer component where they were created. To use the same grouping in another component, it must be recreated.
Go to your Studio View and enter the Edit Mode.
Select the explorer component in which you want to add an event grouping.
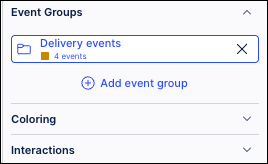
On the Settings tab, go to the Event Groups section.
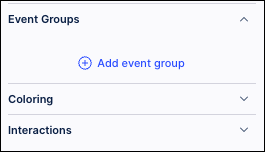
Click the Add event group link.
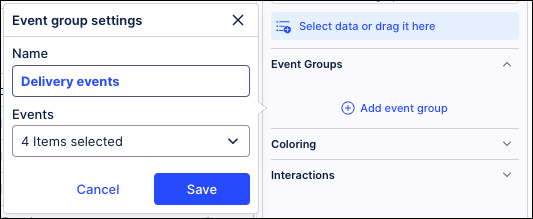
Enter a name for the grouping. This name will be used as the label for the group on the process graph.
Click the drop-down and select the specific events or activities you want to group together.
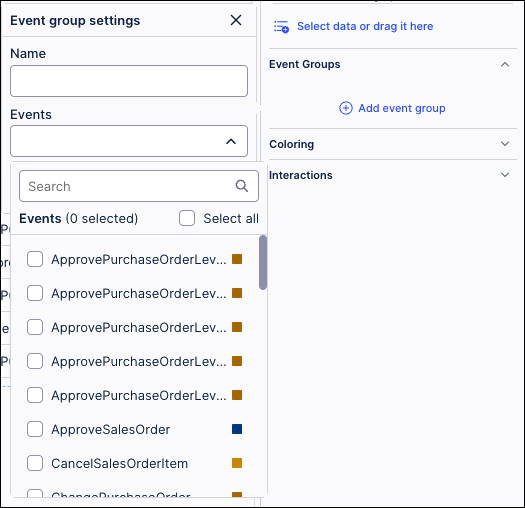
You can also use the Search field to locate specific events or activities or click the Select all checkbox to add all events or activities to the group.
Once you’ve selected the events or activities to group, click Save.
The process graph is refreshed and the grouping is applied.
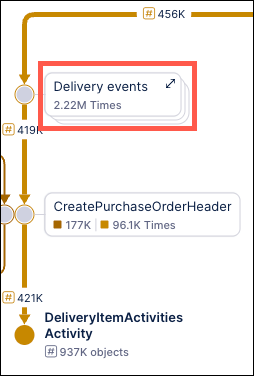
Clicking the Expand activity group icon
 will allow users to see the individual activities and events within the group as part of the process flow.
To view details of the grouped events or activities, click on the group in the process graph.
To ungroup the events or activities, go back to the Event Groups section in Edit Mode and click the X to the right of the group name.
The process graph is refreshed and the events or activities are no longer grouped.