Update from an earlier version of Monitoring
Updating to the latest Monitoring version allows you to leverage newly created operational dashboards to gain end-to-end insights into your data pipelines, oversee data consumption, and track Replication Cockpit executions.
Note
A dialogue indicating the availability of a new version displays the first time you open the Monitoring Pool after that update was made available.
Go to Data Integration and open the Monitoring Pool.
Click on the Versioning icon in the upper right corner of the screen.
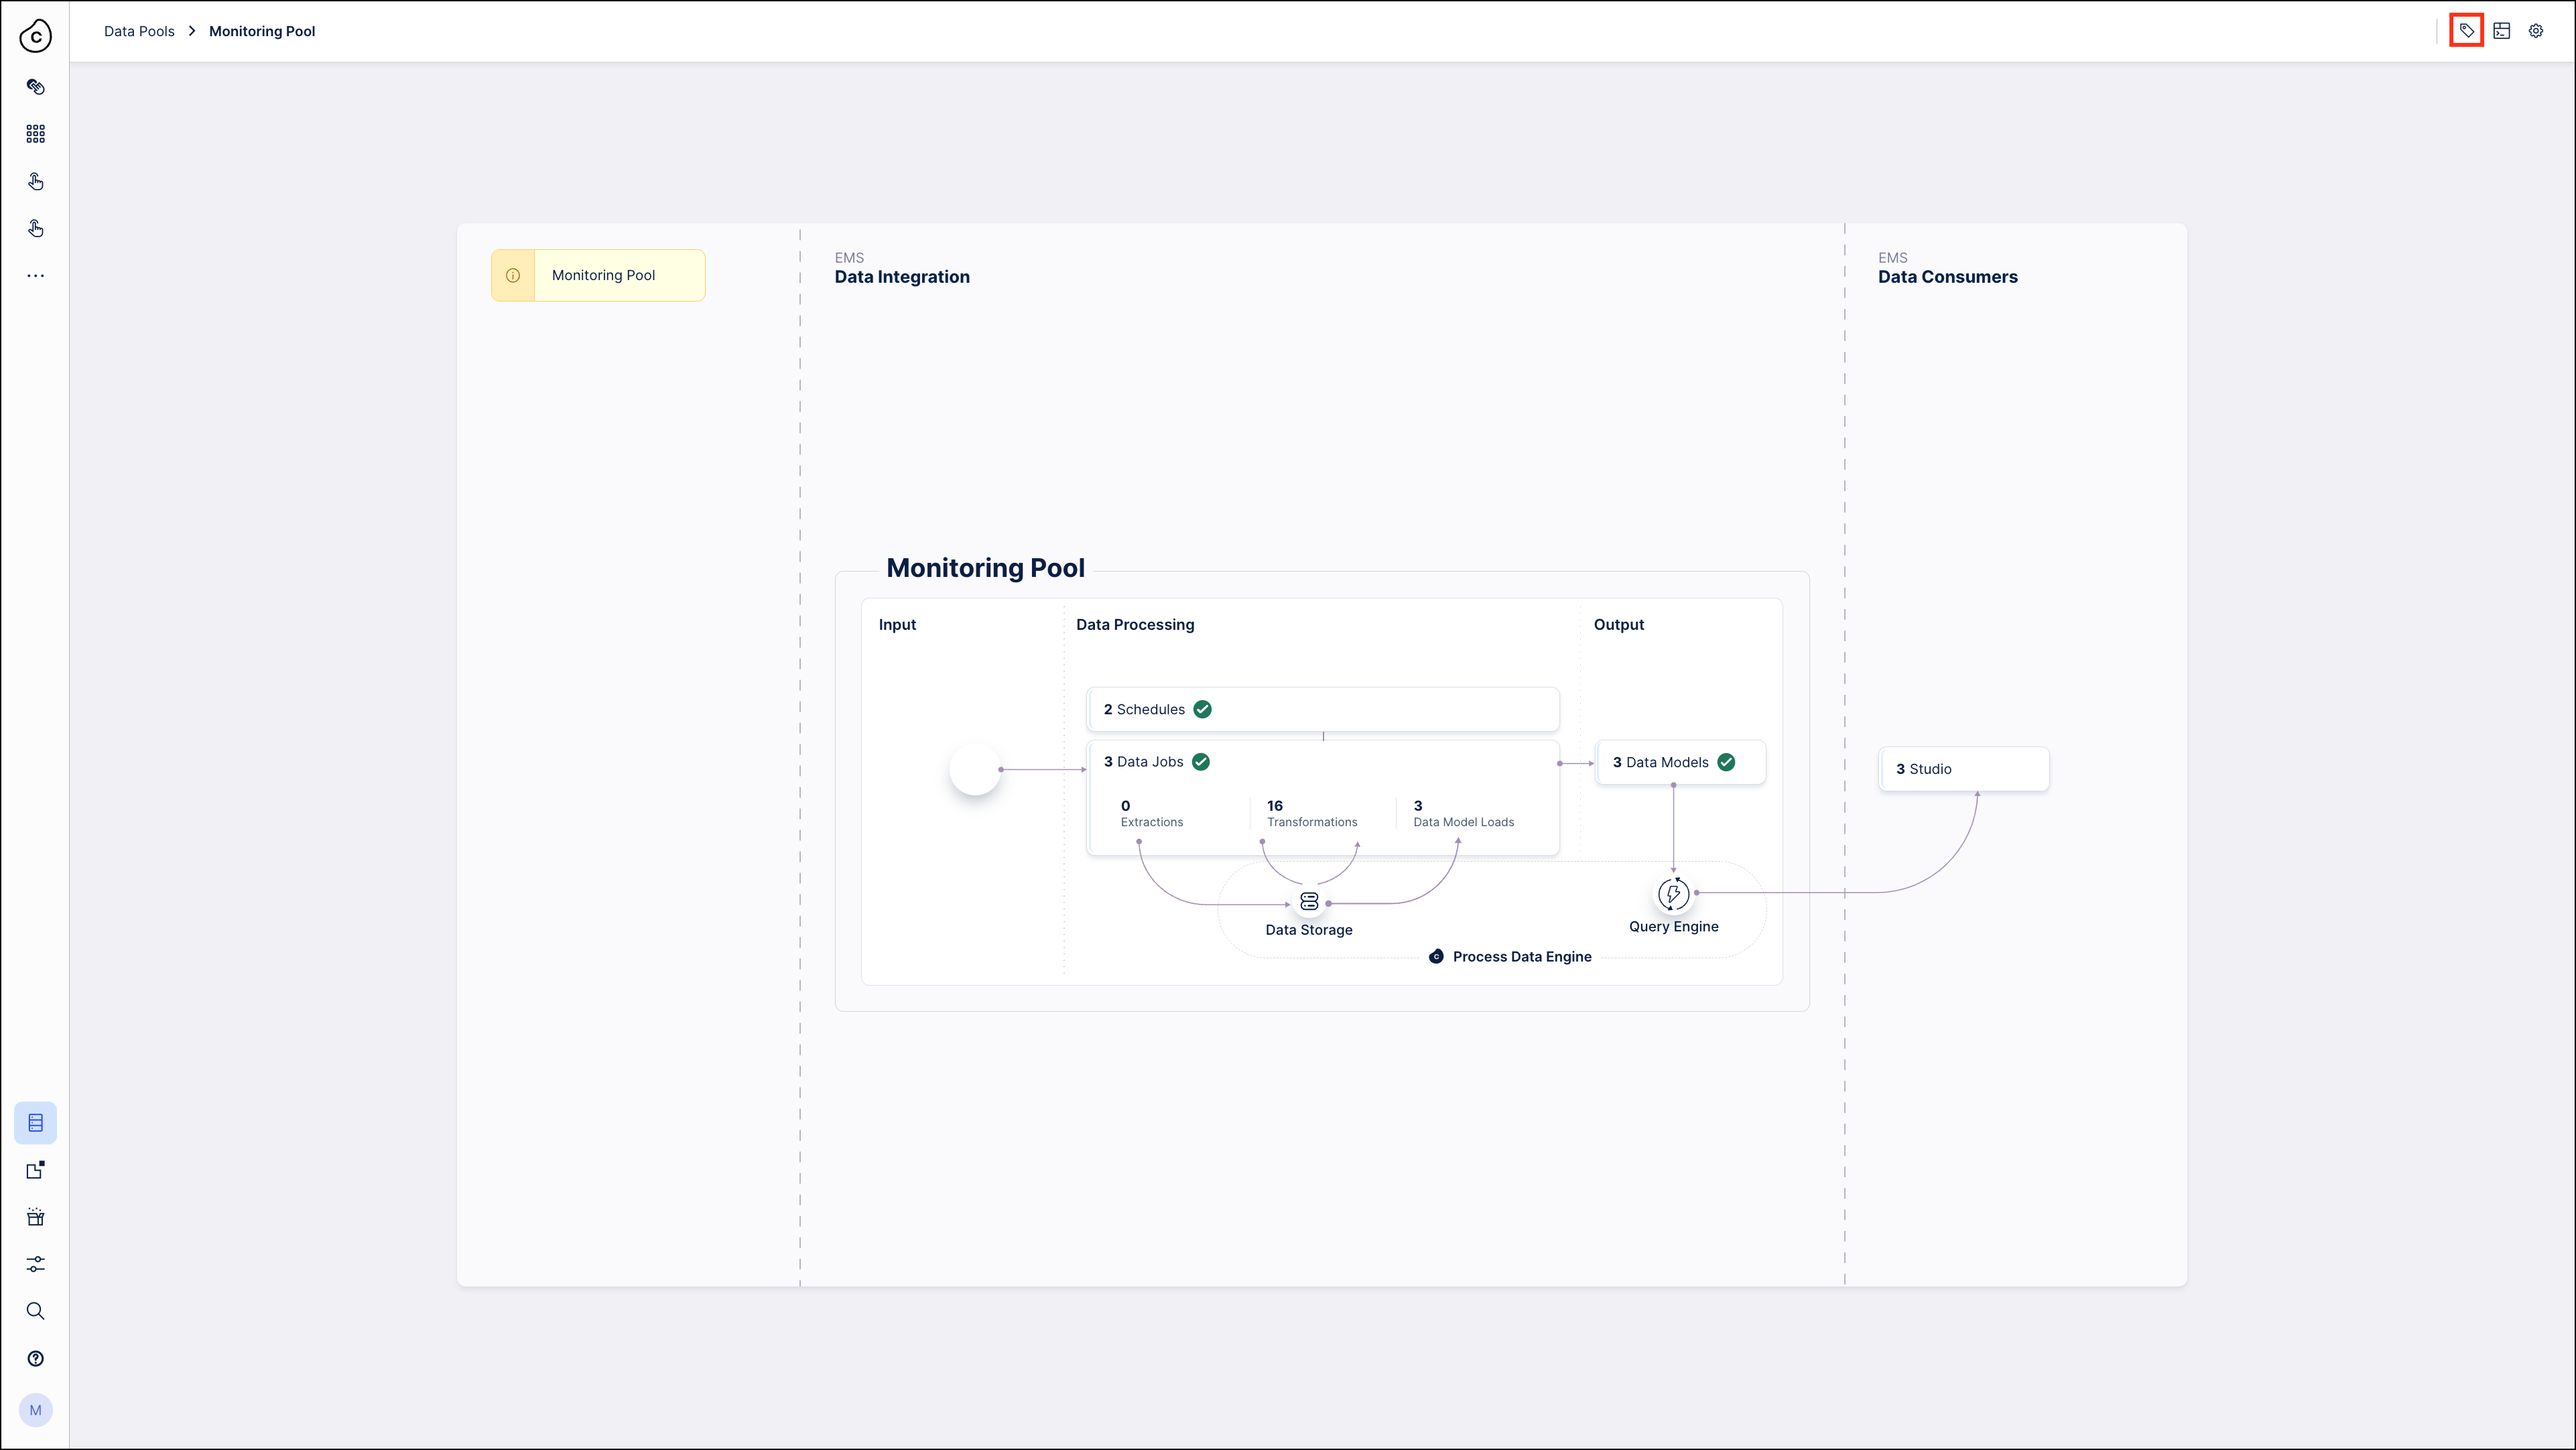
If you have not made any changes to the Schedules, Transformations, or Data Models in the Monitoring Pool:
Select the new version (2.0.0) from the list and load the new version.

All changes are backward compatible, so the new version allows you to use the Monitoring analyses introduced in the previous version of the Custom Monitoring.
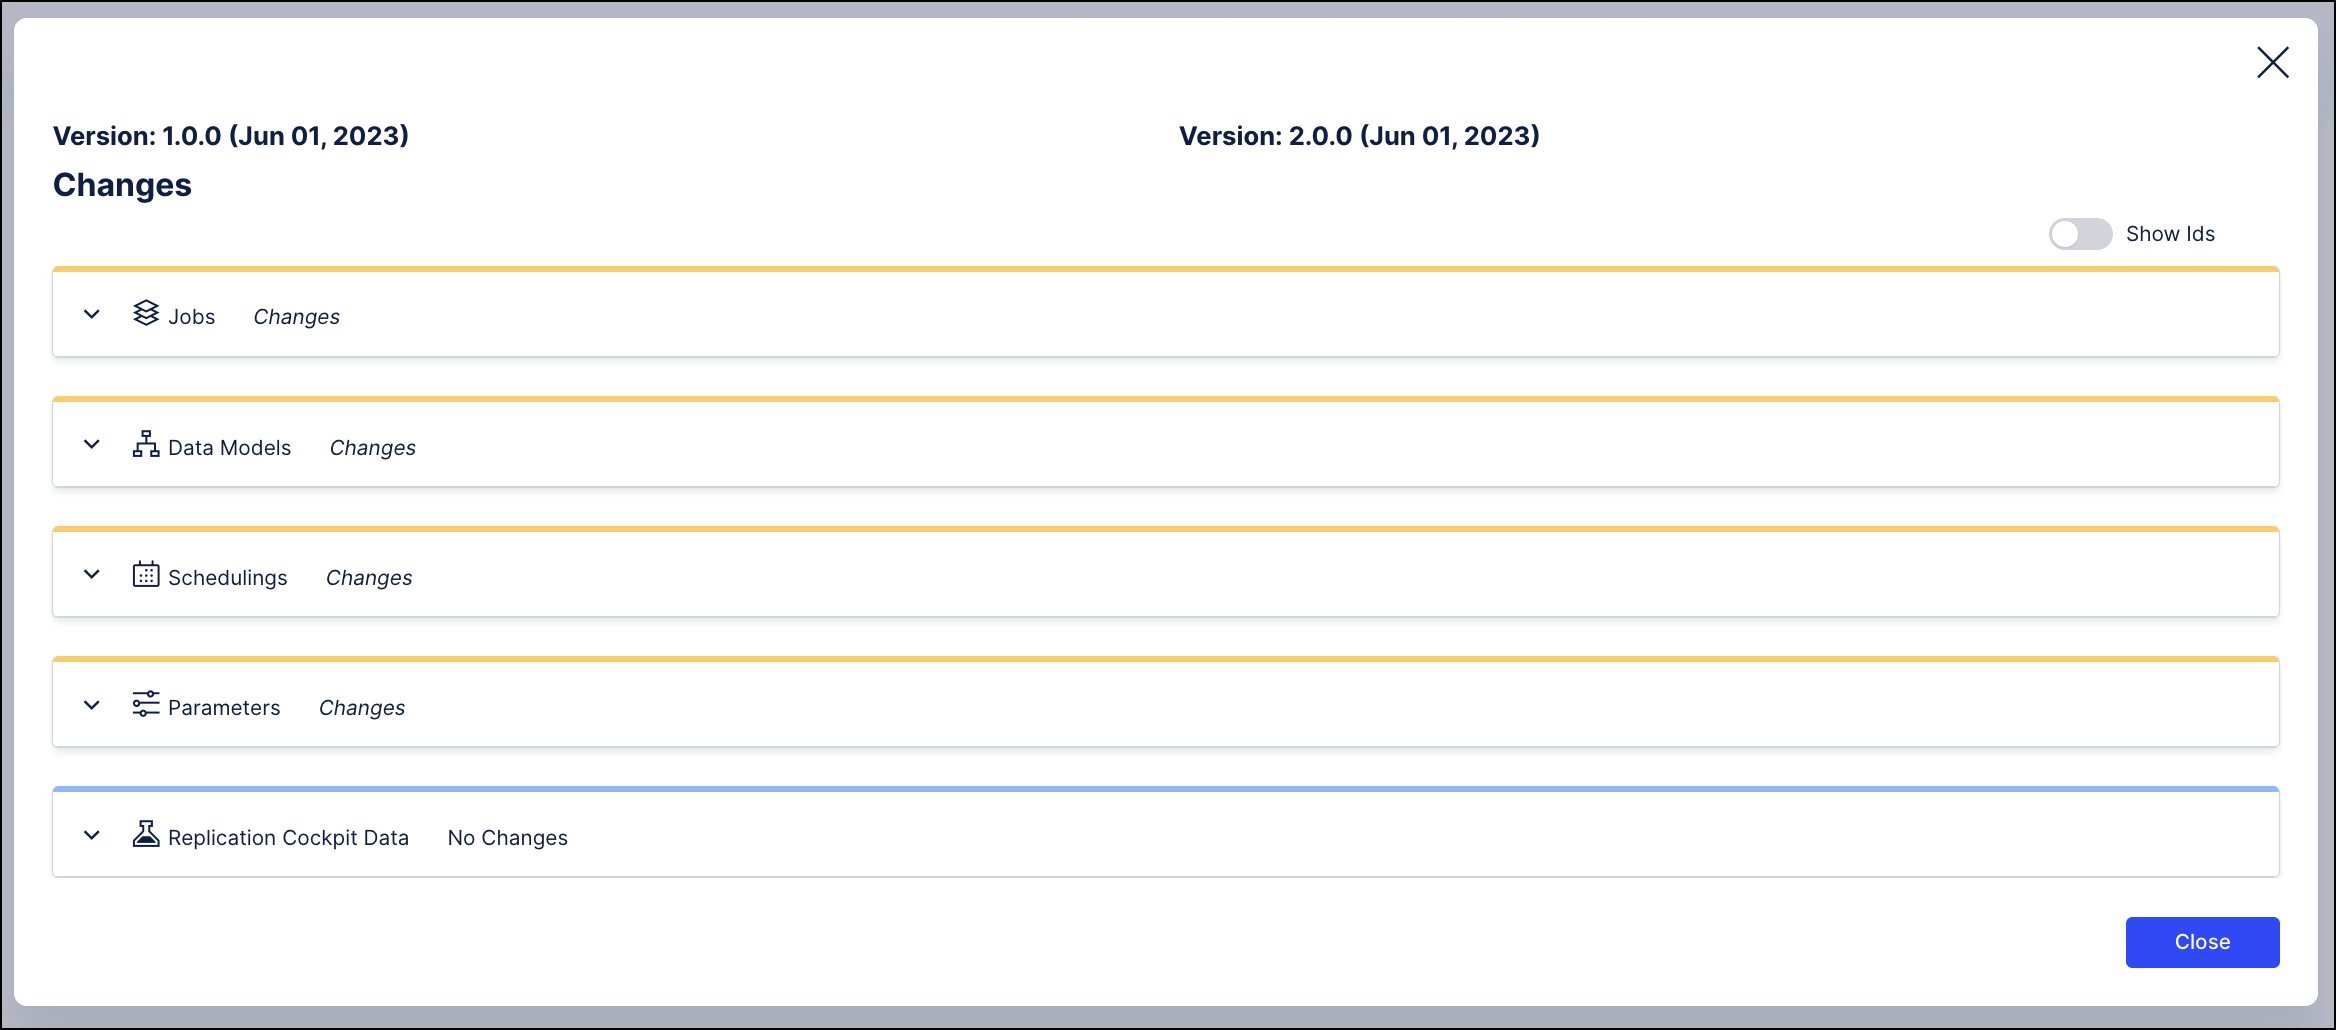
If you have made changes to the Schedules, Transformations, or Data Models in the Monitoring:
These changes must be migrated manually. Select the new version (2.0.0) and the previous state of your Monitoring Pool that has been saved automatically to determine whether any changes you introduced to the Monitoring Pool need to be migrated.

Store these changes (Transformations, Data Model changes) in a secure location, then activate the new version as described above, and reintroduce your changes manually.
Update installed assets
If you previously installed the Monitoring assets from the Marketplace, you can choose to install the Marketplace package again, or you can update your existing package.
To update the installed package, follow the steps below.
Navigate to your Monitoring package (formerly called Data Pipeline & Consumption Monitor) in Studio.
Click on the three-dot menu and select Settings.
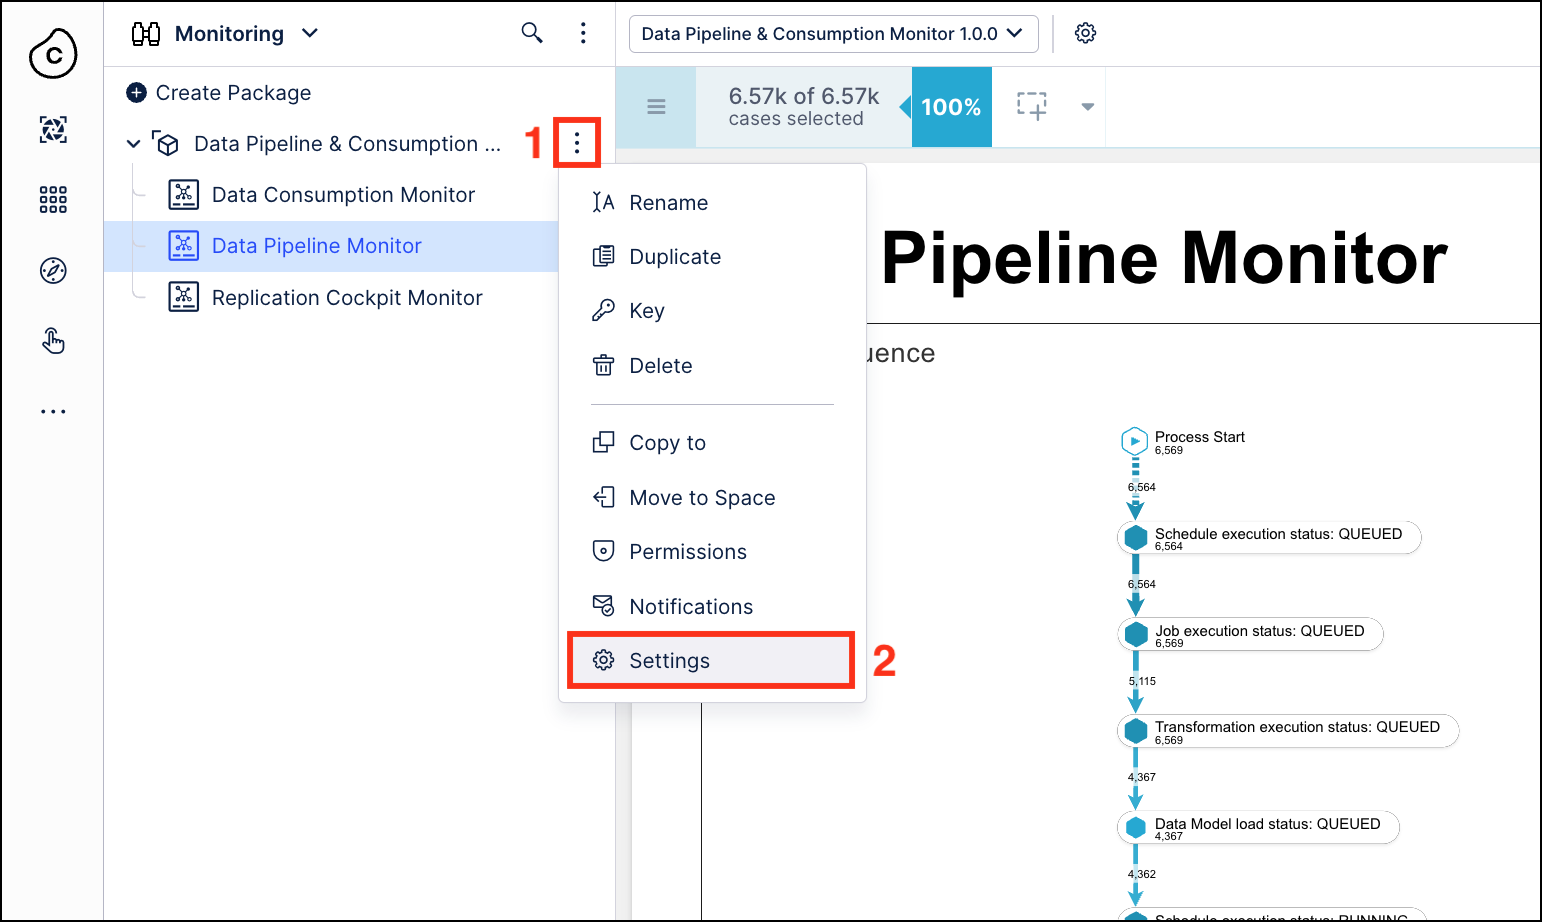
Click the Dependencies tab.

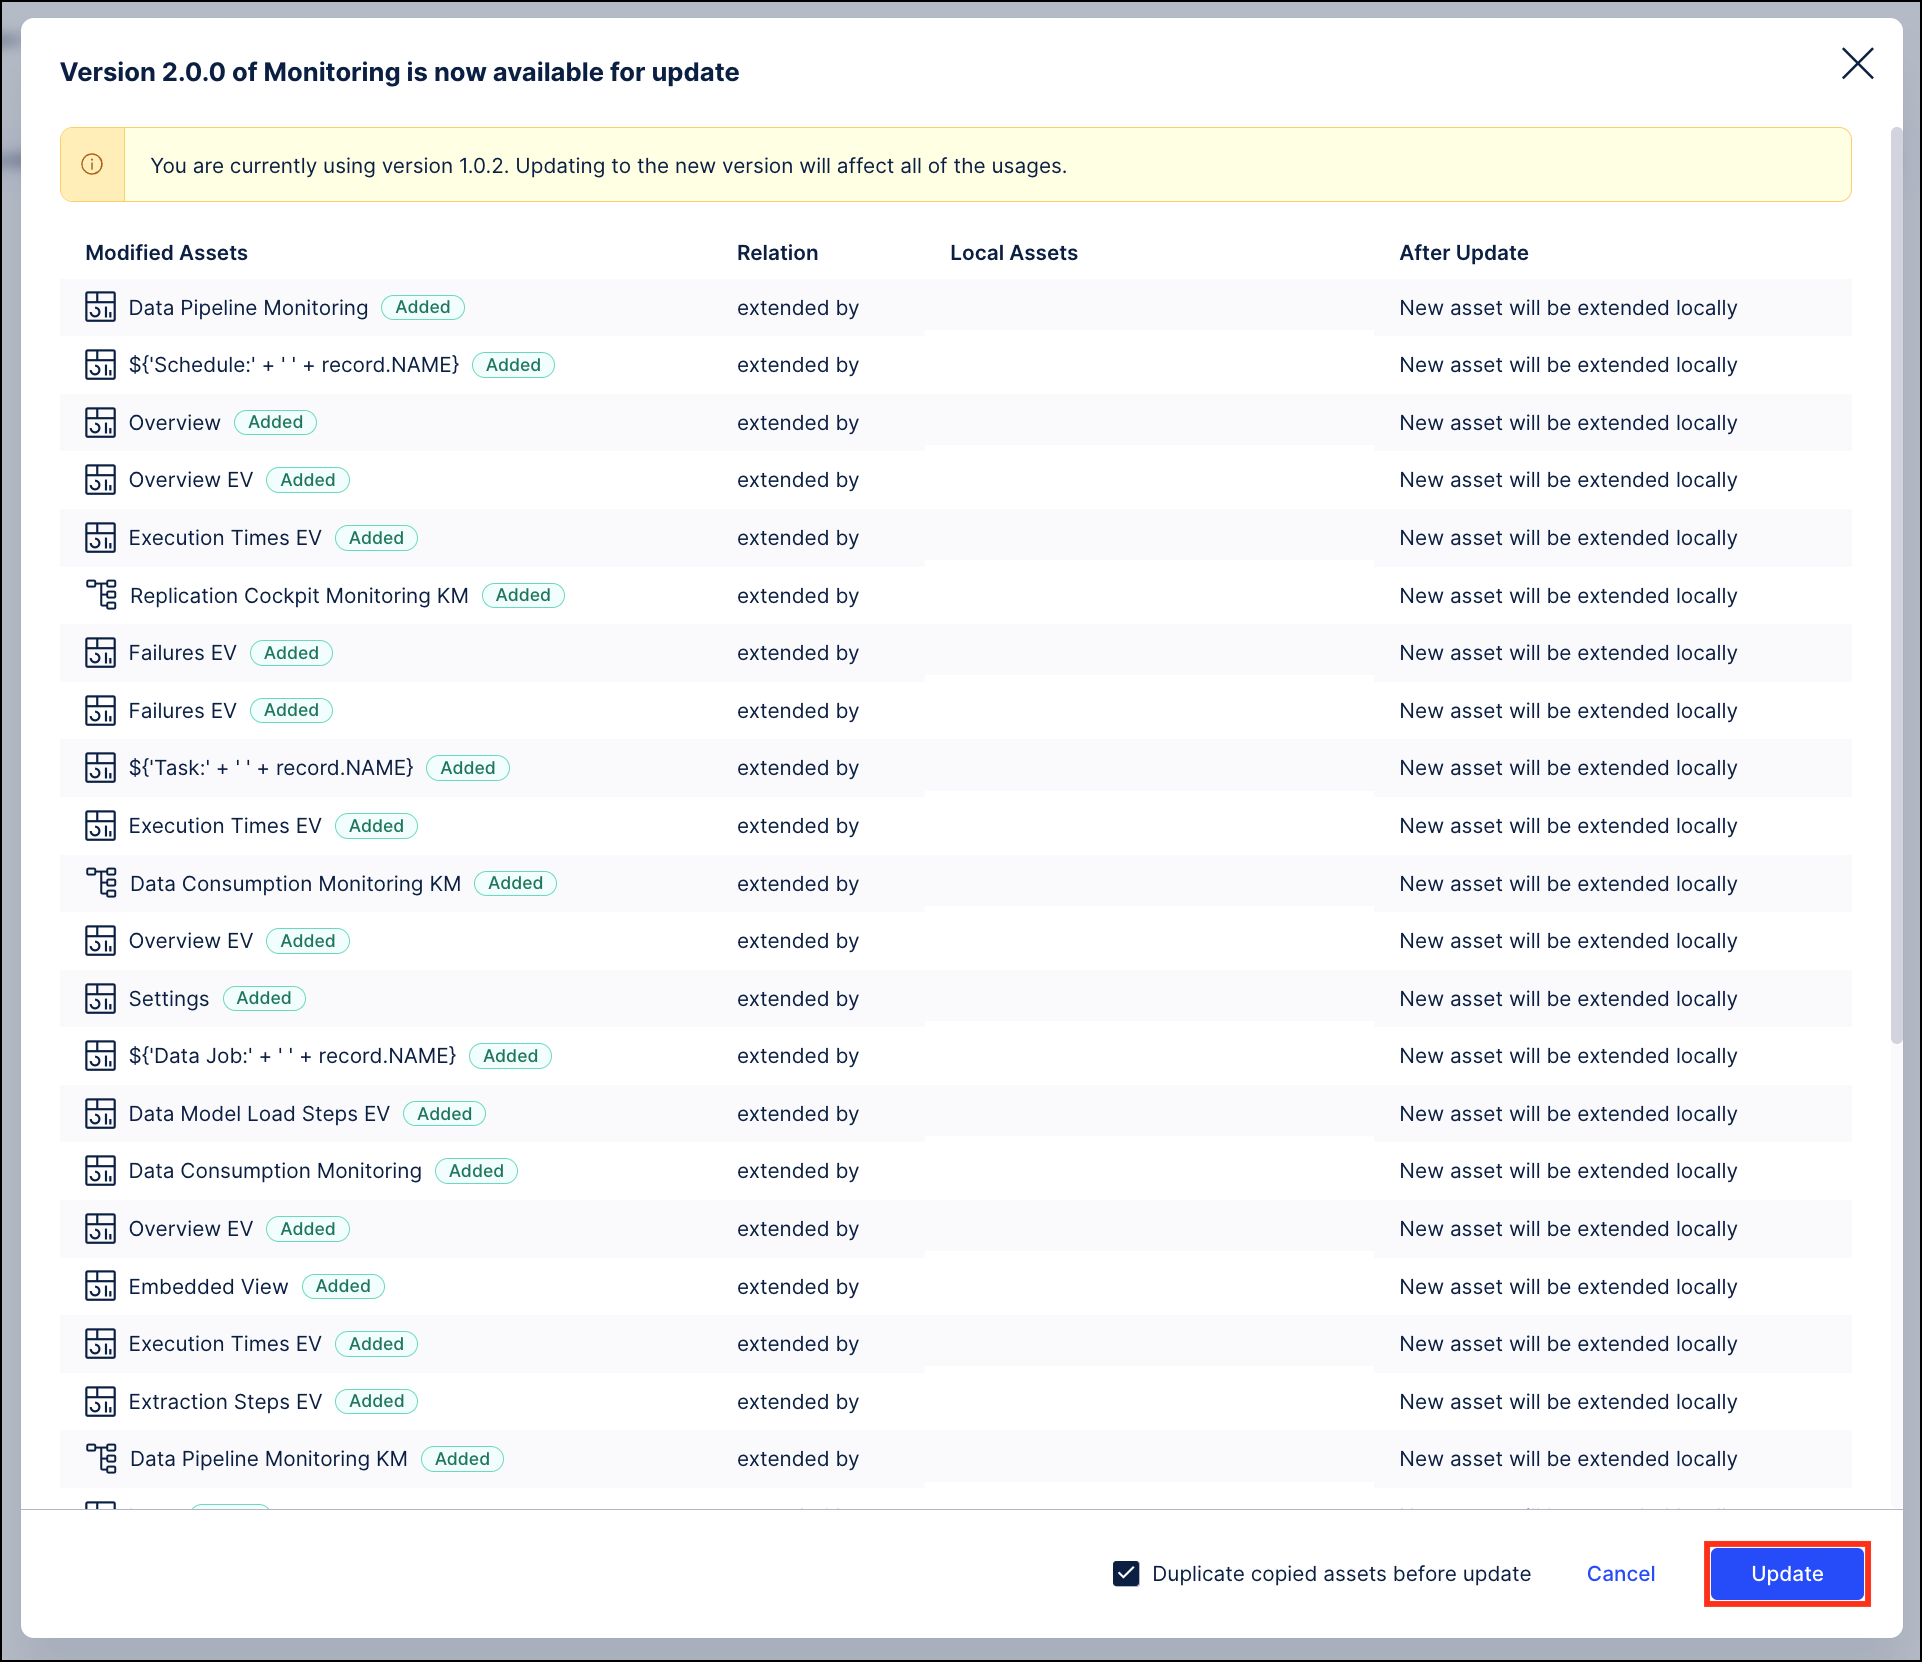
Click the Update Available button in the Version column.

Click the Update button in the lower right corner of the pop-up window. If you want to remove the previously installed Monitoring analyses, deselect the “Duplicate copied assets before update” option before clicking the Update button.
Tip
If you have previously published this package, you will be able to roll back to a previous version.
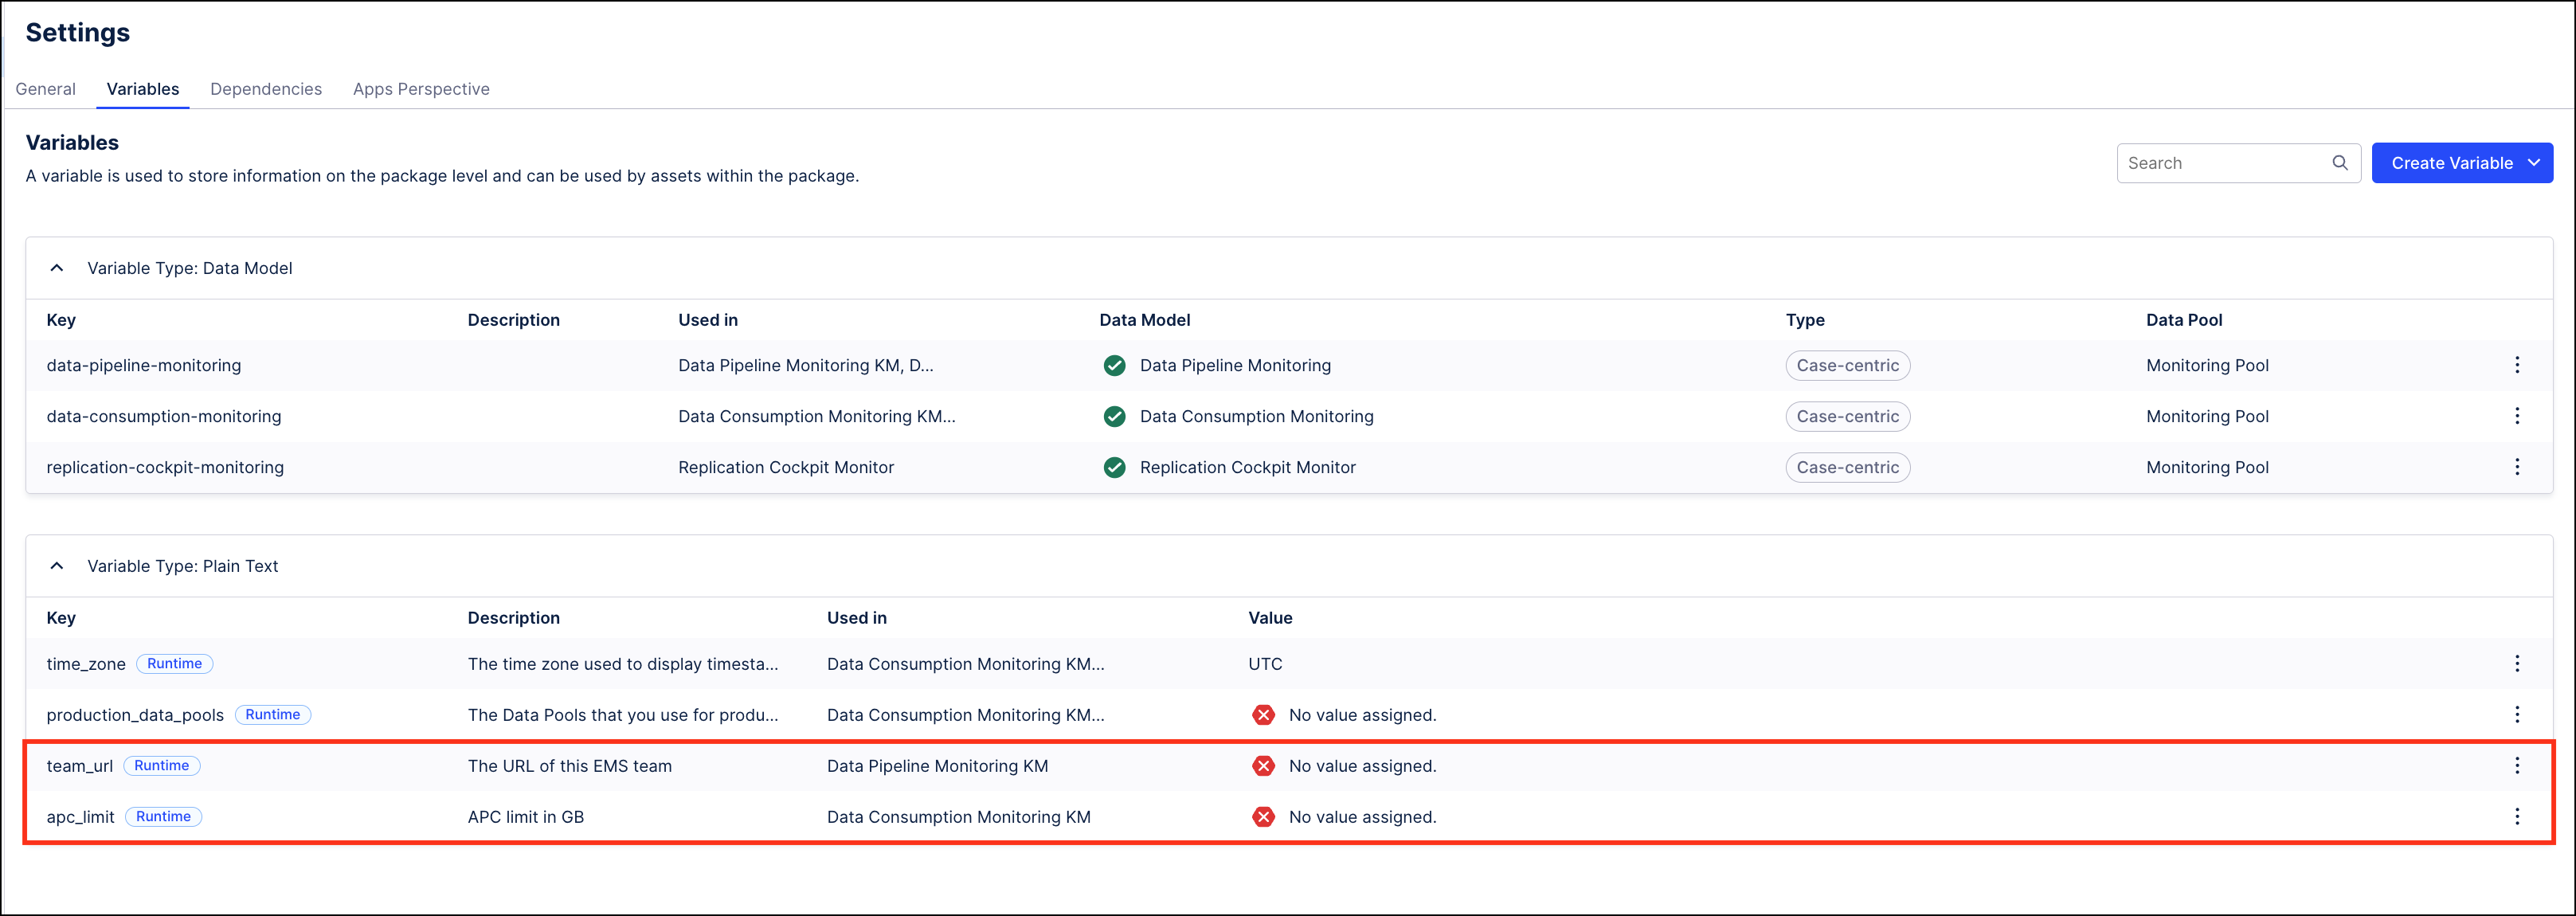
Go to the package’s Variables section.

Update the apc_limit and team_url variables which store your team’s APC limit (if applicable) and your team’s URL. These variables are used in the Monitoring Views to correctly display your teams’ APC usage as a percentage and to provide a direct link from the Monitoring Views to the execution logs in Data Integration.
Click the Publish Package button in the upper right to propagate your changes and make the newly installed assets available in Apps.
