Send Sheet update via Slack
Manually notifying team members about spreadsheet updates is time-consuming and prone to oversight. This automation solution tracks changes in a Google Sheet and automatically pushes the data to Slack, ensuring the right people receive real-time updates in a format that works for them.
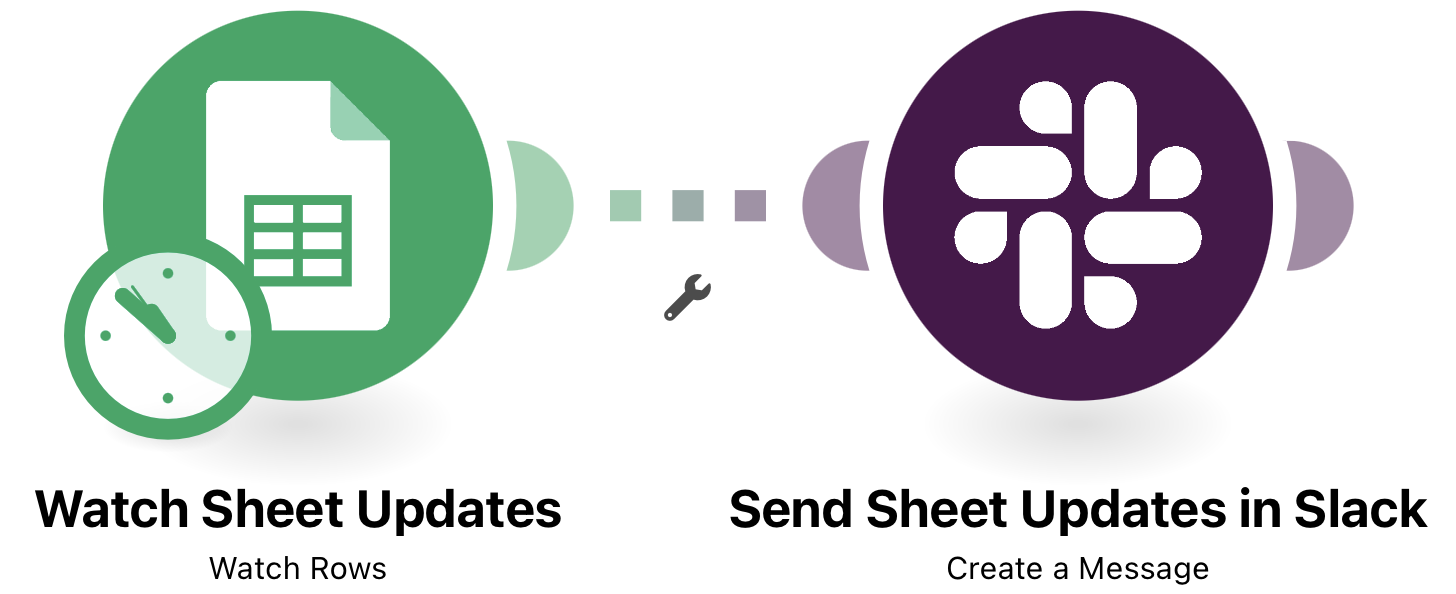
This Action Flow consists of two primary stages:
Watch Google Sheet: Monitors a specific sheet for new or updated rows.
Send Slack Message: Send Slack Message: Formats and delivers the data to a designated recipient or channel.
 |
Below you will find the step-by-step guide for configuring each module of the above Action Flow.
Connection: connect to your Google Account where the Google Sheet to be used is saved or shared with
Spreadsheet: choose the Google Sheet you want to send updates via Slack
Sheet: choose the Sheet with the desired data
Table contains headers: choose yes if you added headers beyond the A-Z numbering, if you directly start with data choose No
Row with headers / First Table Row: this defines the number of columns you want to use. If your table has 5 columns adjust it to A1:F1.
Limit: define here the maximum number of results to be worked with during one execution cycle.
 |
Configuration:
Action Flows Module: Google Sheets
Action: Watch Rows
 |
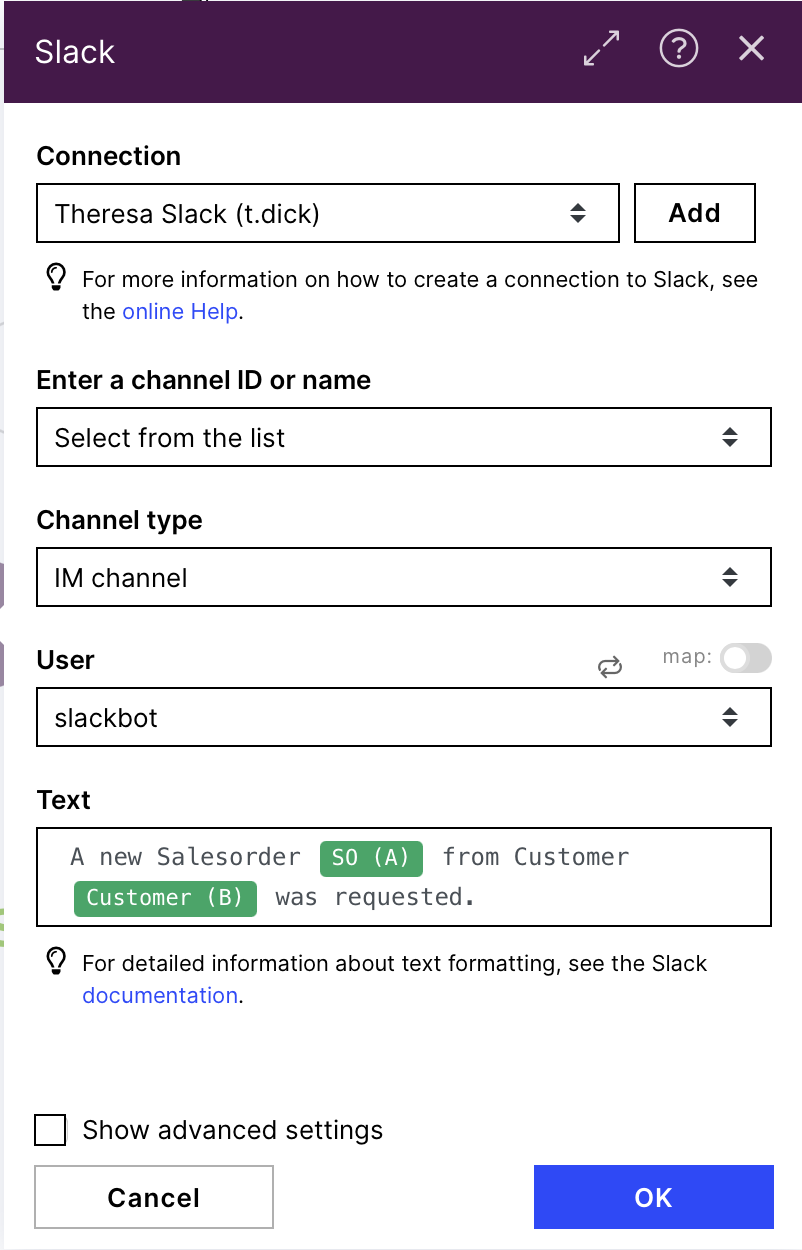
Connection: connect to your Slack Account and give Celonis the permission to send messages
Enter a channel ID or name: Select from the list
Channel type: depending which channel you want to send a message in (private/public/direct message(IM channel))
User/Channel: choose the recipient(s) of the message
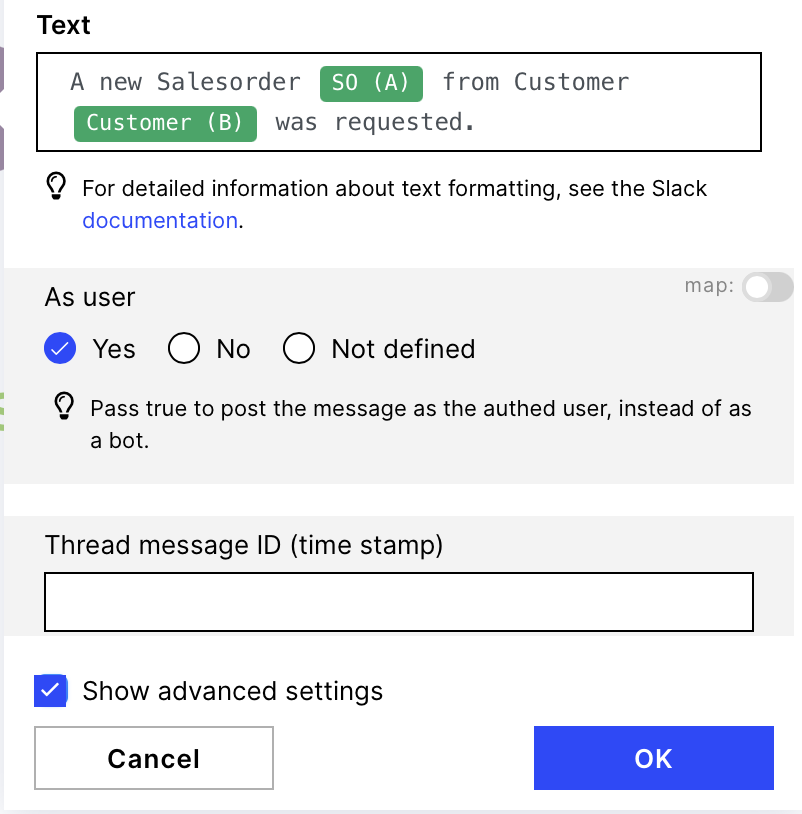
Text: Message including the information from the Google sheet you want to send in Slack. If your table includes headers and you configured the first module right you should be able to see the column names when using the items from the first module.
 |
Configuration:
Action Flows Module: Slack
Action: Create a Message
 |
If you want to send the message from your user this is possible with the advanced settings.
Show advanced settings: tick the box
As User: 'Yes'
Resulting message:
 |
 |