Label Editor
Custom labels can be added to your processed Task Mining data in order to apply your own meaningful application and screen names. Custom labels can also be assigned to screens or applications that do not have a default label in order to prevent them from displaying without a name in your Task Mining data.
Using the no-code label editor, you can create your own readable labels. From the Labels section under Data Configuration, you can create, delete and manage your labeling rules instead of using the default label options. This makes it easier to specify your labeling rules and execute these rules when your Task Mining data is processed.
Note
Labels are not backwards compatible and cannot be applied to existing projects. Labels can only be applied when creating a new project.
 |
You can also enable or disable the standard out-of-the-box labeling rules supplied for application names, screen names and documents for Microsoft Office, Google Workspaces and SAP Logon. This feature can also be used to manage the predefined fallback labels provided for all unseen application and websites using the process name or domain.
Working with custom labels
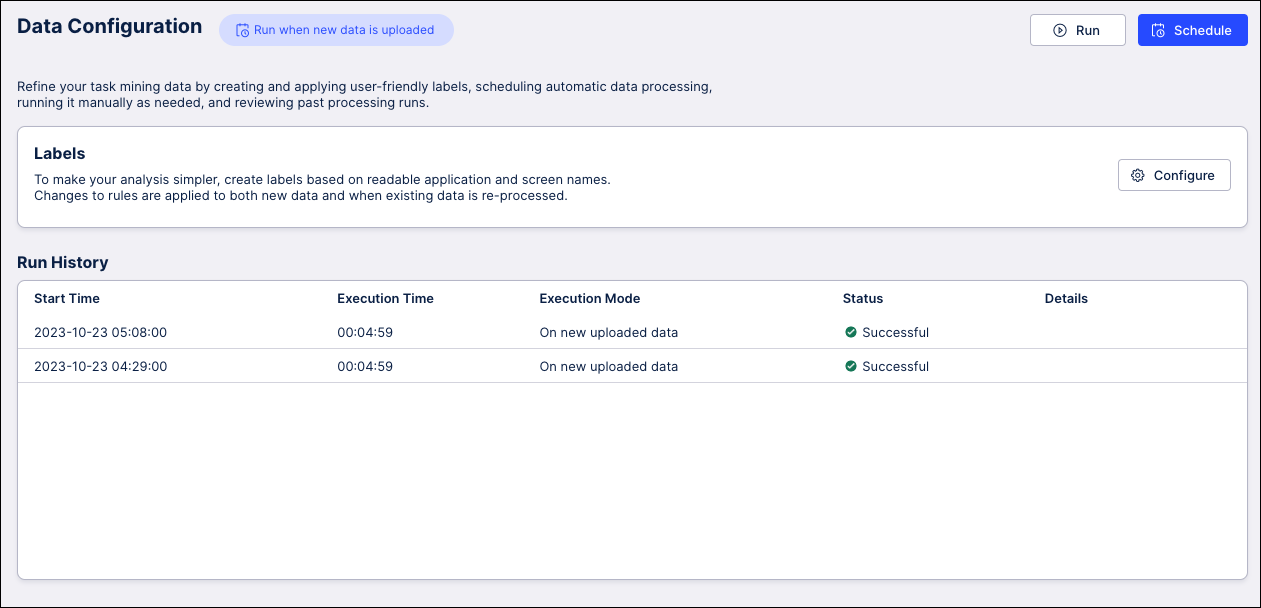
Go to Task Mining > Data Configuration.
In the Labels section, click Configure.

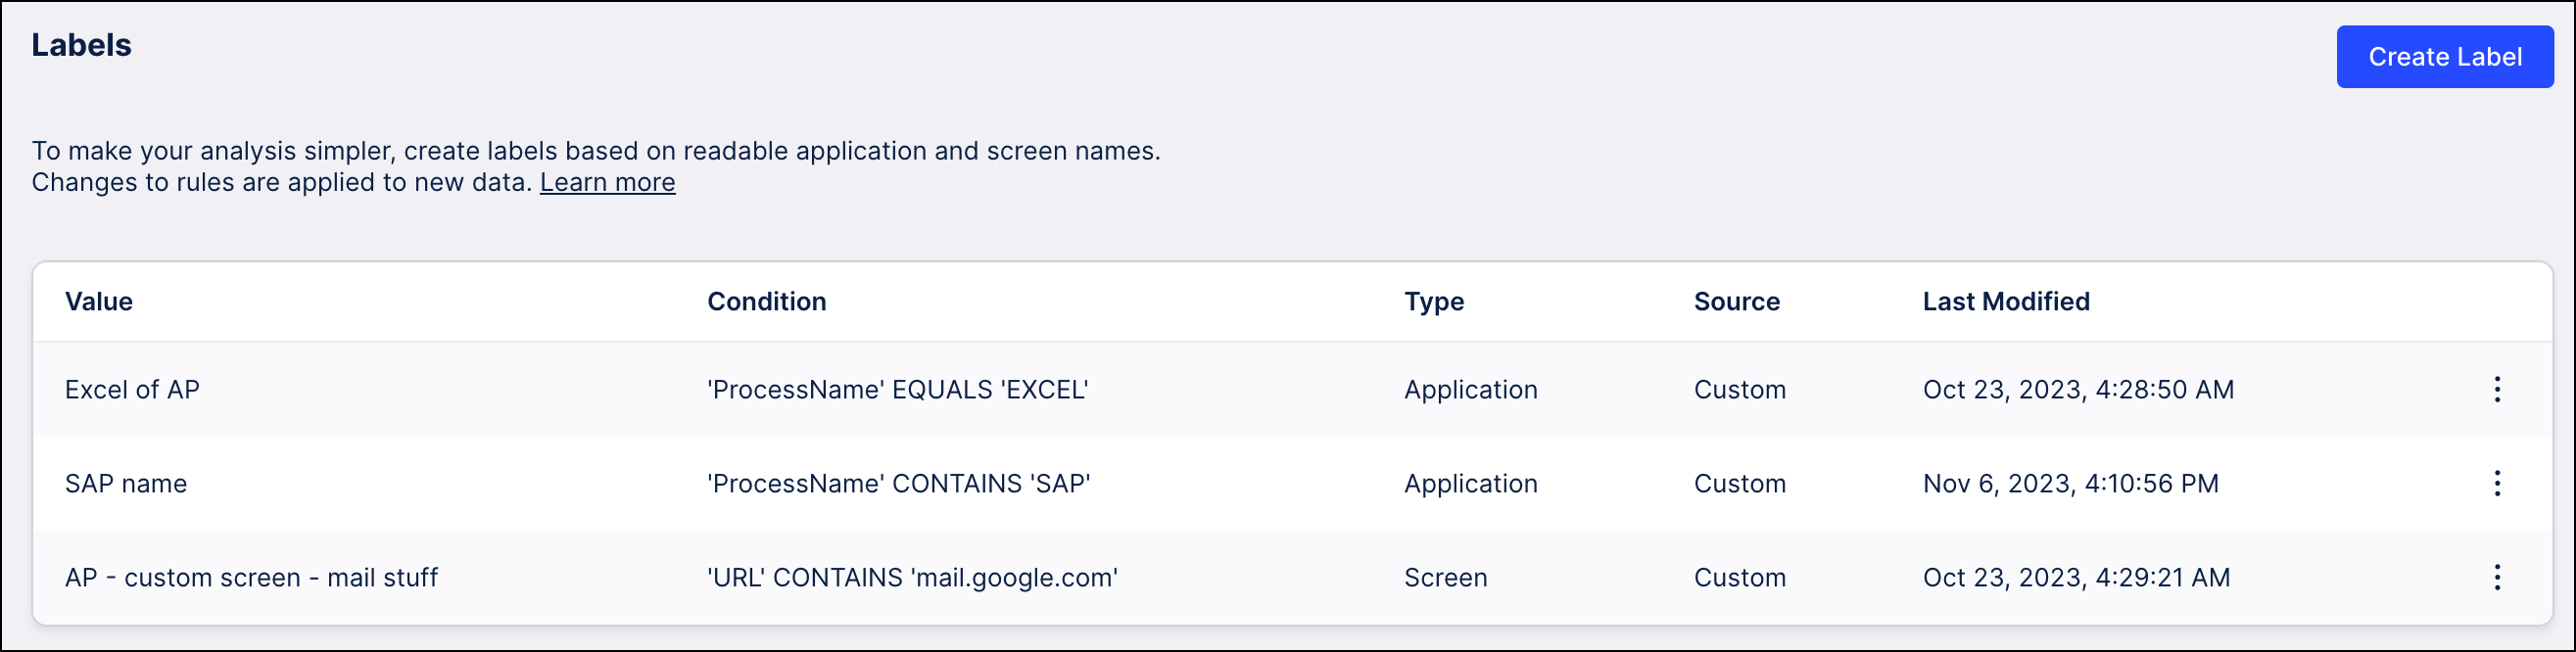
On the Labels screen, you can see the existing label rules available and details such as if this rule applies to an Application or a Screen and when it was last modified.
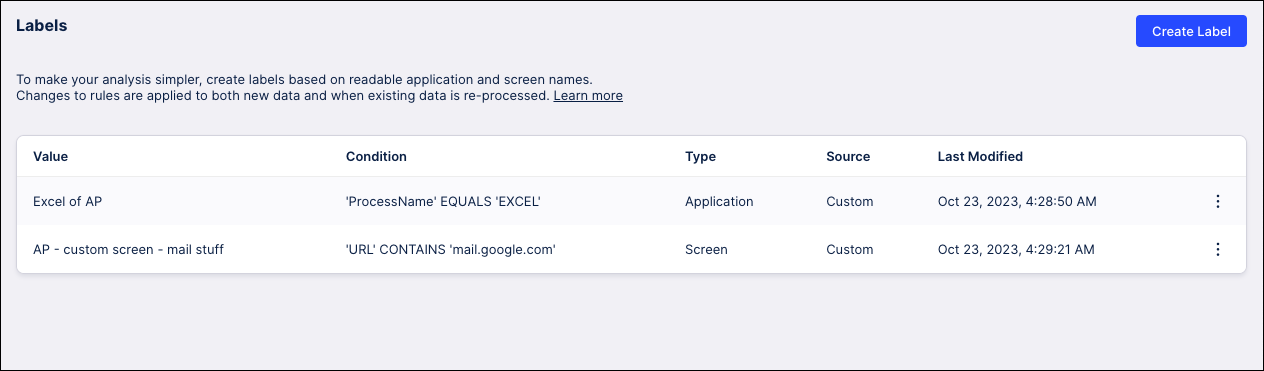
To create a new set of label rules, click the Create Label button.
On the Create Label screen, use the Type drop-down to select if this label is to be applied to a Screen or an Application.

Use the Value field to enter the friendly or readable name for this application or screen.
In the Apply label to these events section, use the three fields provided to create an expression indicating when this rule should be applied. For example, you can create expressions such as "URL contains Google" for a screen or "Process Name equals Excel" for an application.
Note
The options available in the first drop-down will vary based on the selection in the "Type" drop-down above.
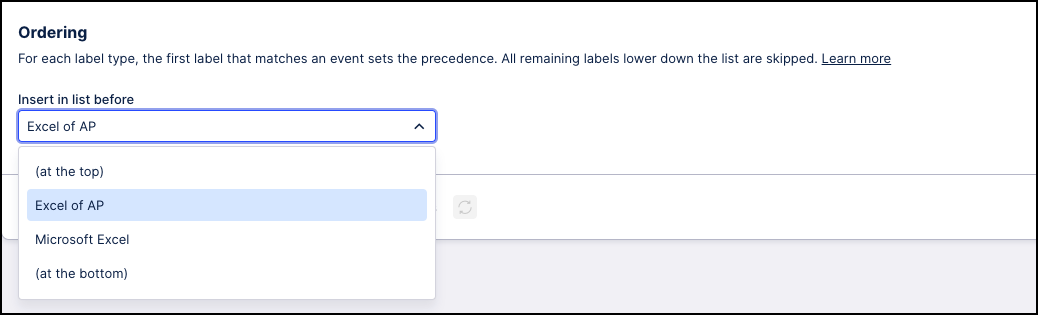
The Ordering section is used to select this rule's priority in relation to other labels. The drop-down includes all existing labels of the selected type (Application or Screen). Use the drop-down to select if you want this rule to be placed at the top of the list, before a specific rule, or at the bottom of the list:
Tip
This ordering is used to give precedence to labels during processing. The first label in the list that matches the event will be applied and any other labels further down the list will be ignored, even if they also match the event.
In the Preview section, click the Request Preview icon
 to generate a preview of your content with this label applied and validate the output.
Click Save. The new label is created and now displays on the Labels screen in the same position as was set in the Ordering section.
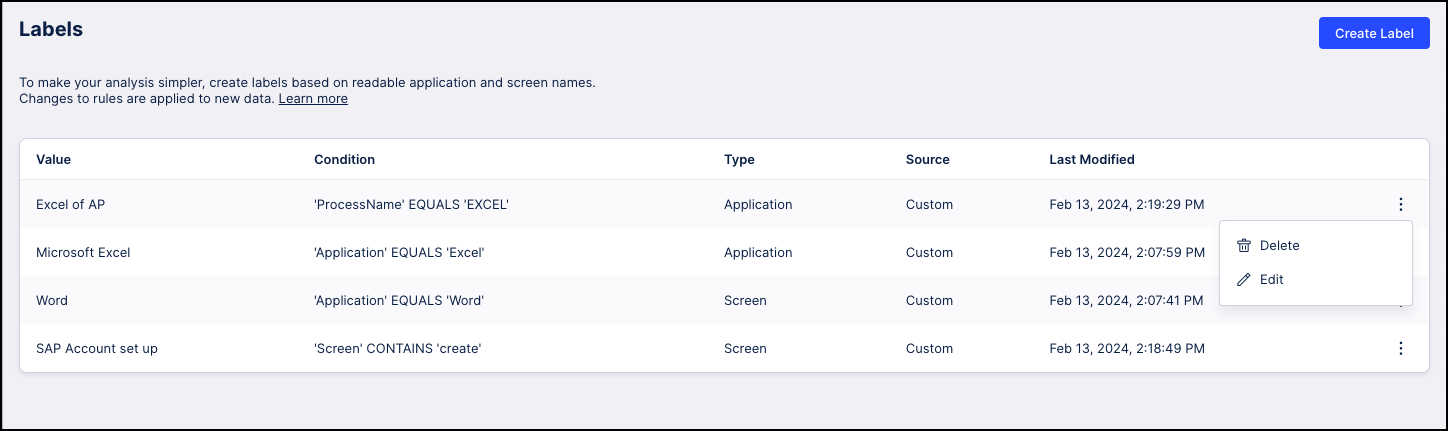
To modify an existing label, click the three dots on the far right and select "Edit".
Make any necessary changes on the Edit Label screen and then click Save.
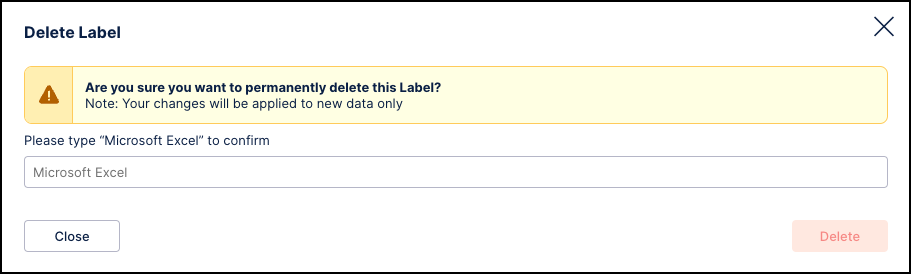
To remove an existing label, click the three dots on the far right and select "Delete".
Use the text field to confirm that you want to delete the label and then click Delete.