Set up emission calculation trigger
Download the action flow blueprints
To trigger the carbon engine inside the app, we are using two action flows (“Emission Calculation - user input” and “Emission Calculation - data based”). Please download the blueprints of these action flows from the marketplace page of the app.
Create the action flows and import the blueprints
Create a new action flow inside the app package and call it “Emission Calculation - user input”. Import the corresponding blueprint.
Set up the action flows the following way:
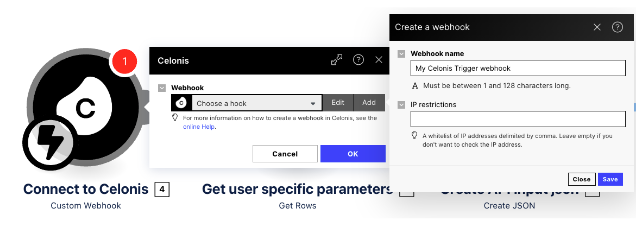
Add a hook to “Connect to Celonis” module
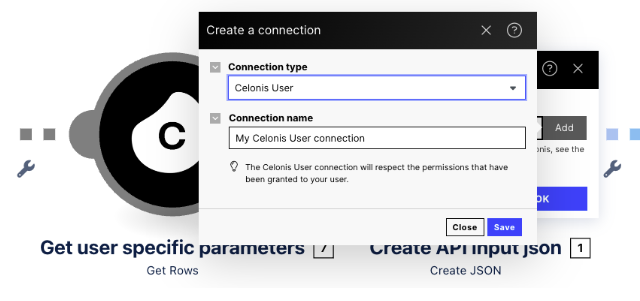
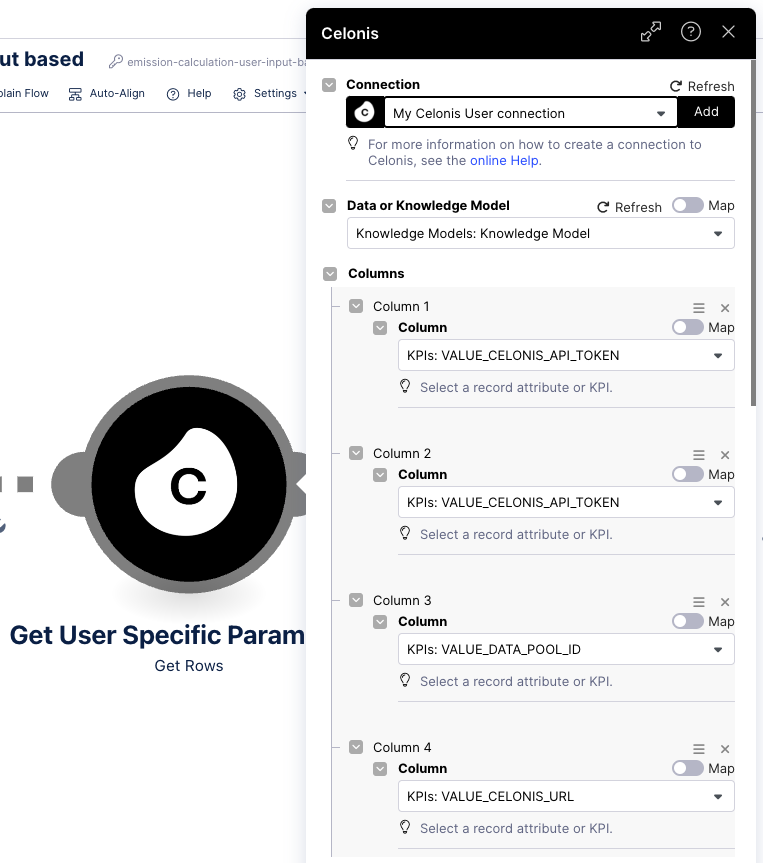
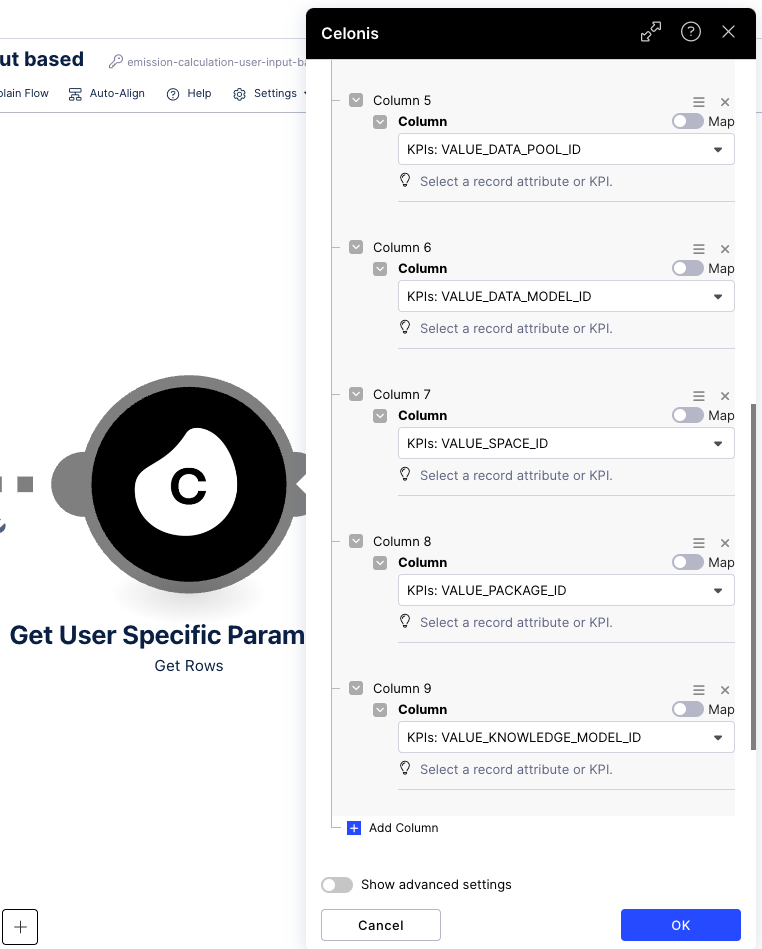
Add connection to “Get user specific parameters” module (the recommended option here is the choose “Celonis User” as connection type
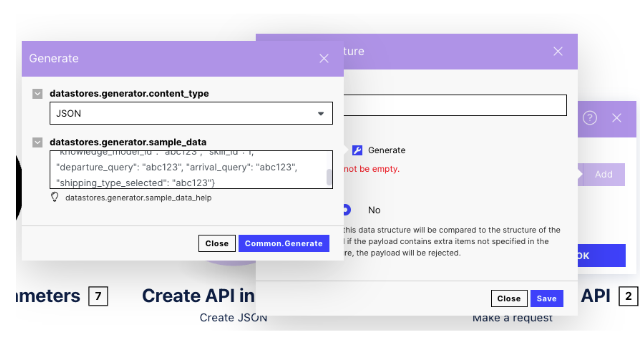
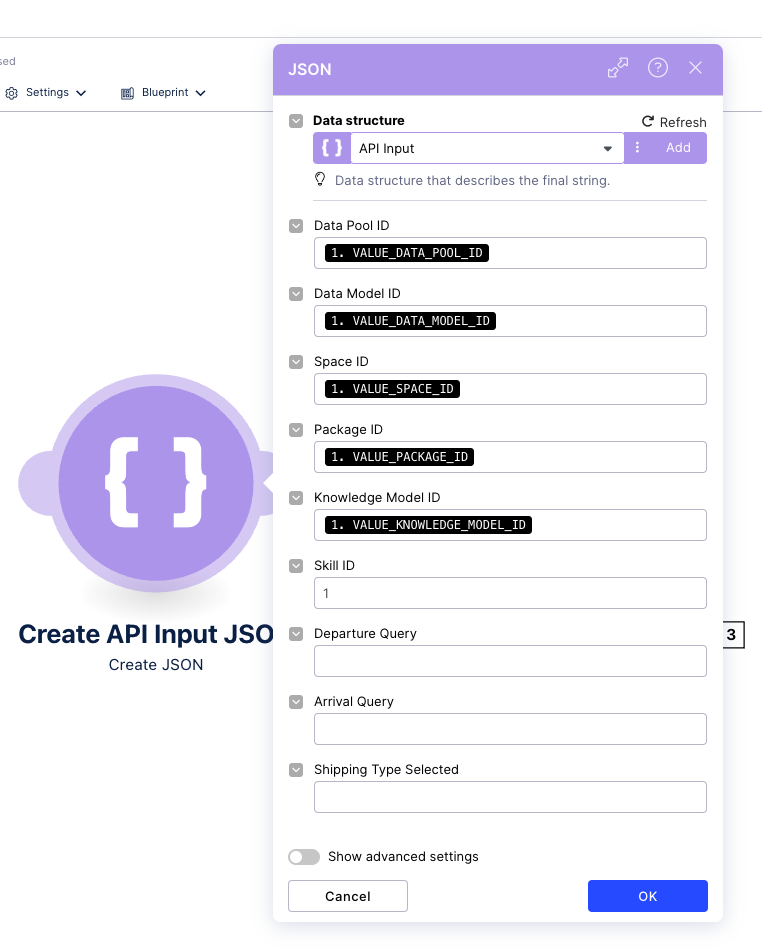
Configure the json structure for the “Create API input json” module by using the json generator and copy/paste the following example:
{"data_pool_id": "abc123", "data_model_id": "abc123", "space_id": "abc123", "package_id": "abc123", "knowledge_model_id": "abc123", "skill_id": 1, "departure_query": "abc123", "arrival_query": "abc123", "shipping_type_selected": "abc123"}
Save the action flow
Create another action flow inside the app package and call it “Emission Calculation - data based”. Import the corresponding blueprint.
- Select the same user connection for the “Get user specific parameters” module as above
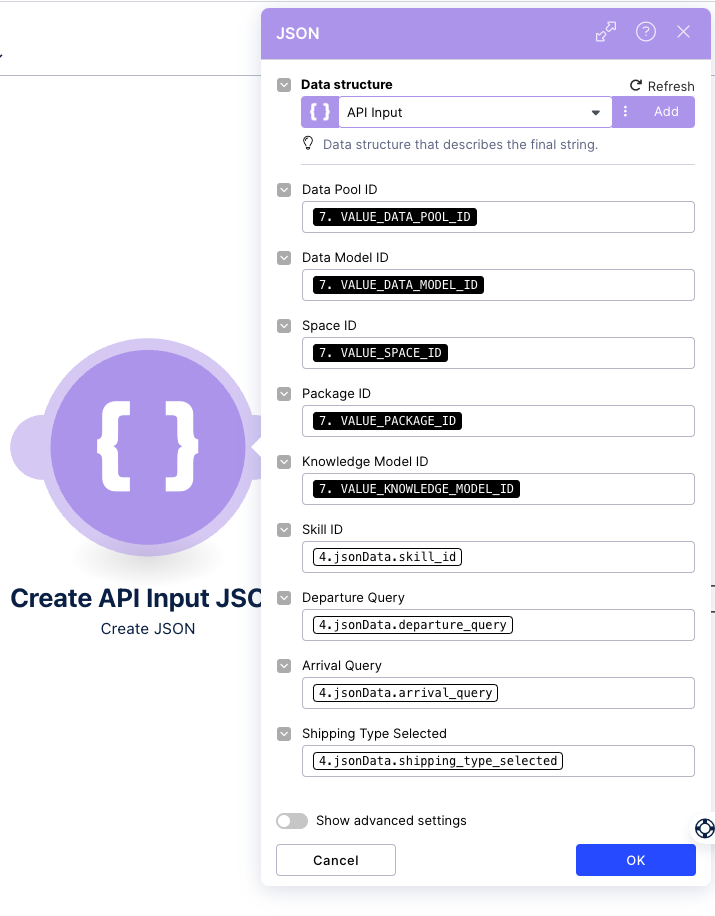
- Select the same data structure for the “Create API Input json” module (json will look a bit different) as above
Tip
The “Emission Calculation - data based” action flow can be scheduled based on the frequency with which the emission calculation should be performed.
Save the action flow
Important
After setting up the action flows, please test and activate them. If the execution was successful, please publish the package.
After setting up the action flows, please test and activate them. If the execution was successful, please publish the package.
Notice
Make sure that the action flows have been executed at least once so that the emission job can be created in the backend.
Set-up the “trigger carbon engine” skill
- Go to the “Trigger Carbon Engine” skill, click on edit and select the “execute action flow” module.
- Make sure that the Action Flow “Emission Calculation - user input” is chosen.
- Test the execution of the skill by clicking on the "Test" button and filling out the input parameters (example: skill_id = 3, departure_query = DE, Hamburg; arrival_query = DE, Berlin; shipping_type_selected= 0’)
- Publish the package.