Configuring the Run Celonis SRM Data Importer action flow (case-centric data models only)
The Run Celonis SRM Data Importer action flow runs the Data Importer script to extract data from tables in the Celonis data pool and upsert it into the Salesforce platform. You only need this action flow if you’re using a case-centric data model with the Sailfin Accounts Receivable app suite. Here’s how to configure it:
In your Celonis team, select Admin > Applications > Create new App Key to create an application key. The application key needs User permissions on the Studio space where you’ve installed the Sailfin Accounts Receivable app suite package, and User permissions on the package itself. Application keys has the instructions. You’ll need administrator permissions to create the application key.
In the Celonis navigation bar, select Studio.
In the Studio overview, find the app suite package in the space where you installed it, and click its tile.
In the package navigation, select the Run Celonis SRM Data Importer action flow.
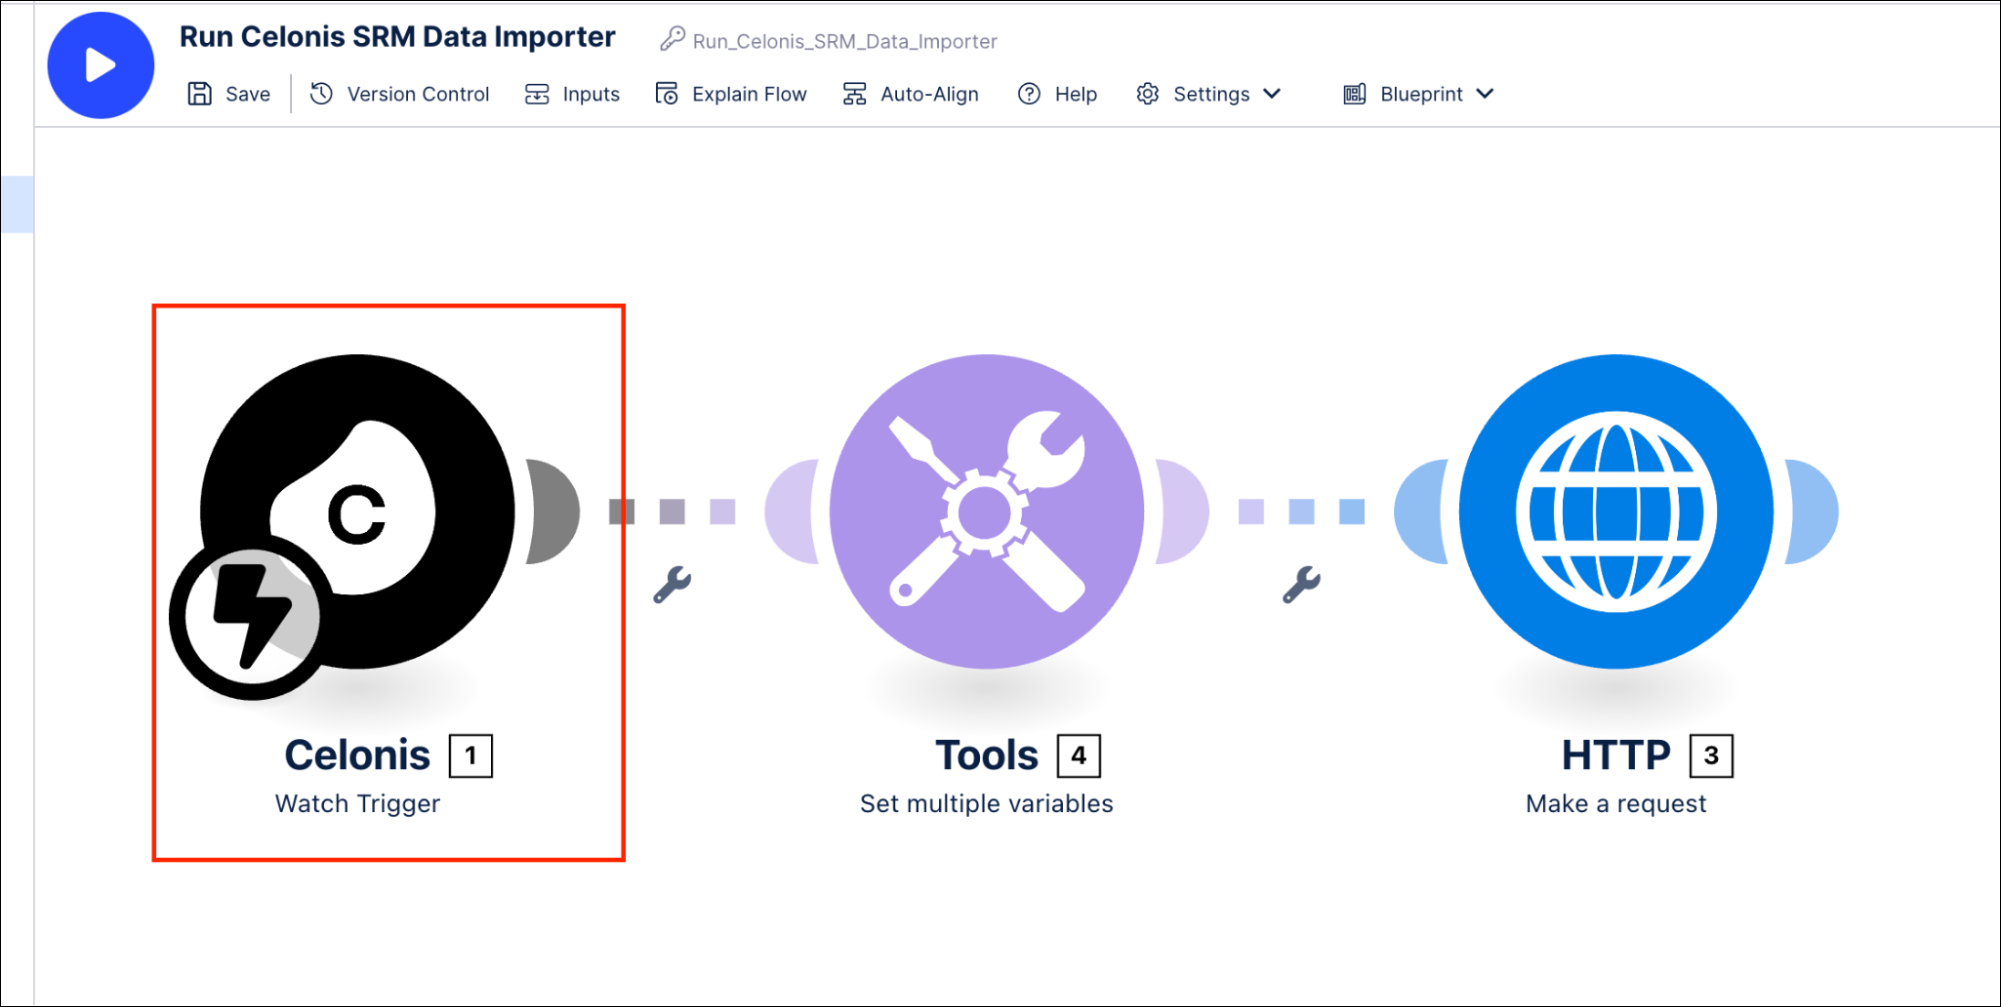
Click Edit to enter edit mode, then select the first module Watch Trigger.
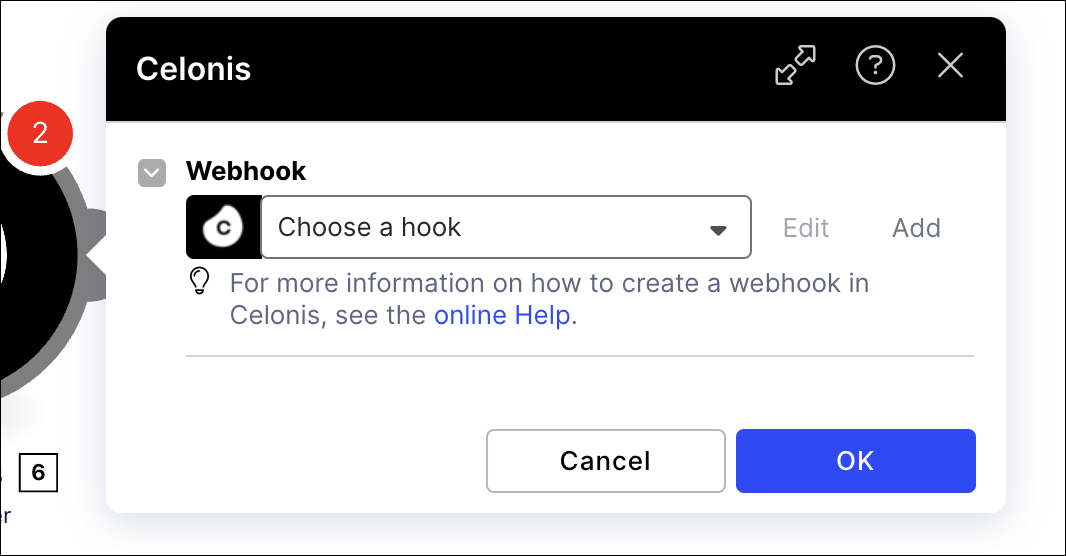
Click Add to add a new webhook.
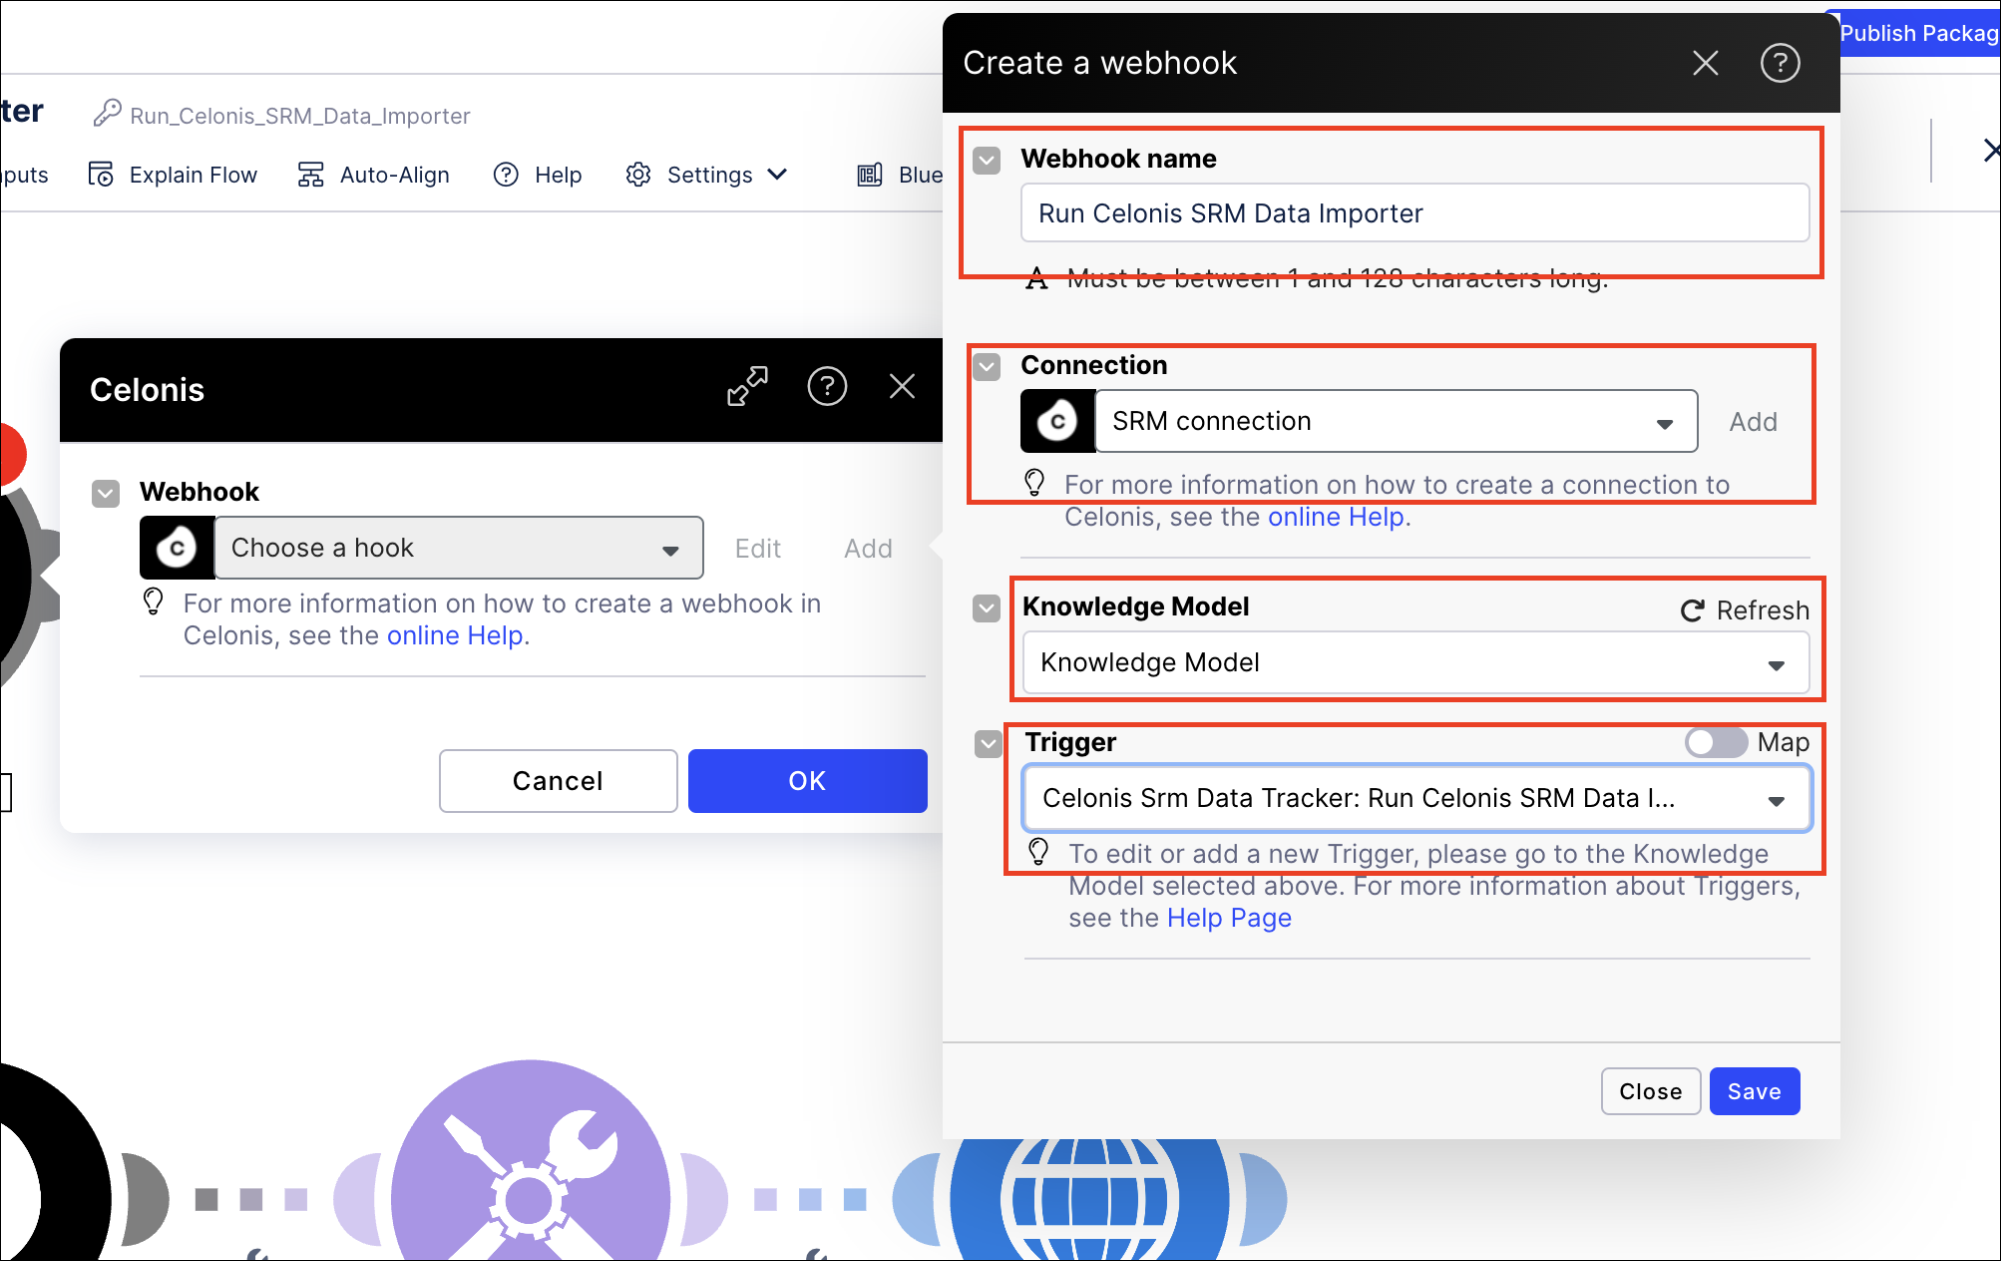
Complete this information for the webhook:
Webhook name: use “Run Celonis SRM Data Importer”.
Connection: select “SRM connection”.
Knowledge Model: select the Knowledge Model from the Sailfin Accounts Receivable app package.
Trigger: select “Celonis SRM Data Tracker: Run Celonis SRM Data Importer”.
Click Save to save the webhook.
Click Add to create the connection to the Sailfin app environment. We recommend selecting “Celonis Application Key” as the connection type. “Celonis User” runs all modules as the specified user.
For the “Celonis Application Key” connection type, enter the application key that you created earlier, and click Save.
For the “Celonis User” connection type, enter the connection name and click Save.
Click OK to complete the connection.

Select the second module Set Multiple Variables.
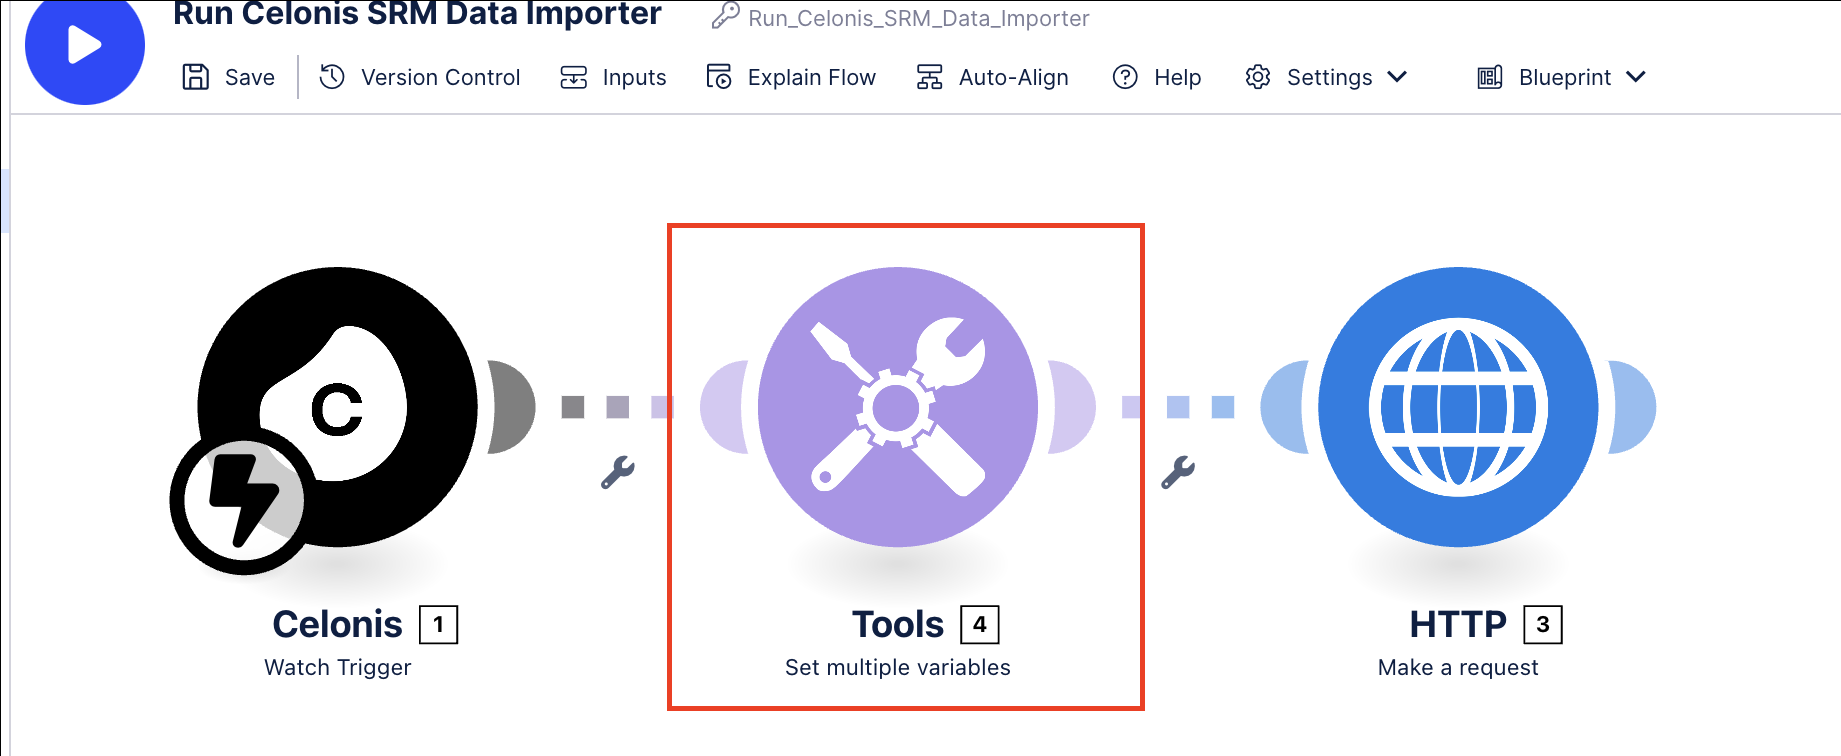
Fill in these variable values:
teamURL: The URL for your Celonis team.
appKey: The application key that you created earlier.
executionFileName: The path to the notebook “data_importer.ipynb”, which is the Data Importer script.
notebookId: The notebook ID from the URL of the Data Importer script, “data_importer.ipynb”. Open the notebook with the script and copy the path. The ID is in the position shown in the URL:
<teamURL>/machine-learning/ui/notebooks/<notebook-ID>/lab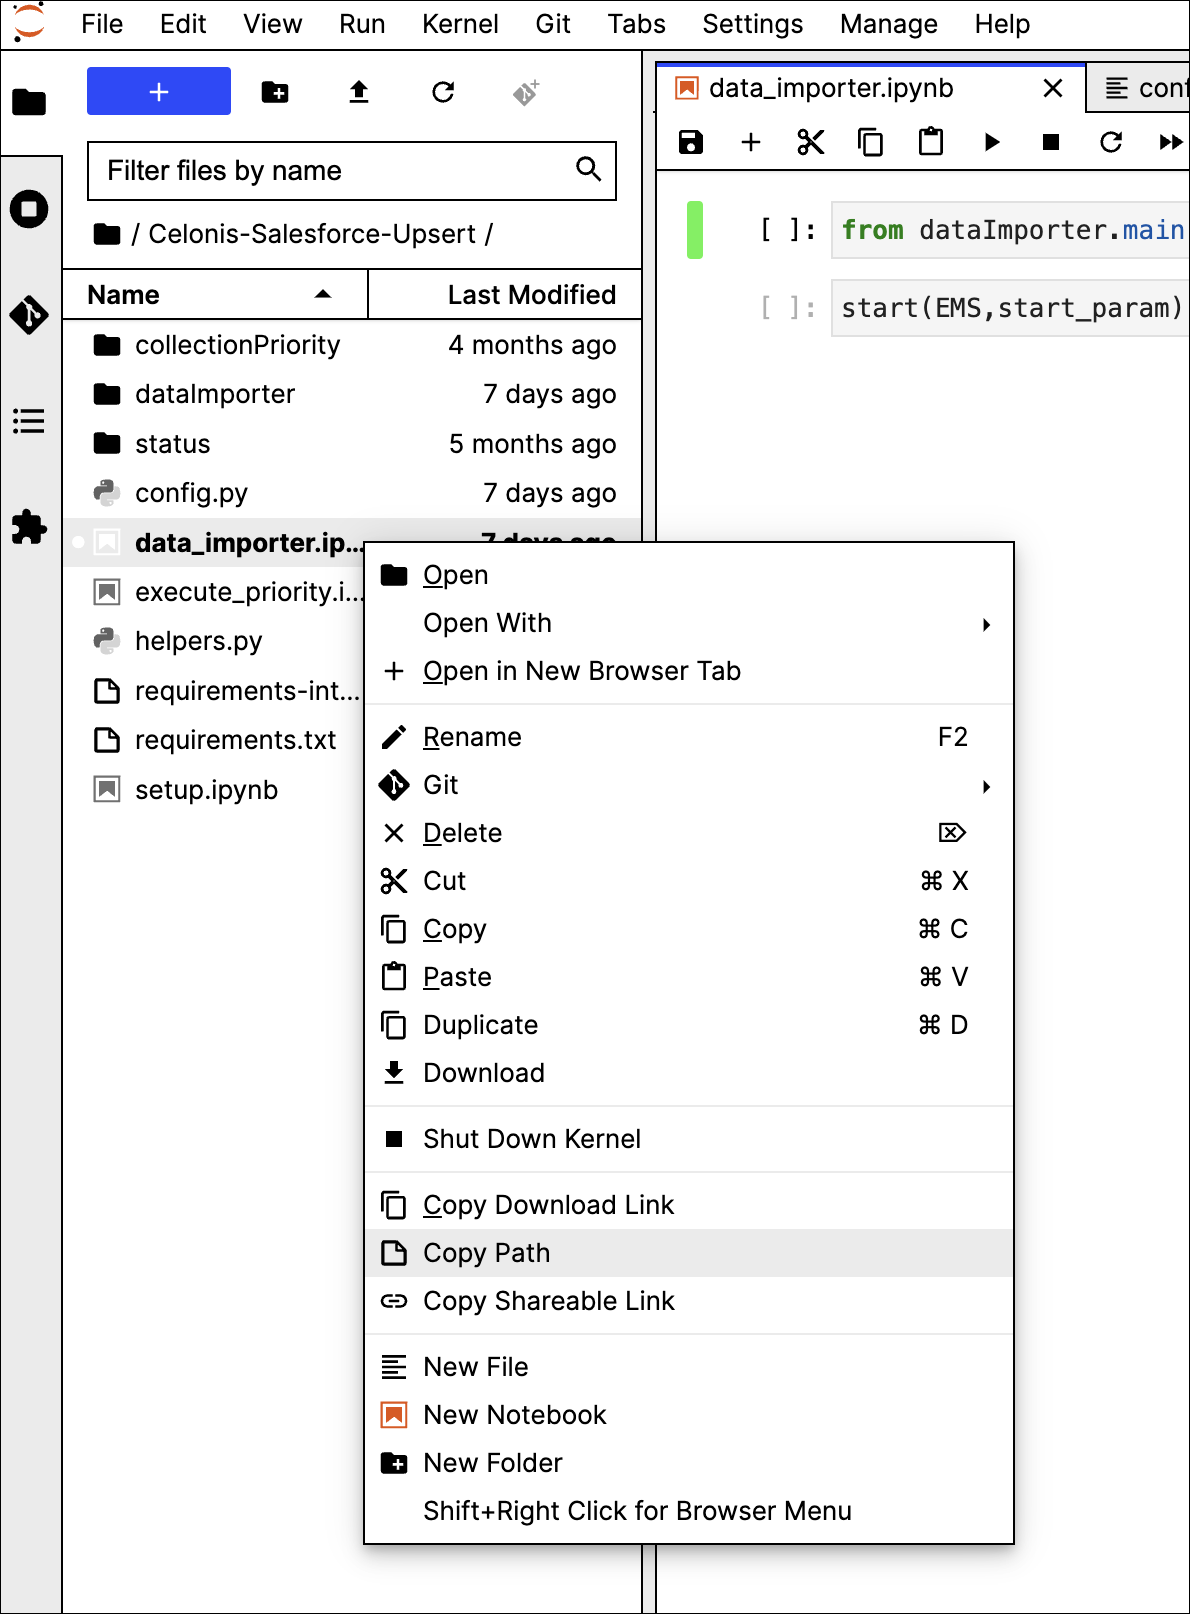
EMS: use the value “1.0” for a case-centric data model.
Save the action flow.