Filtering in Process Adherence Manager
You can filter on event logs, event types and relationships to change what is included in the process model and displayed in the process model graph.
You can use filters created elsewhere in Studio that have been saved to your knowledge model or create your own filters before saving them to your knowledge model. Any filters saved to your knowledge model can be used in other parts of Studio.
Adding a filter in PAM
To add a filter, follow these steps:
Click the Filter icon in the top left of the screen.
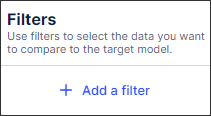
In the Filters panel, click Add a filter.
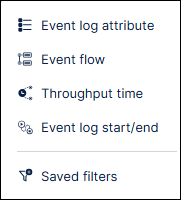
Select the type of filter you want to add from the dropdown list.
Tip
Hover over any option to see a description of the filter type.
Enter the criteria for your filter from the lists provided.
The available fields and options vary based on the type of filter being created. You can also use Search to narrow down the list of options.
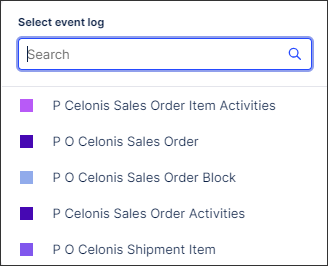
Select the specific items you want to filter on from the dropdown list.
Click Apply filter.
The process model graph and data and coverage information are automatically updated based on your selected criteria.
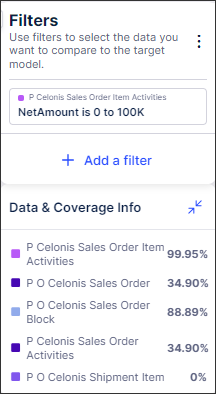
Save your filters to the knowledge model if you want to reuse them.
Using preset filters from the knowledge model
To use a preset filter, follow these steps:
In Model Miner, select the pencil icon to enter Edit Mode.
In the Preset filters panel, select Add a filter.
Click Saved filters to view any filters saved in your knowledge model.
Select any filters you want to apply.
The process model graph and data and coverage information are automatically updated based on the filter criteria.
Tip
Hover over the info icon to view the filter PQL query.
Saving filters to the knowledge model
To save a filter, follow these steps:
In the Filters panel, click the triple-dot icon.
Select Save all filters in Knowledge Model.
Enter a name for your filter when prompted to do so.
Select Save.
Tip
Any filters saved to the knowledge model can be used in any Studio assets that use the same knowledge model. This means you don't need to re-create filters multiple times.
Viewing data and coverage information
The Data & Coverage Info panel shows the percentage of the total number of cases that remain in the process model after filtering.
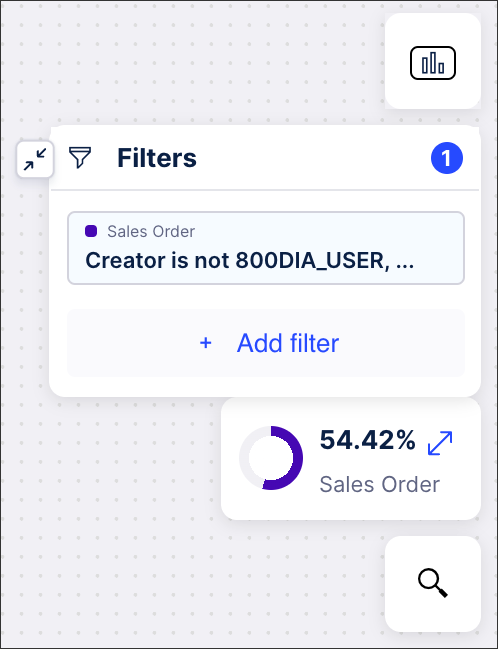 |
You can also view a breakdown of the coverage for all event logs by clicking the double arrows in the upper right corner to expand the panel. The coverage rate for each event or event log that meets the filter criteria is displayed.
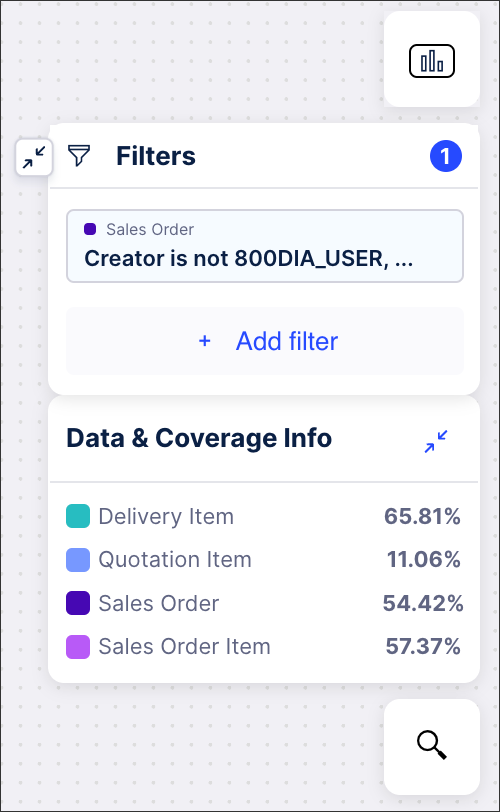 |
Filter types
Filter | Description |
|---|---|
Event log attribute | Filters on event logs based on specified attributes. |
Event flow | Filters on flows based on the specific ordering of events. |
Throughput time | Filters on flows based on the throughput time between two events. |
Event log start/end | Filters on events logs that start or end with a specific event type. |
Saved filters | Filters that have been saved in your knowledge model. Note You must be in edit mode to apply this filter type. For more information, see Using preset filters from the knowledge model. |