Creating an Annotation Builder
Creating an Annotation Builder involves entering a unique name and selecting the Knowledge Model you want to analyze. Once the Annotation Builder has been created, you can configure it by selecting the specific metrics, attributes or event log you want it to analyze.
In order to create your Annotation Builder, you need:
Access to the Studio asset containing the data you want to analyze
A unique name that does not match any existing Annotation Builder
To create an Annotation Builder:
In Studio, go to the space where you want to add an Annotation Builder or create a new space.
In the space, open the package where you want to add an Annotation Builder or create a new one.
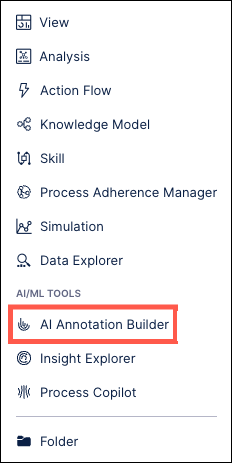
In the panel on the left, click New asset and select “AI Annotation Builder” from the dropdown.
In the Create AI Annotation Builder window, enter a name for your new Annotation Builder and then use the dropdown to select the specific Knowledge Model you want to use.
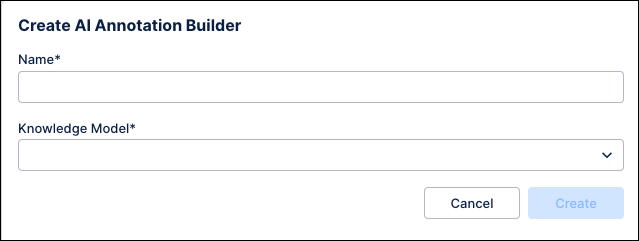
Click Create. Your Annotation Builder is created and ready to be configured.
