Creating custom events from a table
You can create custom events from a table in your source systems, saving you from manually recreating them. This approach streamlines event modeling by automatically generating the SQL transformations that map event types and relationships to the data. It also enables bulk event creation and configuring event-to-object relationships.
Using the import wizard, an event will follow the raw data if it fits one of the three supported structures:
A column(s) of the table represent an event(s).
A row in the table represents an event (as an event log).
A row in the table represents an event (change table with old value / new value).
To import your objects and events, the data source must be accessible via a data connection in your data pool.
To share data between your data pools, see: Sharing data between data pools.
For the video overview:
To import custom event types from a table:
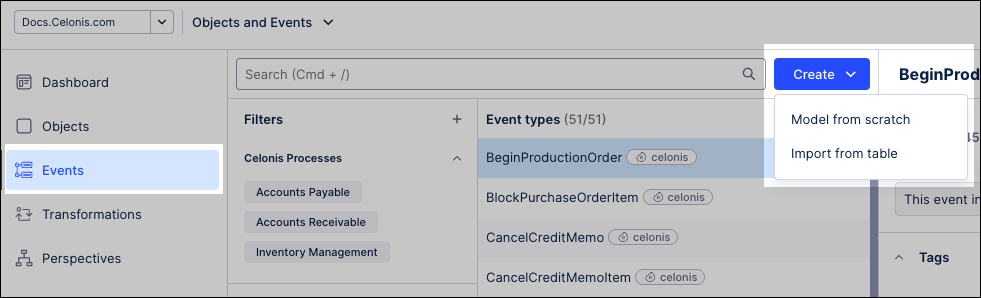
Click Events.
Click Create - Import from table.
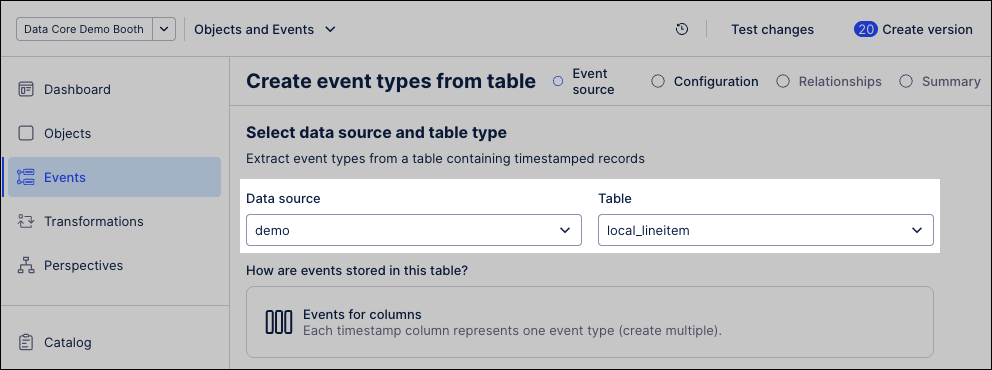
Select your data source, then select the target tables to import.
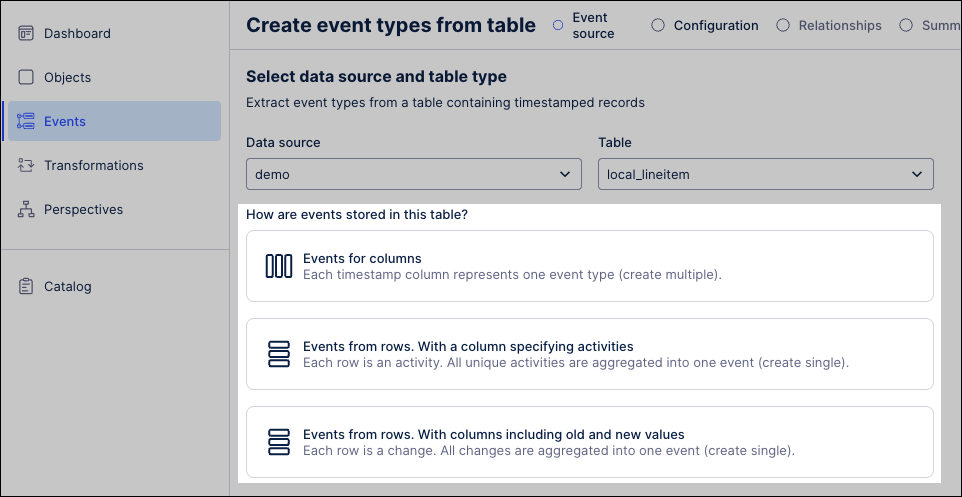
Select an event storage structure:
Events for columns:Each timestamped column represents one event type (create multiple).
Events from rows, with a column specifying activities: Each row is an activity. All unique activities are aggregated into one event (create single).
Events from rows, with columns including old and new values: Each row is a change. All changes are aggregated into one event (create single).
Click Next.
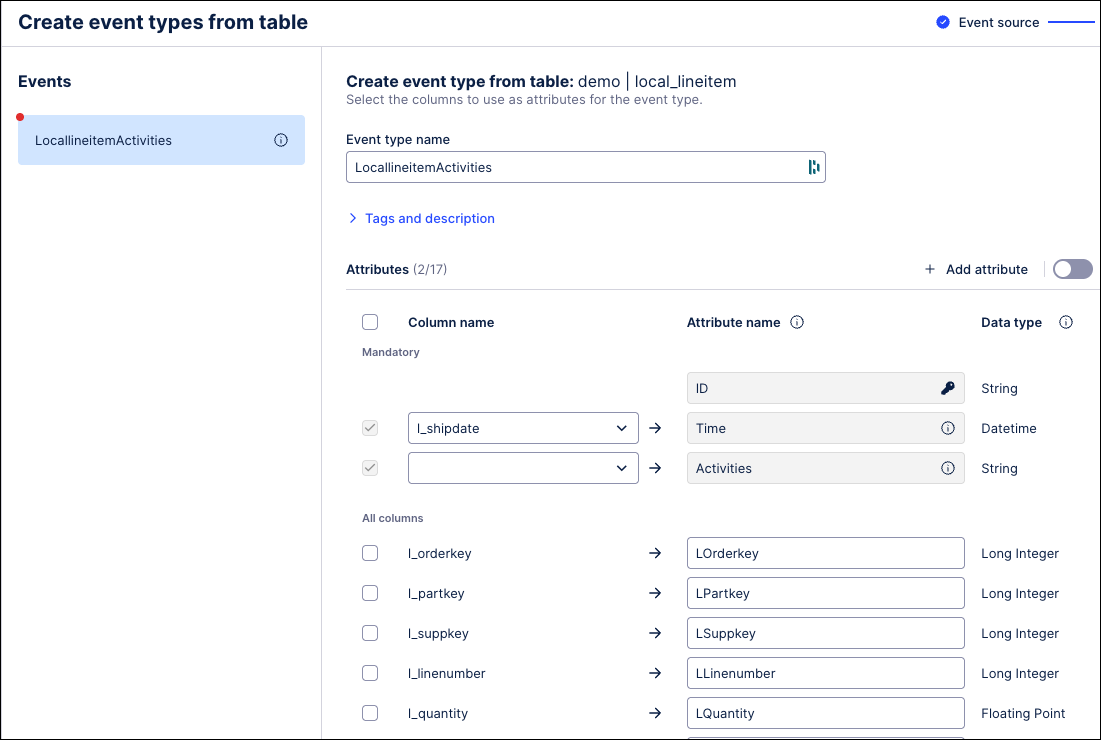
The imported events are displayed in edit mode.
Select the table to review the events generated from it.
Optionally configure the following:
Columns: Check or uncheck columns to include or exclude them.
Add attributes: Click Add attribute to create additional attributes populated from data outside the selected table.
Rename attributes: Rename existing attributes (defaults to the column name).
Tags and descriptions: Apply existing Celonis tags or create custom tags (up to 41 characters) for filtering and reuse.
Click Next to move on to the optional Relationships step.
Relationships describe how objects and events are connected. To learn more, see: Objects, events, and relationships.
Click Next, review the events that you're creating, and then click Create.
The system creates the events and displays them in your dashboard.
We recommend reviewing transformations now. To do this later or edit event types, click Go to events.
Custom object types and event types can be extended over time by adding attributes and relationships, including links to existing Celonis objects and events. Object and event extensions are available after publishing in the current environment. A production deployment is only required if the analysis runs in production.
To extend or edit an existing object or event:
From the dashboard, click Objects / Events.
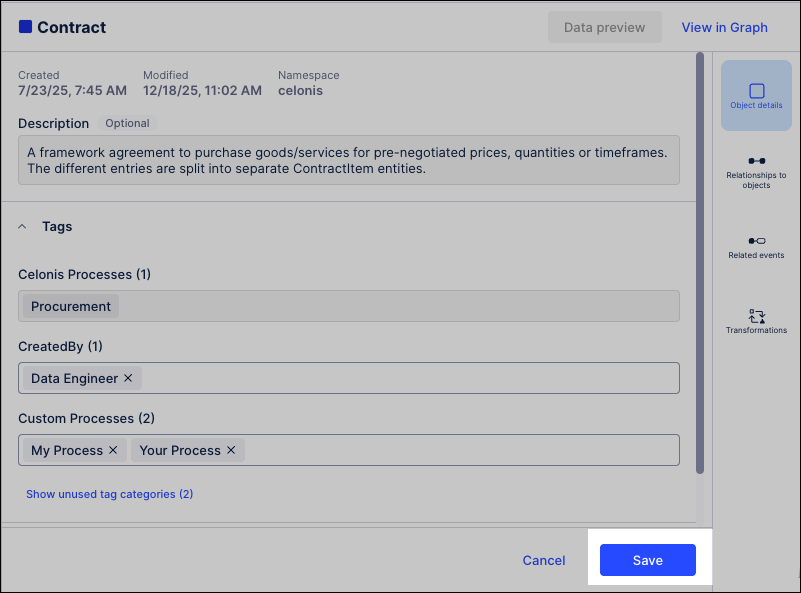
Select the object or event you want to extend, opening the configuration panel.

Make the necessary updates to the object or event, using the information provided in the above procedures.
Click Save.
Optional: If the object or event extension is required in your production environment, click Deploy.
For more information about versioning and deployment, see: Versioning and deploying OCDM.