Creating Orchestration Engine overview
Celonis Orchestration Engine is a process orchestration capability in Celonis Platform that allows you to design and manage end-to-end sequence of your business process. Within the platform itself, Orchestration Engine has a corresponding asset called Process Orchestration. Process Orchestration is where you build and manage your process. This asset can be added to any of your Studio packages.
This page give you an overview of how to create and set up your first Process Orchestration.
Create an OAuth client with the necessary scopes. For step-by-step instructions on how to add a new OAuth client to Celonis Platform, see Registering your OAuth client in the Celonis Platform. The minimum required scopes for the Orchestration Engine are:
orchestration-engine
studio (knowledge-models:query, knowledge-models.augmented-attributes:update, studio, triggers:manage).
Give your new client package permissions. In Studio, find the listing for the relevant package within the relevant space and click the associated three dots on the far right to open up the Permissions associated with the package.
Search for the name of your OAuth client as a user, and in the Template column, select "All Permissions" and save.
In your Studio package, select New asset > Process Orchestration.
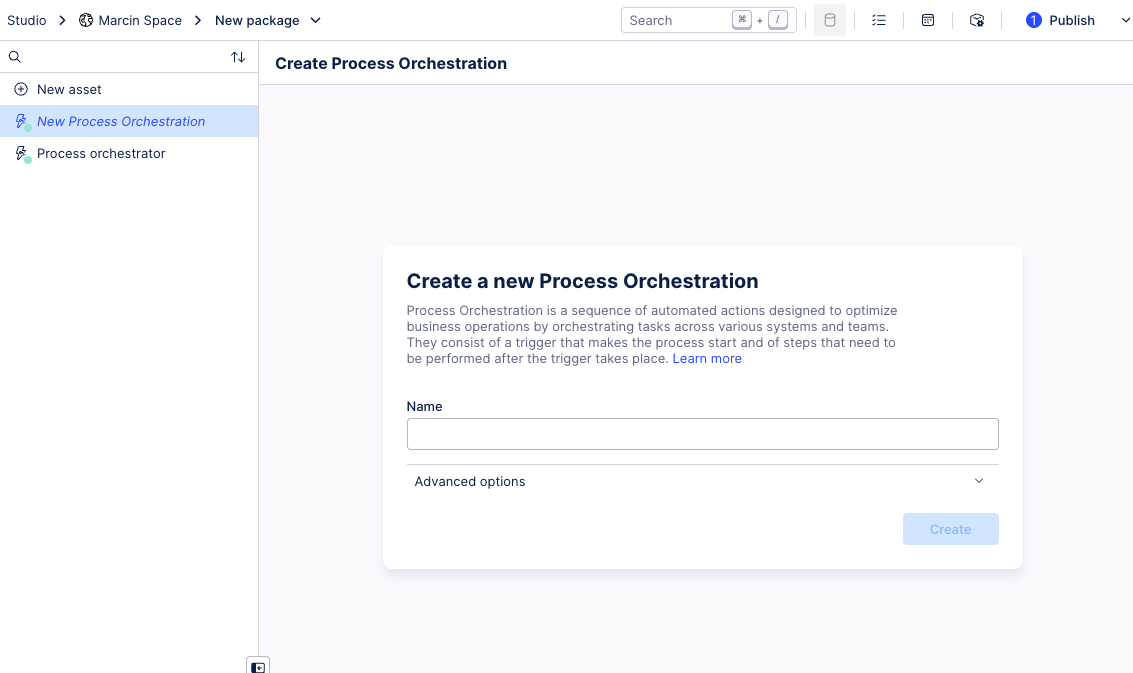
Give your Process Orchestation a name and click Create.
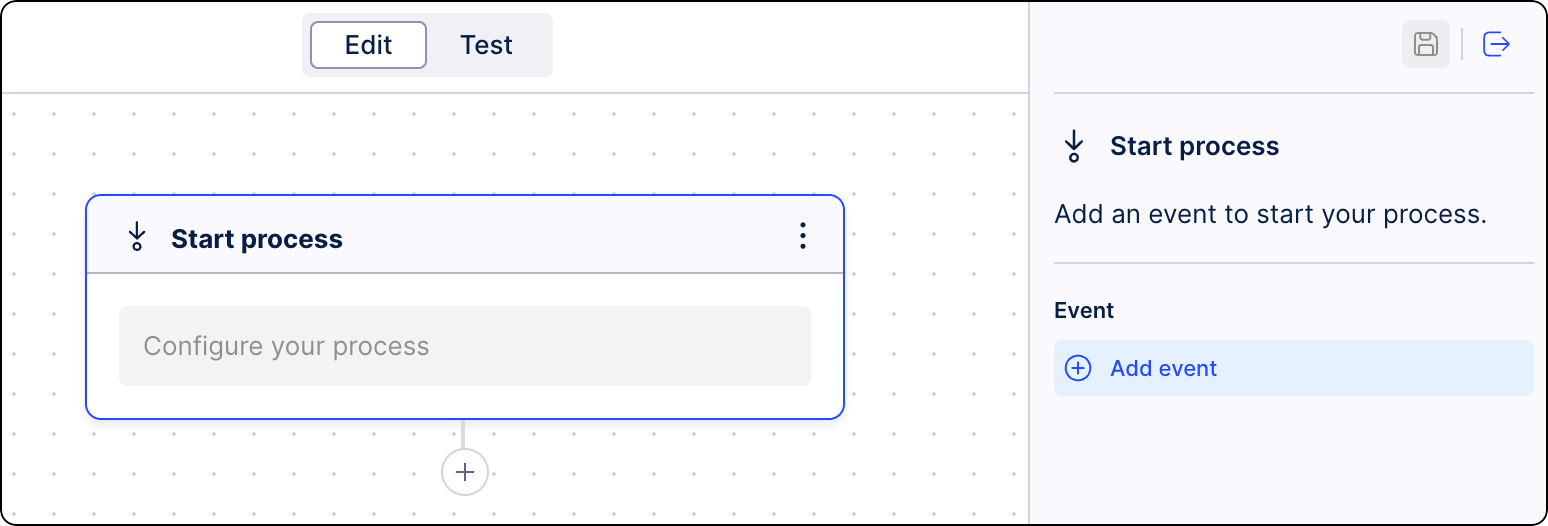
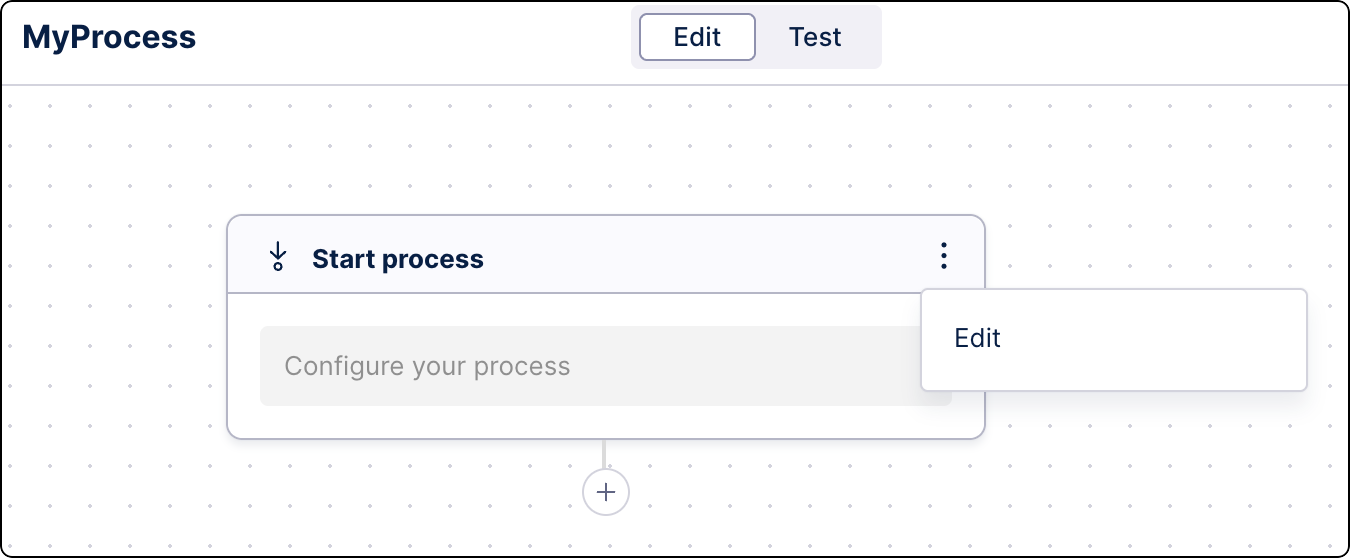
Process Orchestration opens in edit mode. It already has the Process Start step created for you.
Edit the Process Start step by adding an event. This will be a trigger for your orchestration.
From the side panel, click Add event.
Select from already available events or create a new one. For more information, see Starting Process Orchestration.
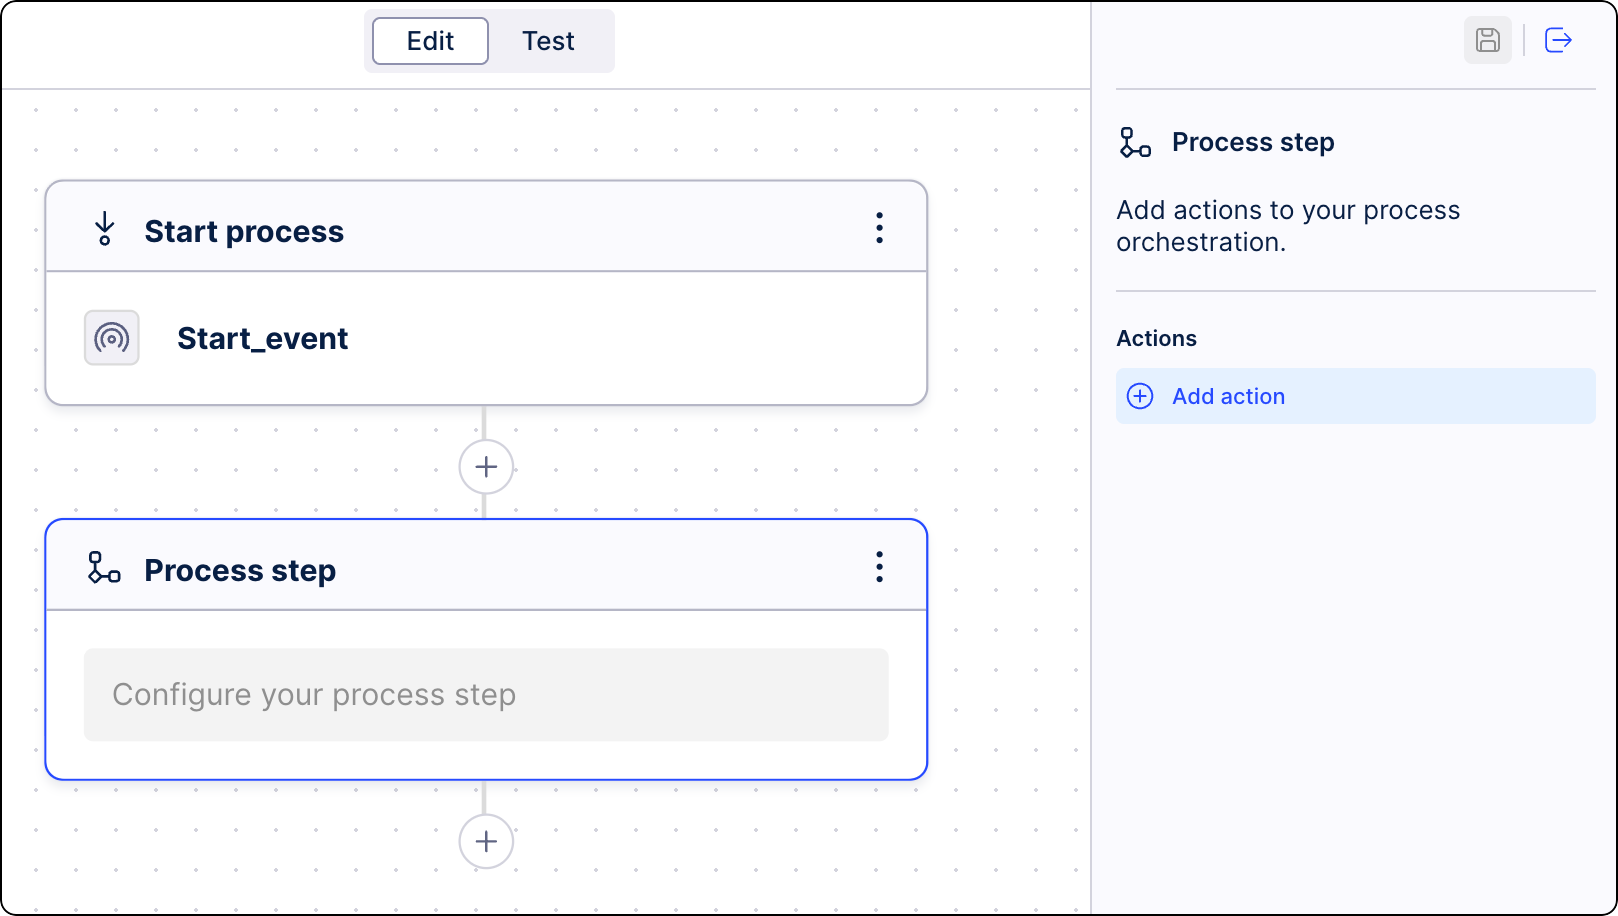
Add Process steps (using the "+" icon), where you can add an Action, like an Action Flow or an AI Agent, and define conditions.
Below the Process start, click the “+” icon, and select Process step.
From the side panel, select Add Action.
Define conditions for the step activation. Click Create conditions. See Adding conditions to Process Orchestration steps.
Select a type of action you want to be taken in this step. Click one of the available tabs: Action Flow, Cloud function, or AI Agents. For more information, see Editing process steps.
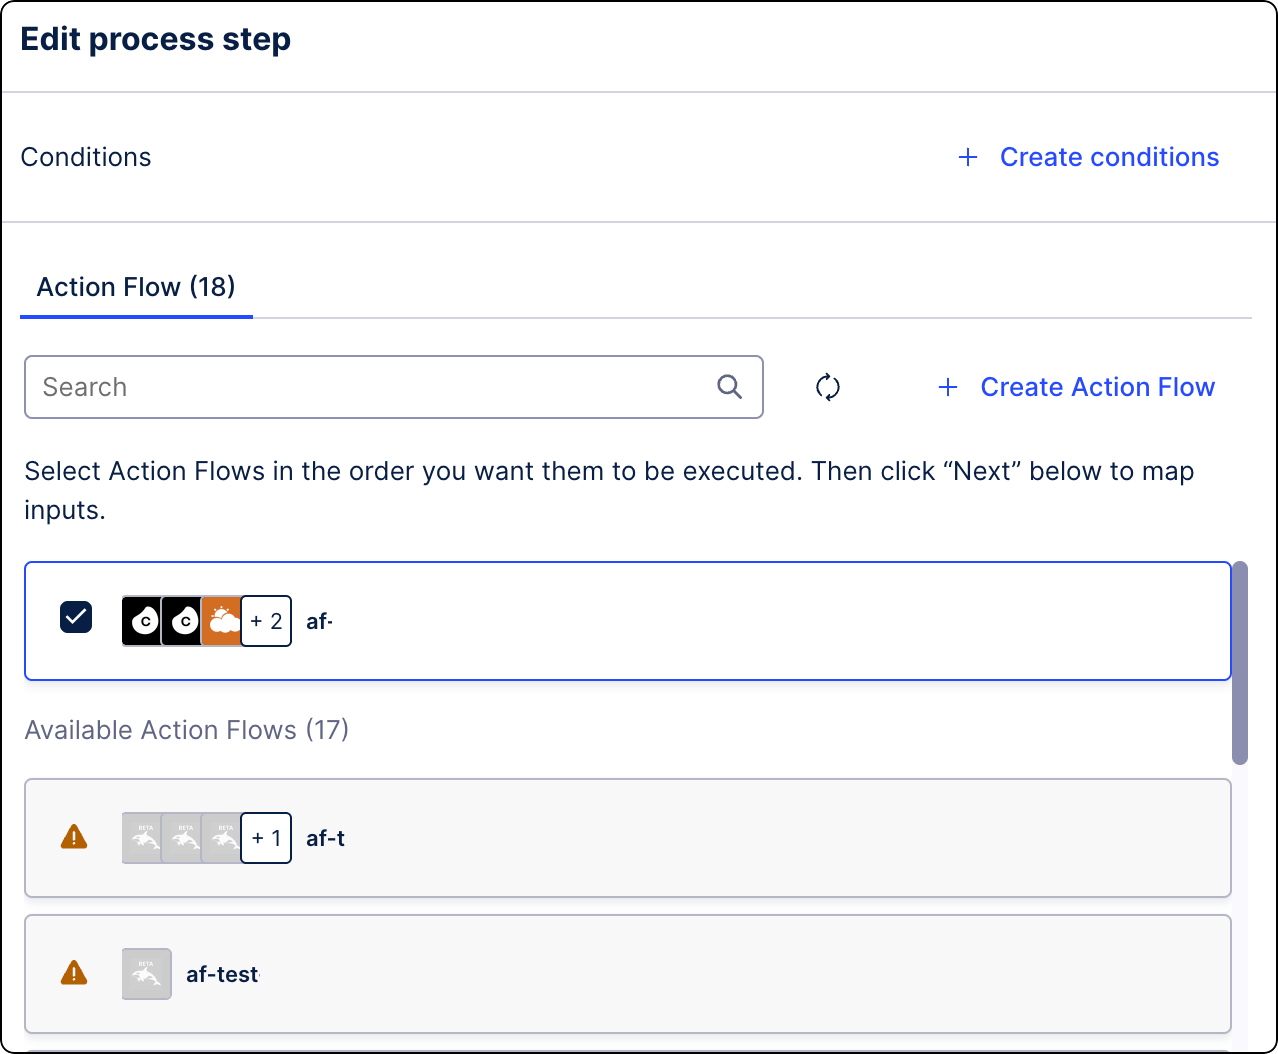
Click Next.
You can add as many steps as needed for your business scenario.
You can also add a Process resume step with an event to unpause a process:
Below the previous process step, click the “+” icon, and select Process resume.
From the side panel, select Add event.
When your process is set up, click Deploy to activate it.
We recommend testing Process Orchestration before deployment. See Testing Process Orchestration.
Your Process Orchestration is now operational.
Once your flow is visually mapped out, save and deploy the process orchestration asset. You can then use the built-in Test button to supply a sample JSON data payload and verify that your end-to-end process runs correctly. See Testing Process Orchestration.
Now, let's apply this knowledge to a real-life example to illustrate how Orchestration Engine strings together automated system checks, external human interactions, and ERP write-backs. Here is how you would apply the setup steps to a case like Missing Vendor Purchase Order (PO) Confirmations:
Configure authentication: First, you set up an OAuth Client in your environment so your underlying Action Flows have the necessary permissions to securely query your Celonis data model for unconfirmed POs and eventually write data back to your ERP.
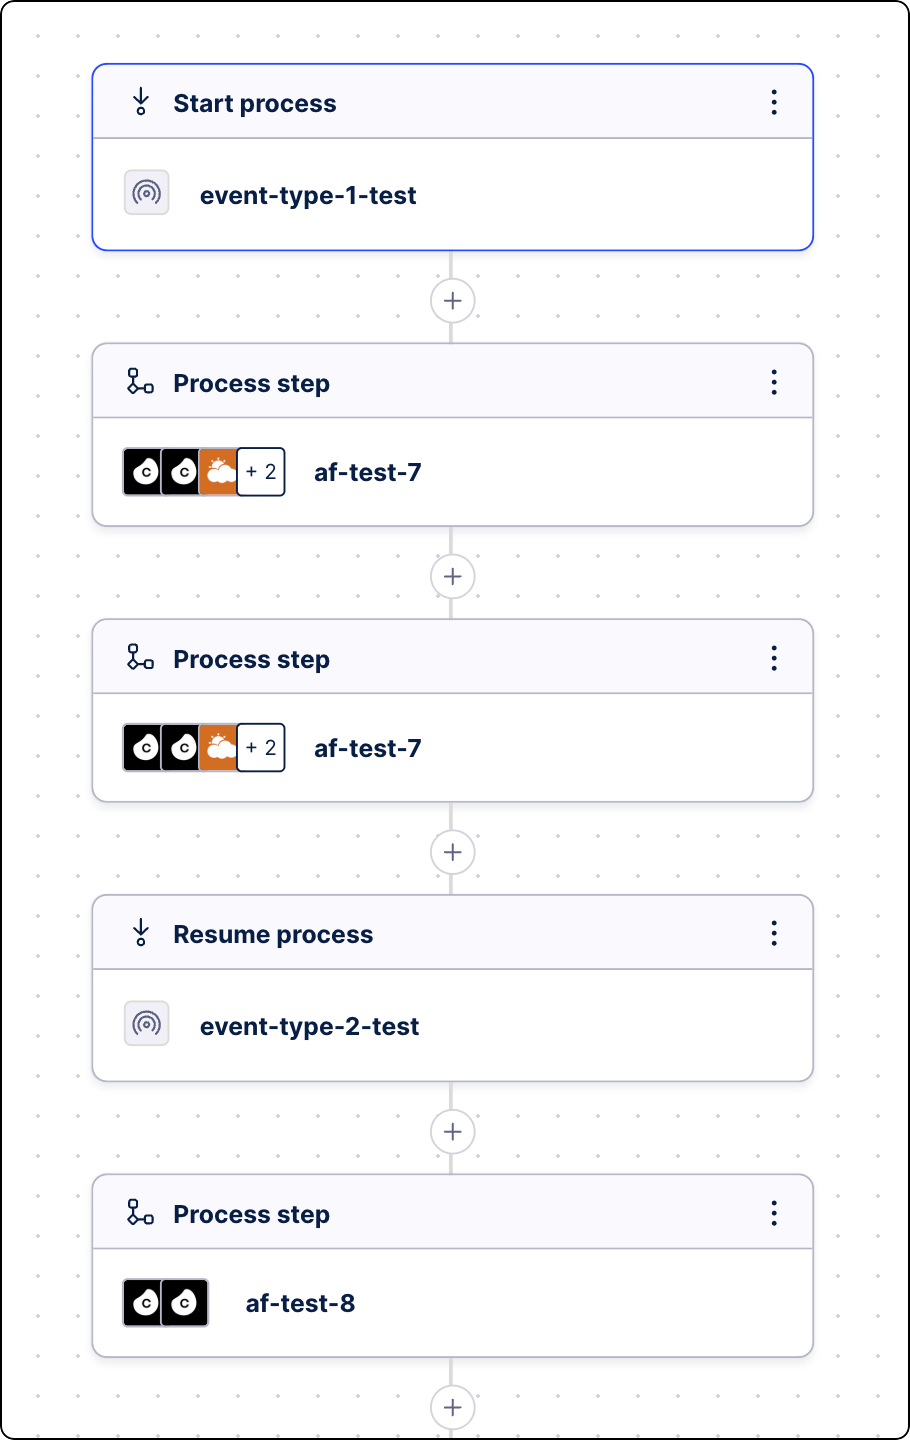
Create the Asset: In your Studio package, you create a new Process Orchestration asset and name it "PO Confirmation Triage":
In a Start Step,you add a Start Event (webhook) that triggers when Celonis intelligence detects a PO is unconfirmed 7 days before delivery
You add a Process Step linked to an Action Flow that generates a pre-populated Form and emails it to the supplier.
You add a Resume Event that pauses the workflow until the "Supplier Form Submitted" signal is received.
You add a final Process Step linked to another Action Flow that extracts the supplier's confirmed delivery date from the Process Context and automatically updates SAP
Publish and test: You save, and deploy the orchestration, then run a test using a test PO payload to ensure the email sends, the form captures the data, and the SAP write-back succeeds