Editing process steps in Process Orchestration
Process steps in Process Orchestration are actual actions performed in the orchestration workflow. Your Process Orchestration can consist of multiple steps, and each step can be built of multiple Action Flows.
In Studio, go to your package and select your Process Orchestration.
Under a start/resume process or another step, click the plus icon and select Process step.
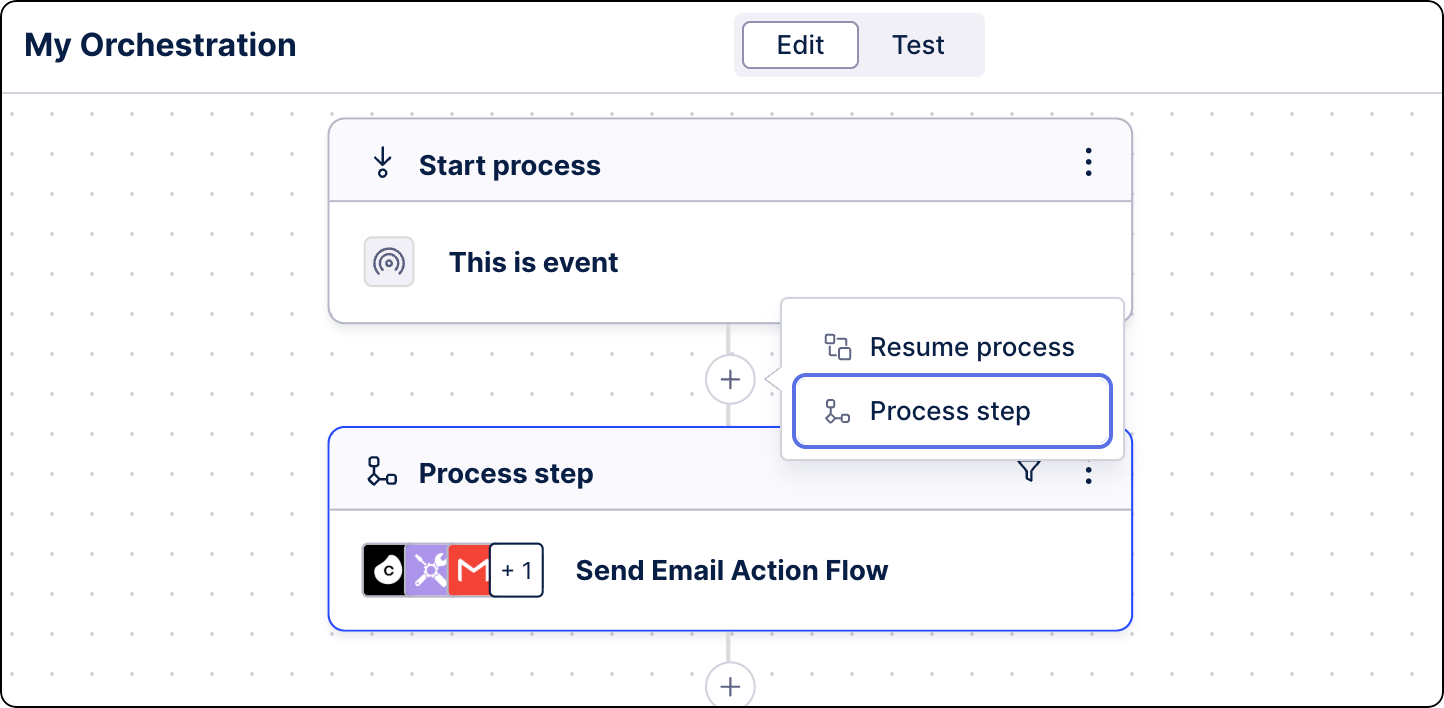
From the right-hand side panel, select Add action.
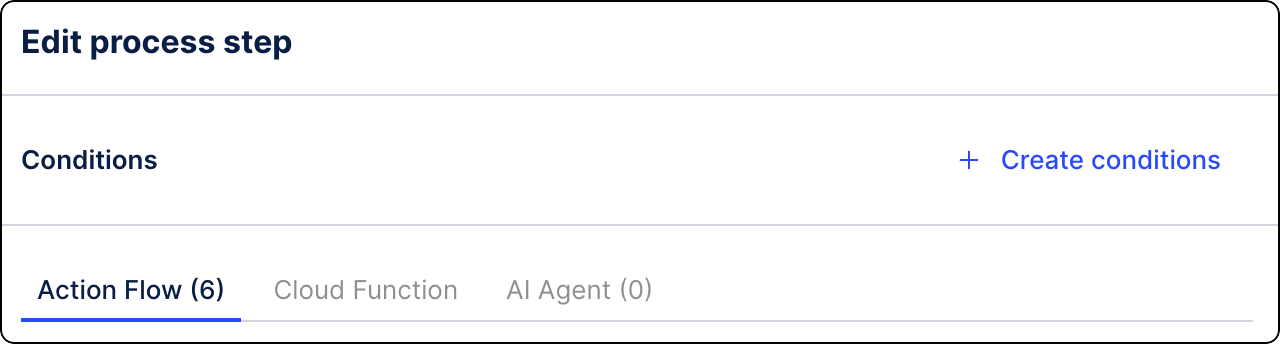
(optional) Define specific conditions that must be met for this step to run. Click Create conditions. See Adding conditions to steps.
From the step editor, select the action type that will be performed in this step. Select one of the following: