Starting Process Orchestration
A Process Orchestration sequence begins with Start process step. These steps are activated by a defined event, which acts as the trigger for the subsequent steps. You can initiate a Process Orchestration in Celonis through several distinct methods, depending on whether you need a manual, automated, or time-based trigger.
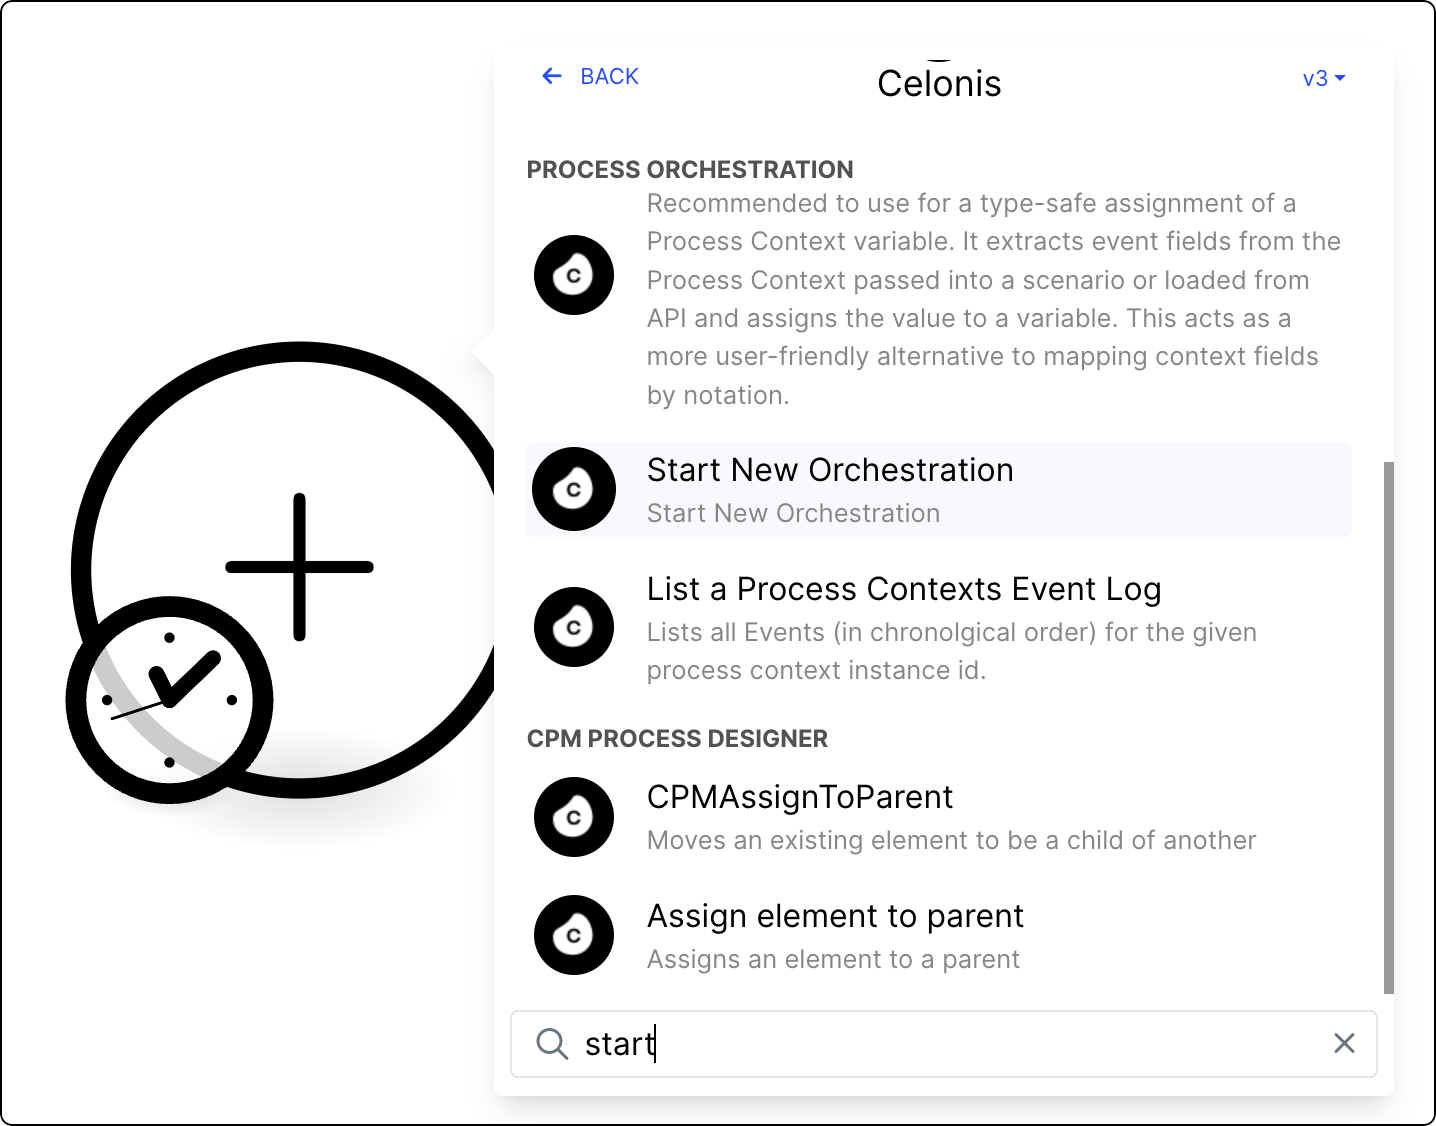
To start a Process Orchestration using an Action Flow, you must use the Start New Orchestration module. This module generates a unique instance ID that can be used to initialize the Start a Process event in your Process Orchestration.
Once created, you can use this Action Flow as a bridge between a manual action in a Celonis View and the Process Orchestration asset. For instance, you can create an Action button in your View, which will trigger a new Process Orchestration through a dedicated Action Flow.
Note
The Start New Orchestration module must be set up in a separate Action Flow, not as an embedded process step within the Process Orchestration itself.
Before you begin
To start the orchestration, the Start New Orchestration module needs a Process Orchestration event that it can reference. If you don't have a Process Orchestration event yet, create one. See Adding events to Process Orchestration.
Building your Start New Orchestration Action Flow
In Studio, go to your package and either start editing an existing Action Flow or start a new one by clicking New asset > Action Flow.
Give your Action Flow a name and set its scheduling.
In the Action Flow editor, click Add module and from the list select Start New Orchestration.
Configure the module:
Select your pre-configured Orchestration Engine OAuth connection.
If there are no existing OAuth connections:
Create an OAuth client with the necessary scopes. For step-by-step instructions on how to add a new OAuth client to Celonis Platform, see Registering your OAuth client. The minimum required scopes for the Orchestration Engine are:
orchestration-engine
studio (knowledge-models:query, knowledge-models.augmented-attributes:update, studio, triggers:manage).
Give your new client package permissions. In Studio, find the listing for the relevant package within the relevant space and click the associated three dots on the far right to open up the Permissions associated with the package.
Search for the name of your OAuth client as a user, and in the Template column, select "All Permissions" and save.
Select the Start a Process event that will serve as the designated trigger for your orchestration.
If there are no events available, create one. See Adding events to Process Orchestration.
In the Start New Orchestration module editor, define a subject to easily identify the specific event instance in the user interface.
(optional) Select Map as JSON String and input a structured JSON payload to pass the necessary data variables into the Orchestration Engine.
Save your Action Flow.
Version and deploy the package with the Action Flow. See Versioning and deploying packages.
Switch the Action Flow to active.
Your Start New Orchestration Action Flow is set up and ready to use. Now you must decide how you want the Action Flow to be triggered. We recommend doing one of the two:
Manually trigger the Process Orchestration from a frontend dashboard, for example, through an Action Button in a table. See Adding Actions to Studio components.
Automatically start the Process Orchestration based on a schedule or trigger (e.g. through a webhook trigger based on a record being updated in your data)
In Studio, go to your package and select your Process Orchestration.
Select the Start process step and from the side panel, click Add event.
Select an event in one of the following ways:
Select an event from the list.
Add a new event. Click Create event.
Give your event a name (key) and a description (label) for easy identification in the event list.
Toggle Link asset to add extra assets that will be used as triggers for Process Orchestration.
These assets can only be used to start Process Orchestration. Each asset type can be linked to the event you're creating right now but also to already existing events on the list.
From the dropdown list, select your asset. You can select from the following asset types:
Annotation Builder - this AI-enhanced Studio asset processes your data and generates informed guidelines based on your specific instructions. You can use the Annotation Builder logic as a starting point for your new automations. This can be helpful with, for example, dynamically routing workflows and automatically triggering correct further actions.
(optional) Add a schedule based on which this step is going to be run. See Adding timer events to Process Orchestration.
Click Create.
Your event is created and available in all Process Orchestrations in the package. Once you're satisfied with your Process Orchestration setup, you can test it to see its outcome and logs. To do so, in the edit mode for your Process Orchestration, select Test at the top.