Sharing data between data pools
Share data connections between data pools within the same Celonis Platform team to reuse existing table configurations and data models without duplicating storage. This workflow ensures consistent governance by centralizing core master data tables, such as global customer or vendor directories, and securely extending them from a primary data pool to localized regional business units (for example, linking central SAP master data to regional Order-to-Cash analytics pools).
Sharing data between data pools without a data connection
Some use cases require you to share data between data pools when a data connection doesn't exist (for example, when data is captured using Task Mining).
For help to do this, see: Optional: Sharing data between data pools without a data connection
For a video overview:
Before sharing data between Celonis Platform data pools:
Your user account has Admin access to both the source and target data pools.
Both data pools reside within the same Celonis Platform environment.
Exporting a data connection shares its table configurations with target data pools. The platform utilizes database views rather than physical data duplication to protect storage performance.
To export a data connection from your data pool diagram:
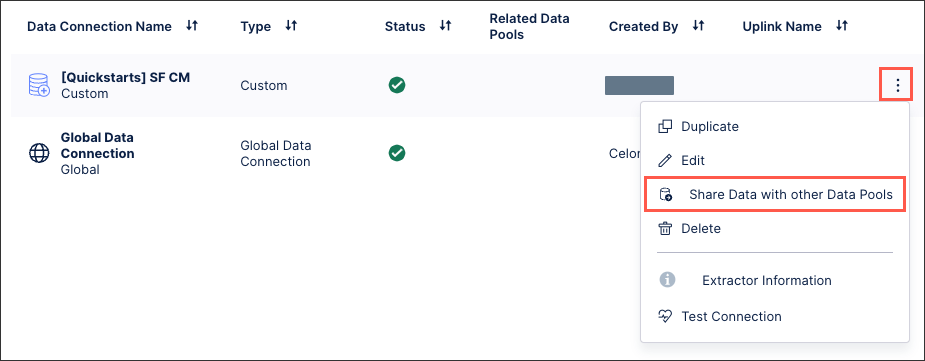
Click Data Connections.
For the data connection you want to share, click Options - Share Data with Other Data Pools.
Select the data pool(s) you want to share your data connection with.
Select the tables you want to share with the selected data pools. If multiple data pools are selected, you can choose whether to use the same configuration for all target data pools or manually select the configuration for each.
Same configuration for all target data pools: Deploys an identical set of data tables across multiple target environments simultaneously. Use this to distribute uniform global master data.
Manually select configuration per data pool: Dictates specific table assignments for individual target environments. Use this when regional data compliance requires granular table filtering.
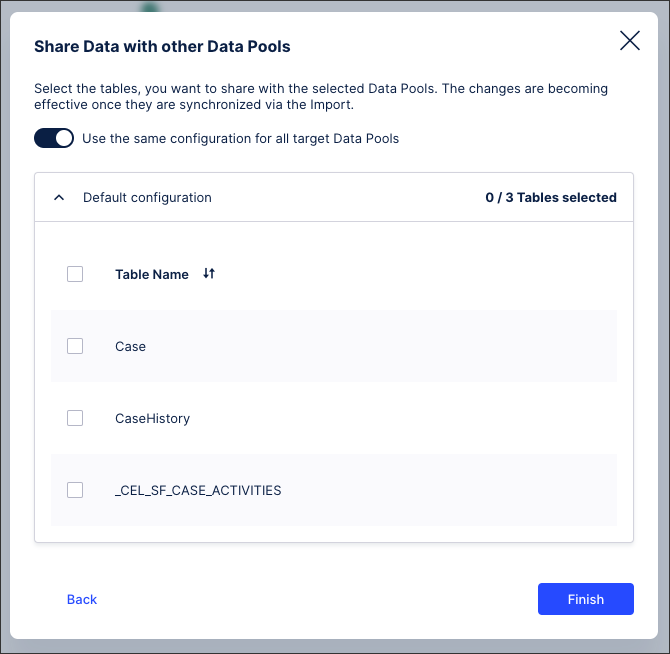
Optional: Toggle Automatically share new tables to replicate subsequent source table additions to the target data pool automatically.
Click Finish.
The data connection is shared with the selected data pools and is ready to be imported.
Importing completes the data share by pulling the exported data connection into a target data pool. The target environment remains in a draft state until you save the version to make the connection available for production data jobs.
To import your data connections to a data pool from your data pool diagram:
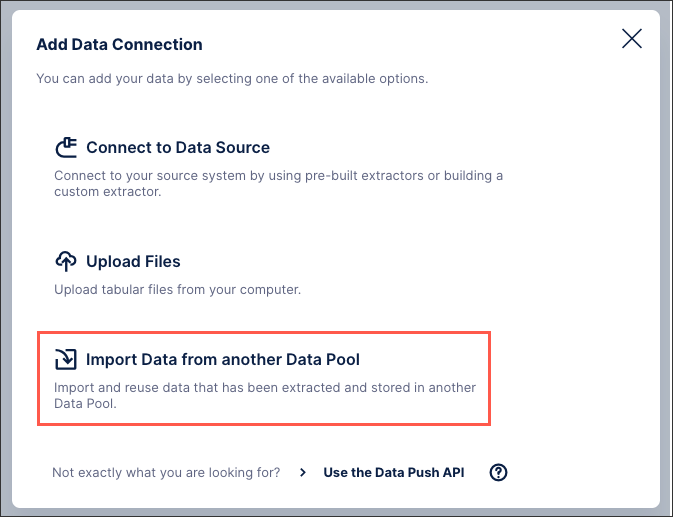
Click Data Connections.
Click + Add Data Connection and select Import Data from another Data Pool.
Select the data connection you want to import.
Choose the tables you want to synchronize between the data pools.
This is a one time synchronization with the existing table configuration, with any subsequent changes needing to be manually synchronized to be applied. See: Optional: Manually synchronizing data connections.
Click Finish.
The platform imports the data connection and its related tables. The target data pool remains in a draft state until you save the version.
If new rows are added to the tables and views of the exported data connection, the data will be available automatically in the imported data pools, e.g. when executing a data job with those tables. However, if the structure of the tables change or tables are added/removed, the data connection needs to be synchronized.
To manually synchronize your imported data connections from your data pool diagram:
Click Data Connections.
For the data connection you want to share, click Options - Synchronize.
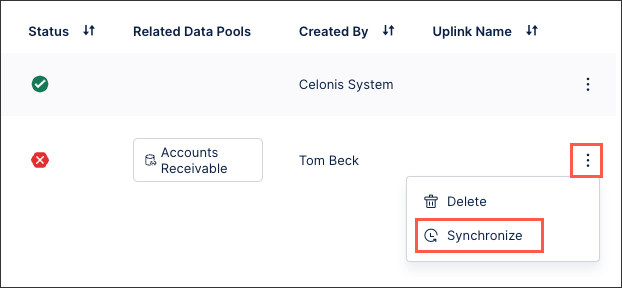
Select the data connection tables you want to synchronize.
Click Synchronize.
The platform updates the tables to the shared versions and exposes them within the current data pool environment.
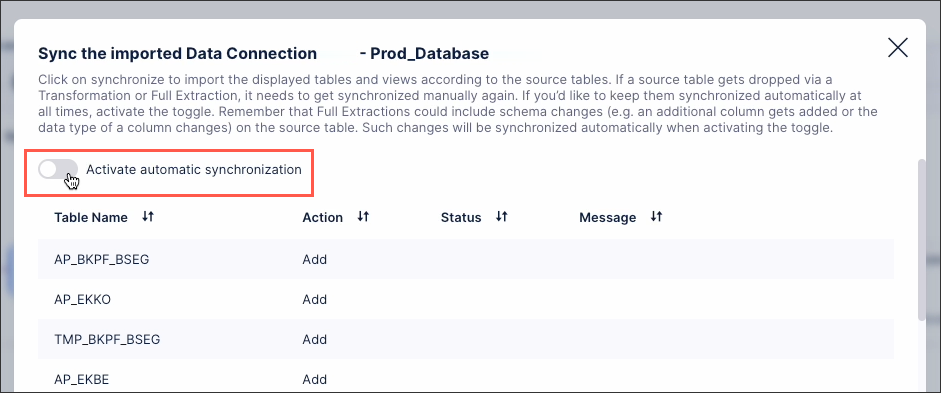
Automatic synchronization replicates schema changes instantly across linked data pools. The platform updates the database view in the background during query execution.
To automatically synchronize your data connections:
Click Data Connections.
For the data connection you want to share, click Options - Synchronize.
Toggle on Activate automatic synchronization.
With the confirmation message displayed, click Activate automatic synchronization.
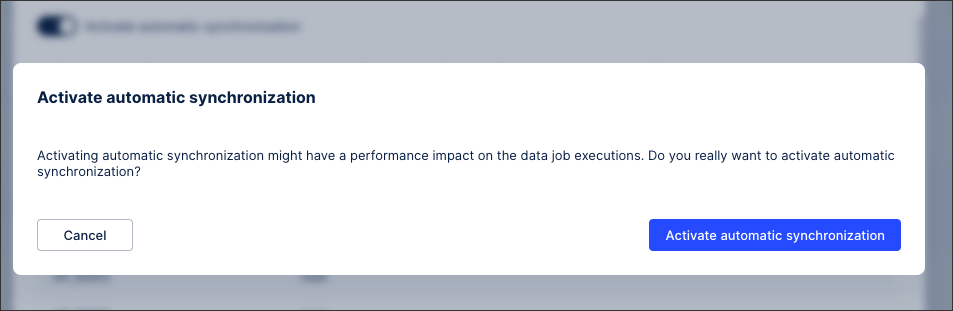
The selected data connection automatically synchronizes with the primary source connection. Disable the same toggle at any time to remove automatic replication.
Certain process mining architectures capture source data (such as Task Mining interactions or direct file uploads) without an active connection protocol. To share this data across data pools, create a localized empty data job to initialize a Global Data Connection. This connection exposes the underlying pool data for extraction without duplicating the ingestion pipeline.
For the steps:
From your data pool, click Data Jobs - Extractions.
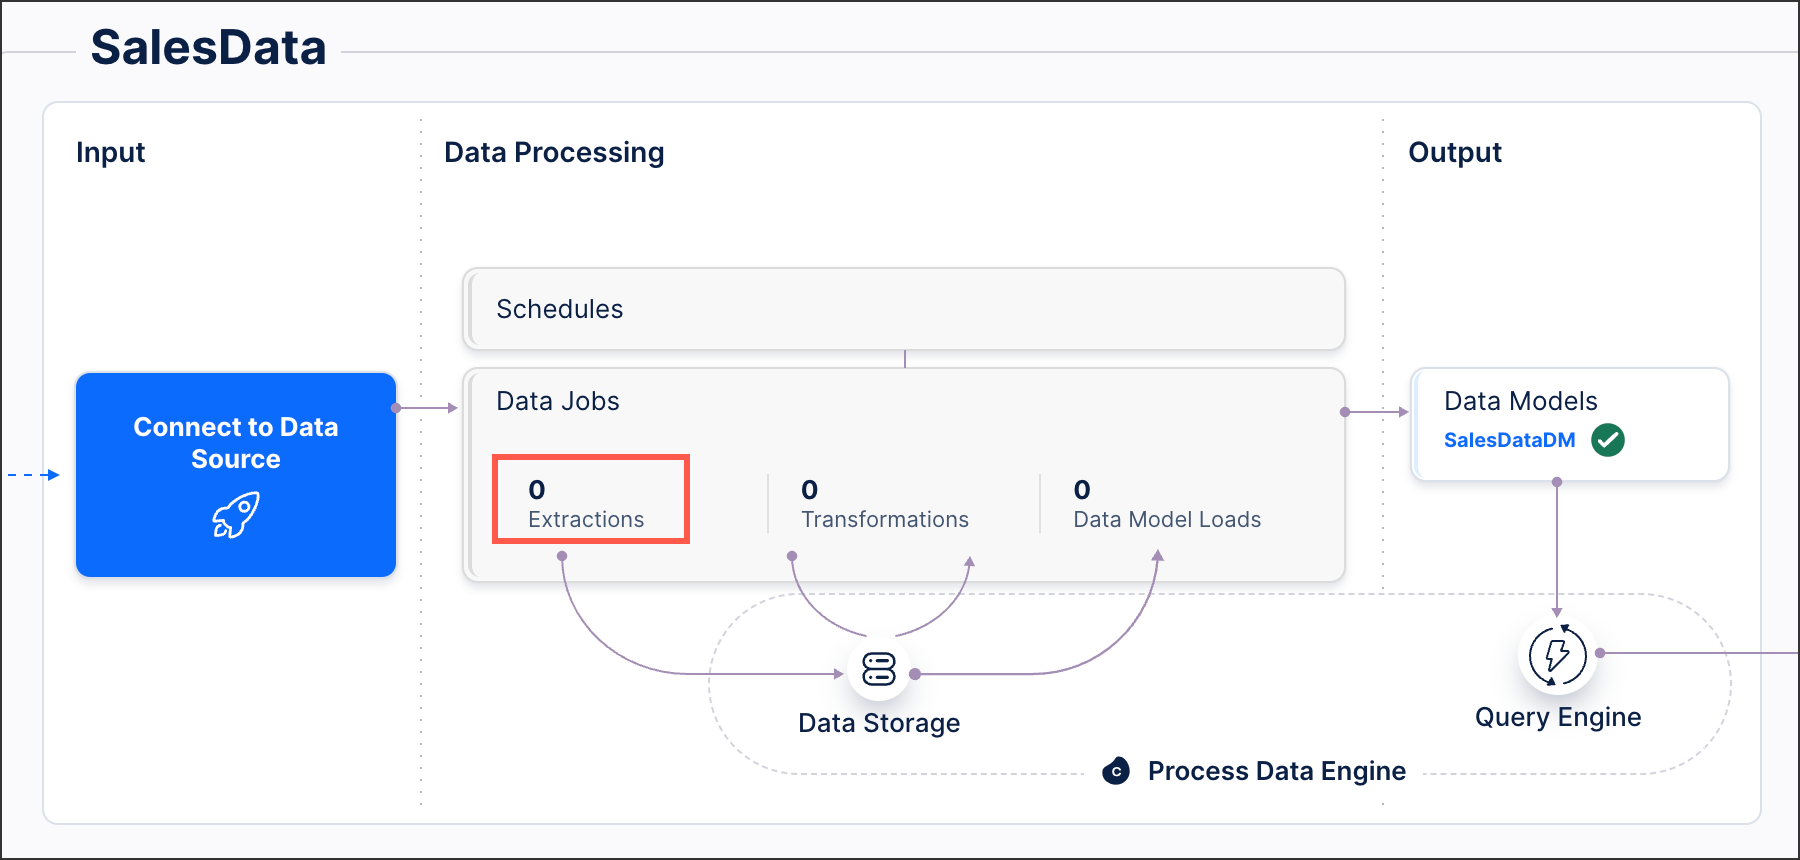
Click Add Data Job.
Add a name for the data job and then click Save.
Returning to your data pool diagram, you can now click the Global Data Connection:
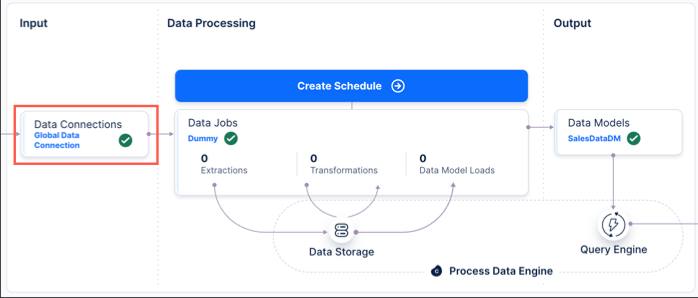
With the Global Data Connection available, you can now follow the steps outlined above: Step 1: Exporting data connections.