Configure Admin Workbench
Once the Action Flows are set up, it is now time to perform some configurations in the Admin Workbench. This sets the stage for you to classify all the snapshots into specific opportunities and value calculation types, to better depict the value realized journey.
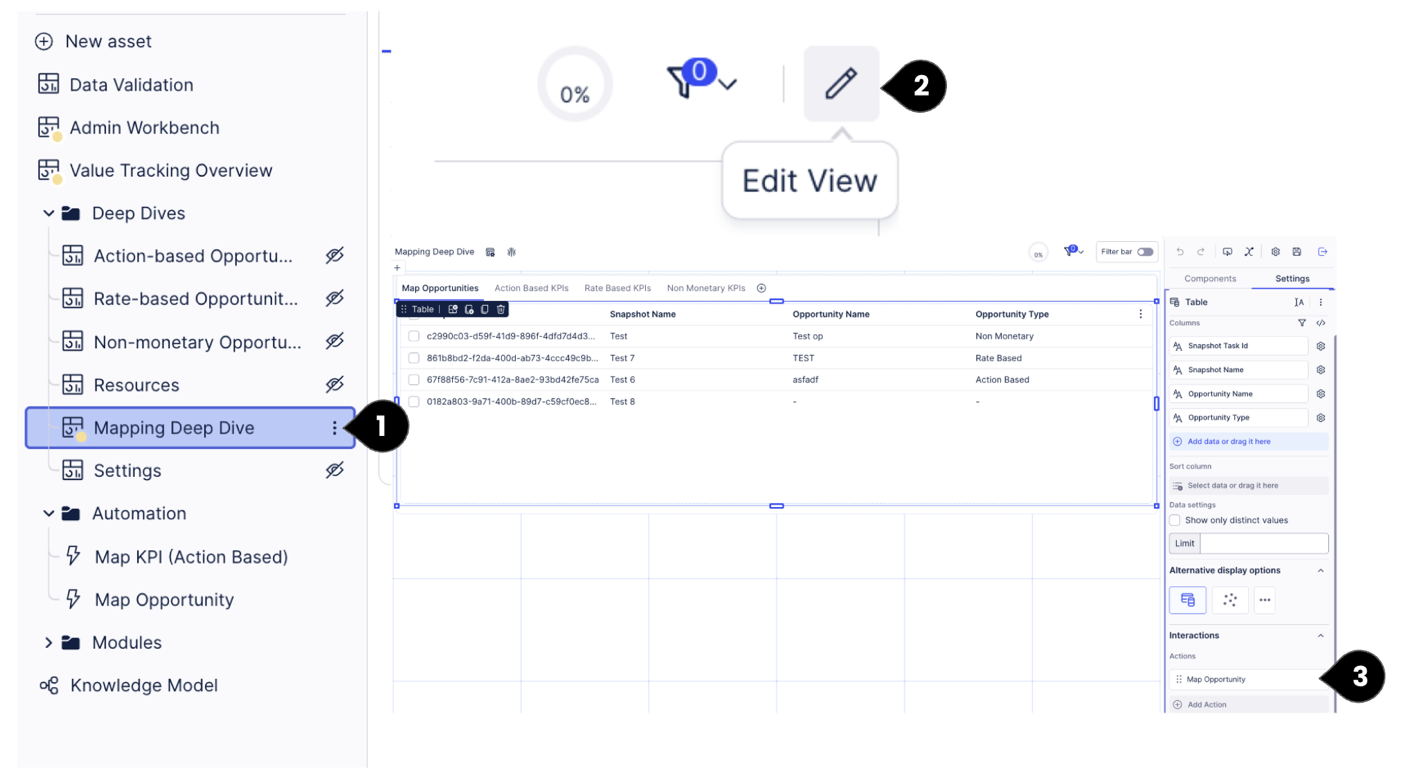
In the Deep Dives folder, go to ‘Mapping Deep Dive’ View (1). Click on Edit View (2). Access the table within the containers, and go to Interactions in the right side panel, where you will find the option to ‘Add Action’ (3). Select ‘Run Action Flow’ Option.
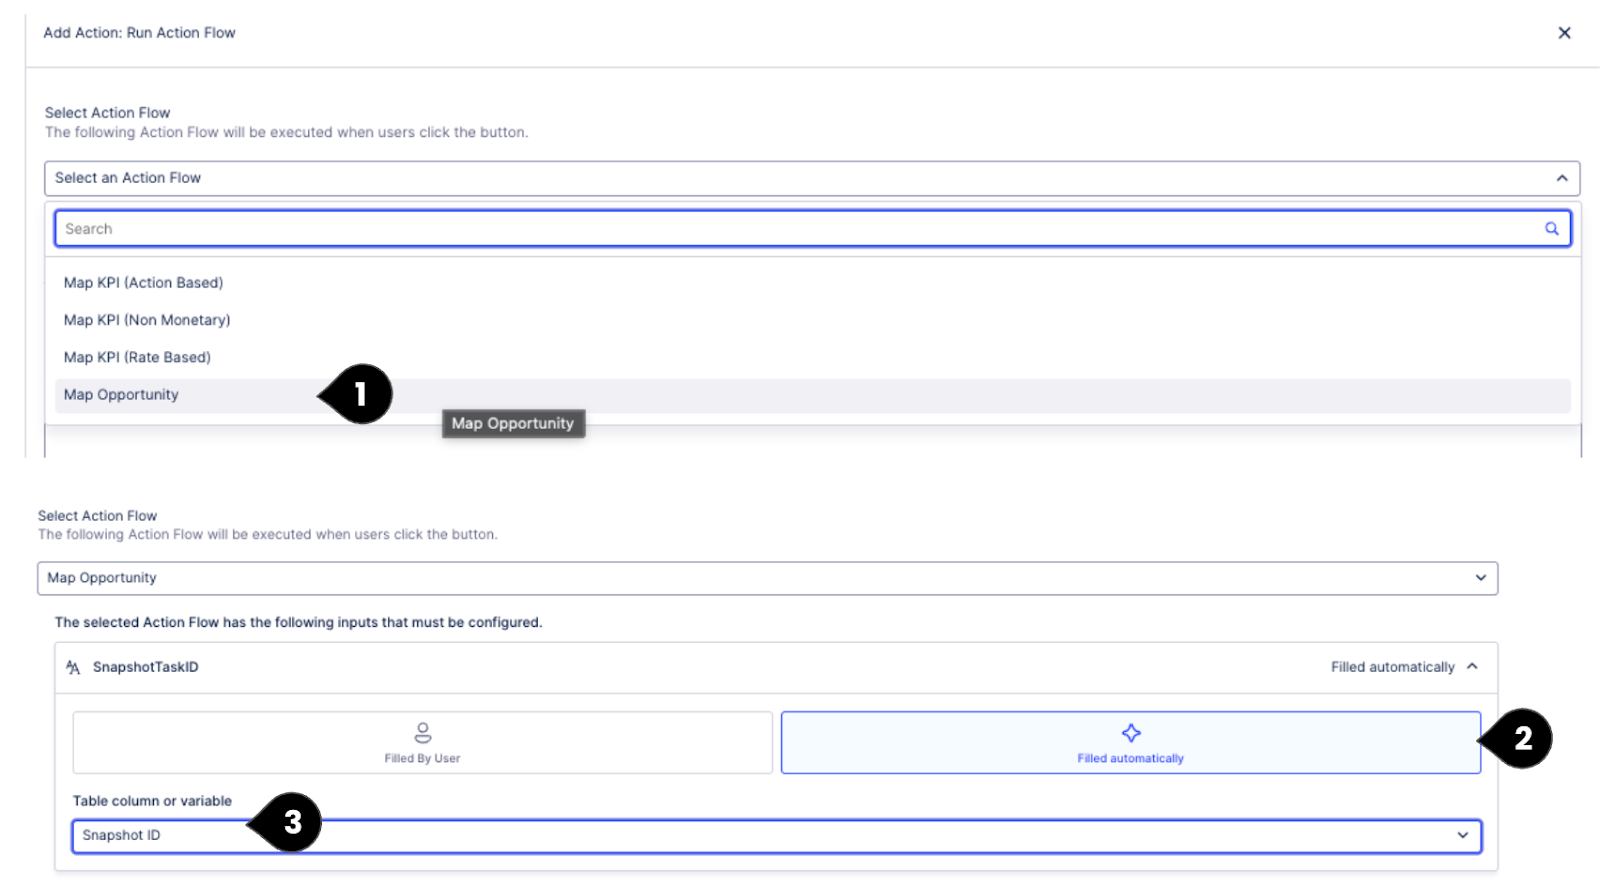
Select ‘Map Opportunity’ Action Flow from the dropdown. For the SnapshotTaskID input, choose ‘Filled automatically’ (2) and choose ‘Snapshot ID’ from the dropdown as the Table column or variable (3).
For OpportunityName, choose Filled By User, Free Text option (1), for OpportunityType, choose Filled By User, Dropdown option with the following options: Action Based, Rate Based and Non Monetary (2). Once added, click on Add (3).

Proceed to Admin Workbench, where you can start mapping the captured Snapshots to Opportunities and Opportunity Types.
Once you trigger the action flow from the Admin Workbench, you will need to execute the data job again to get the data reflected in the app.
As a best practice, you can create a schedule in the data pool, to ensure the data jobs run in a defined frequency.